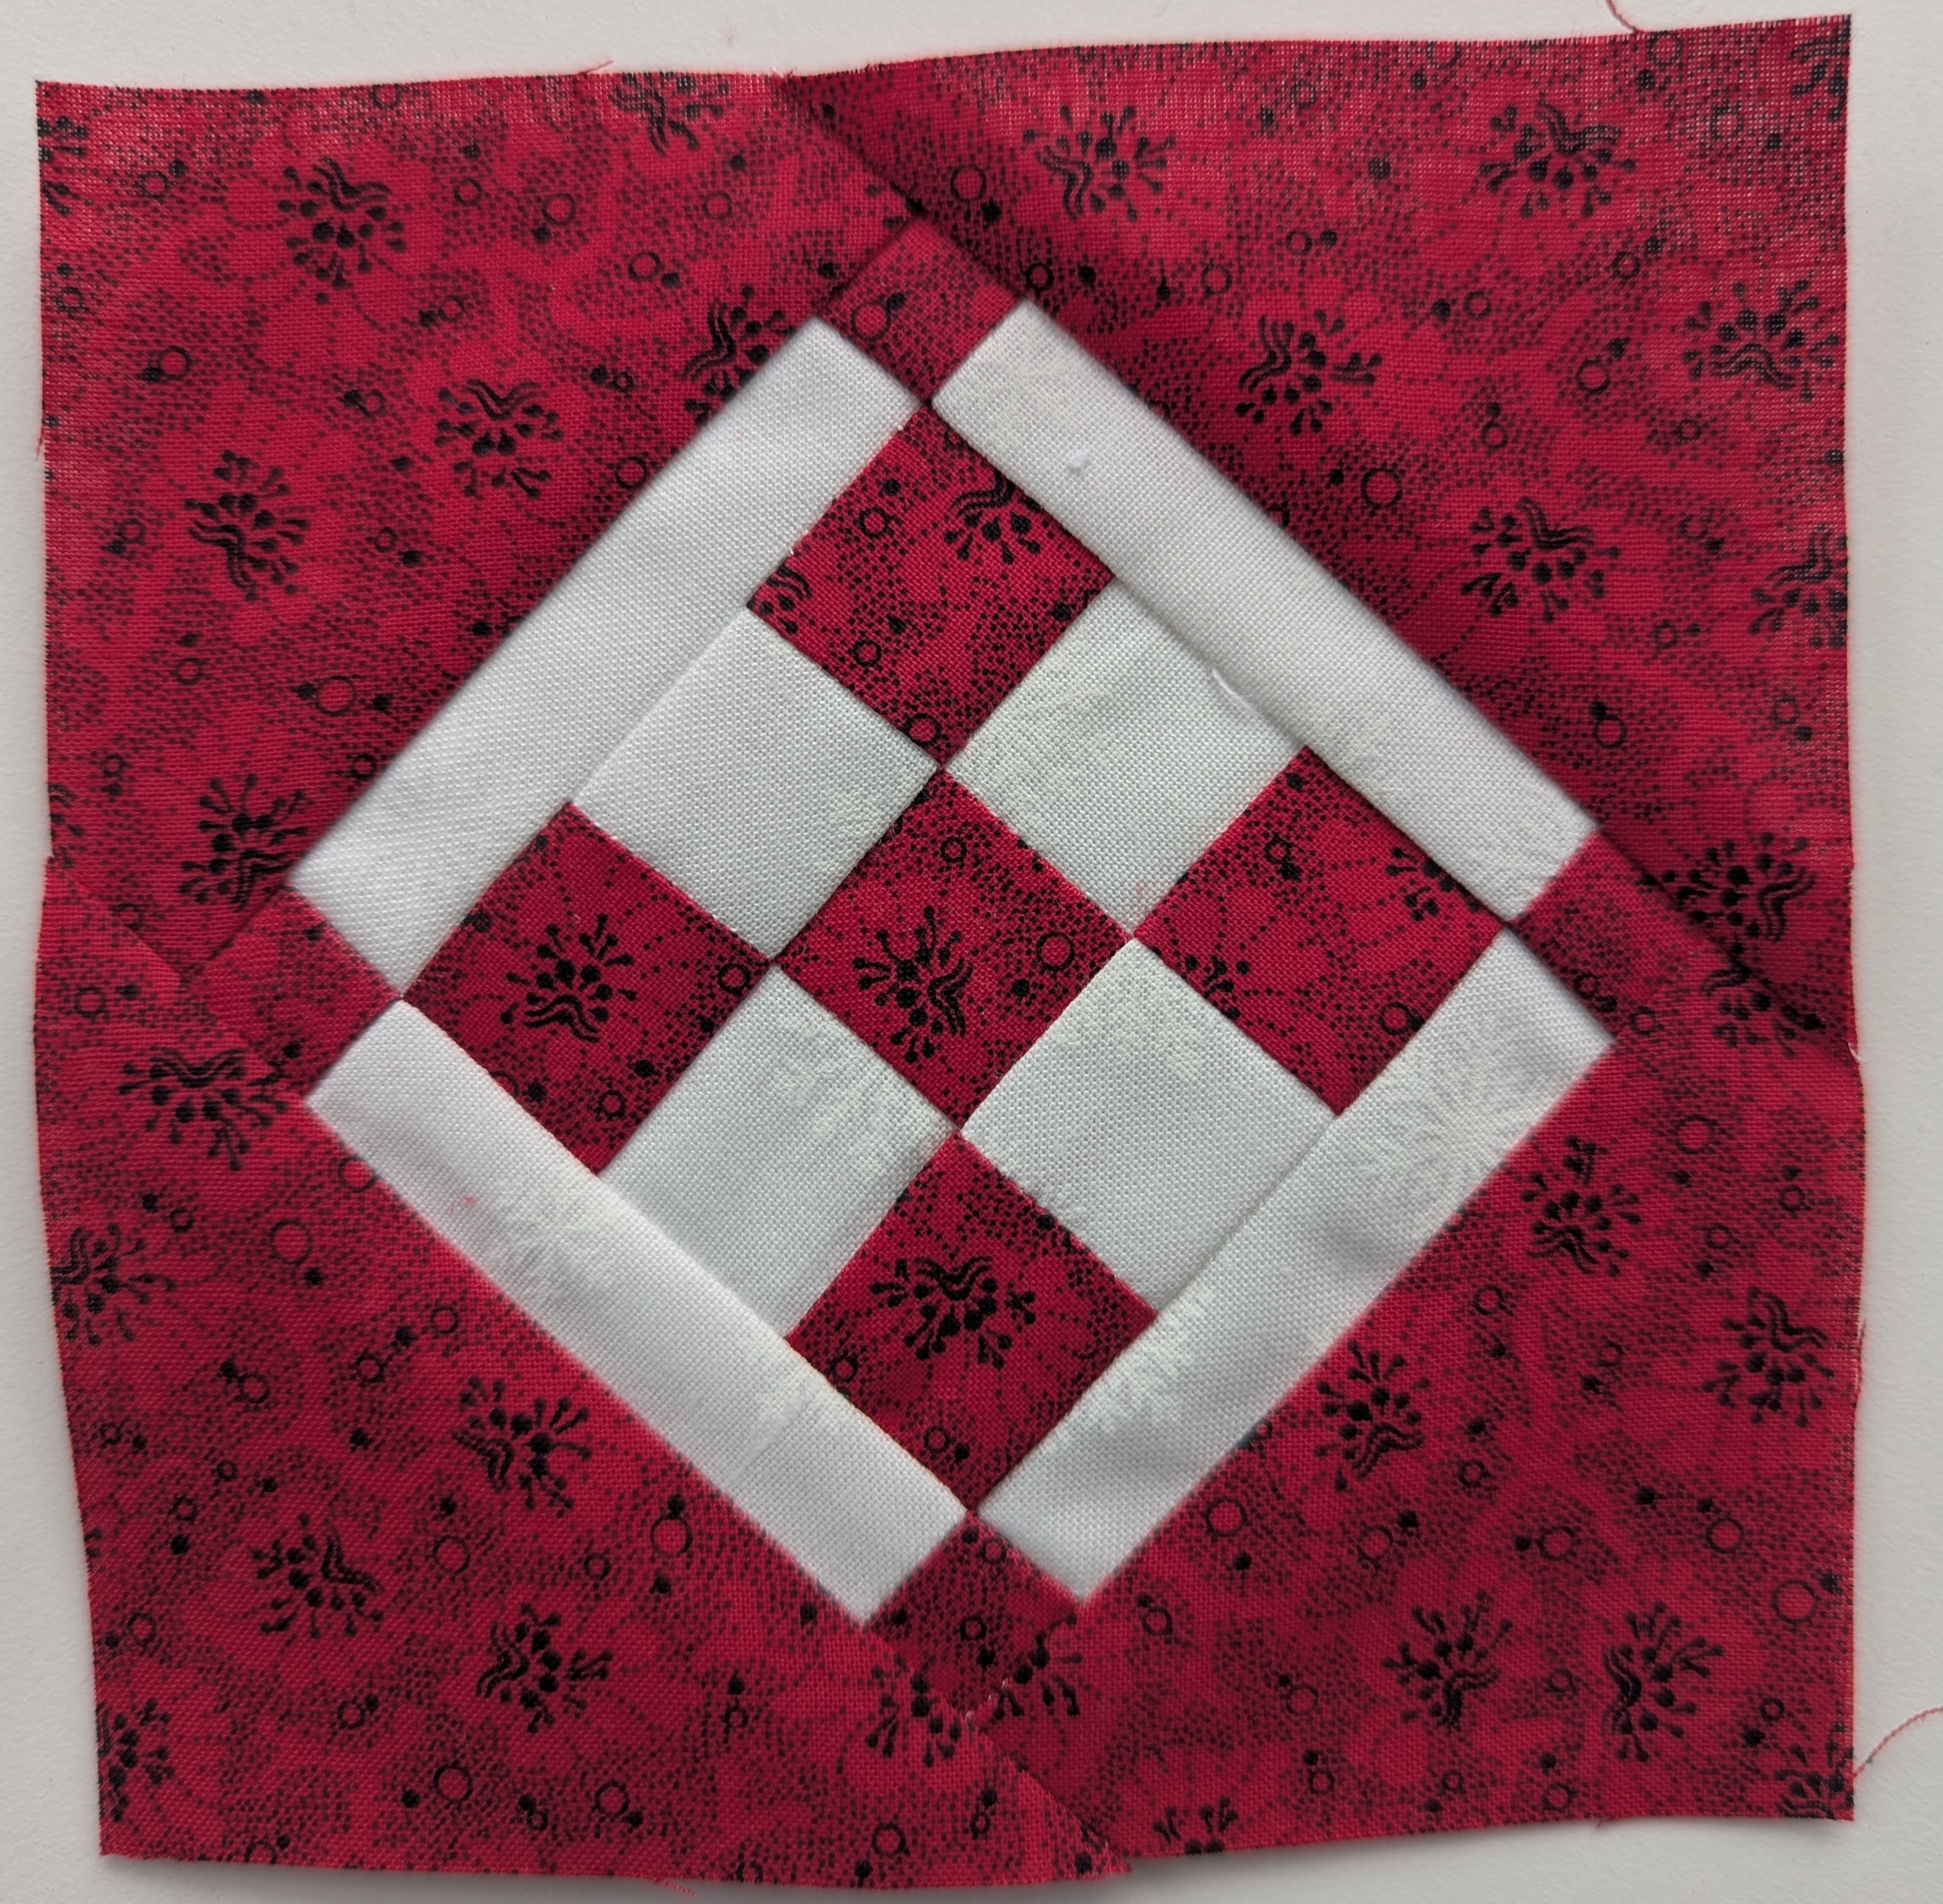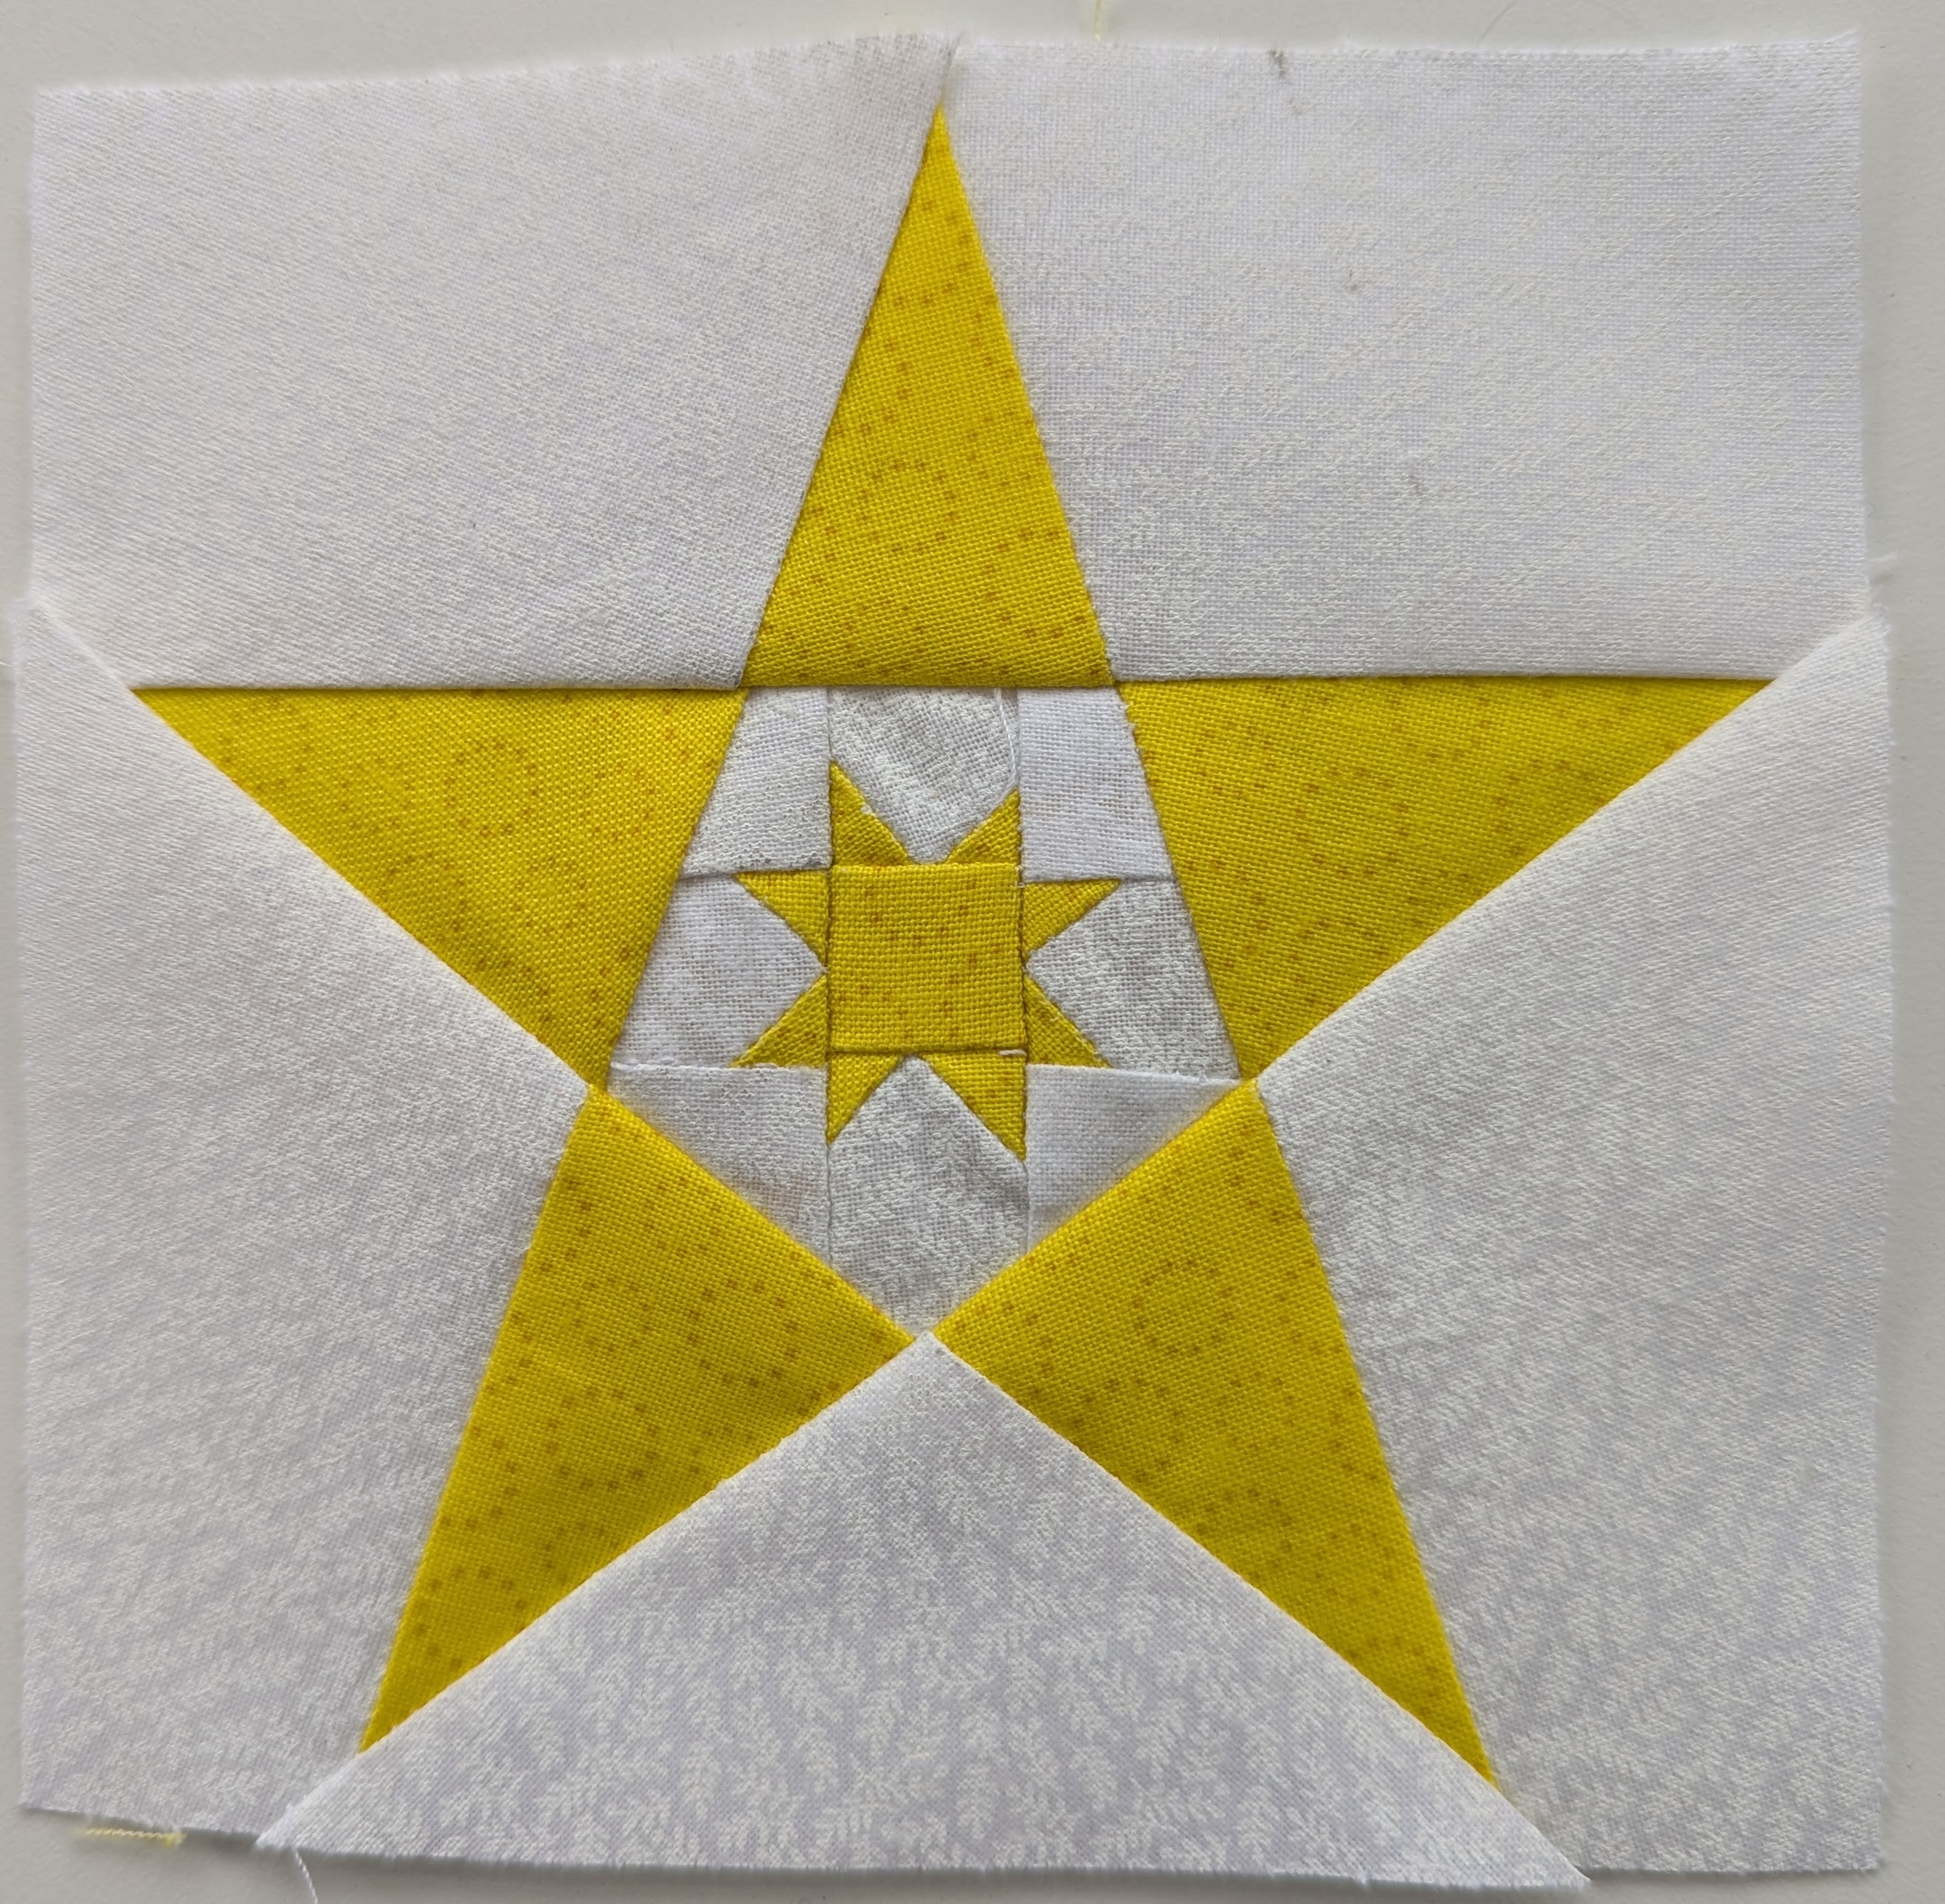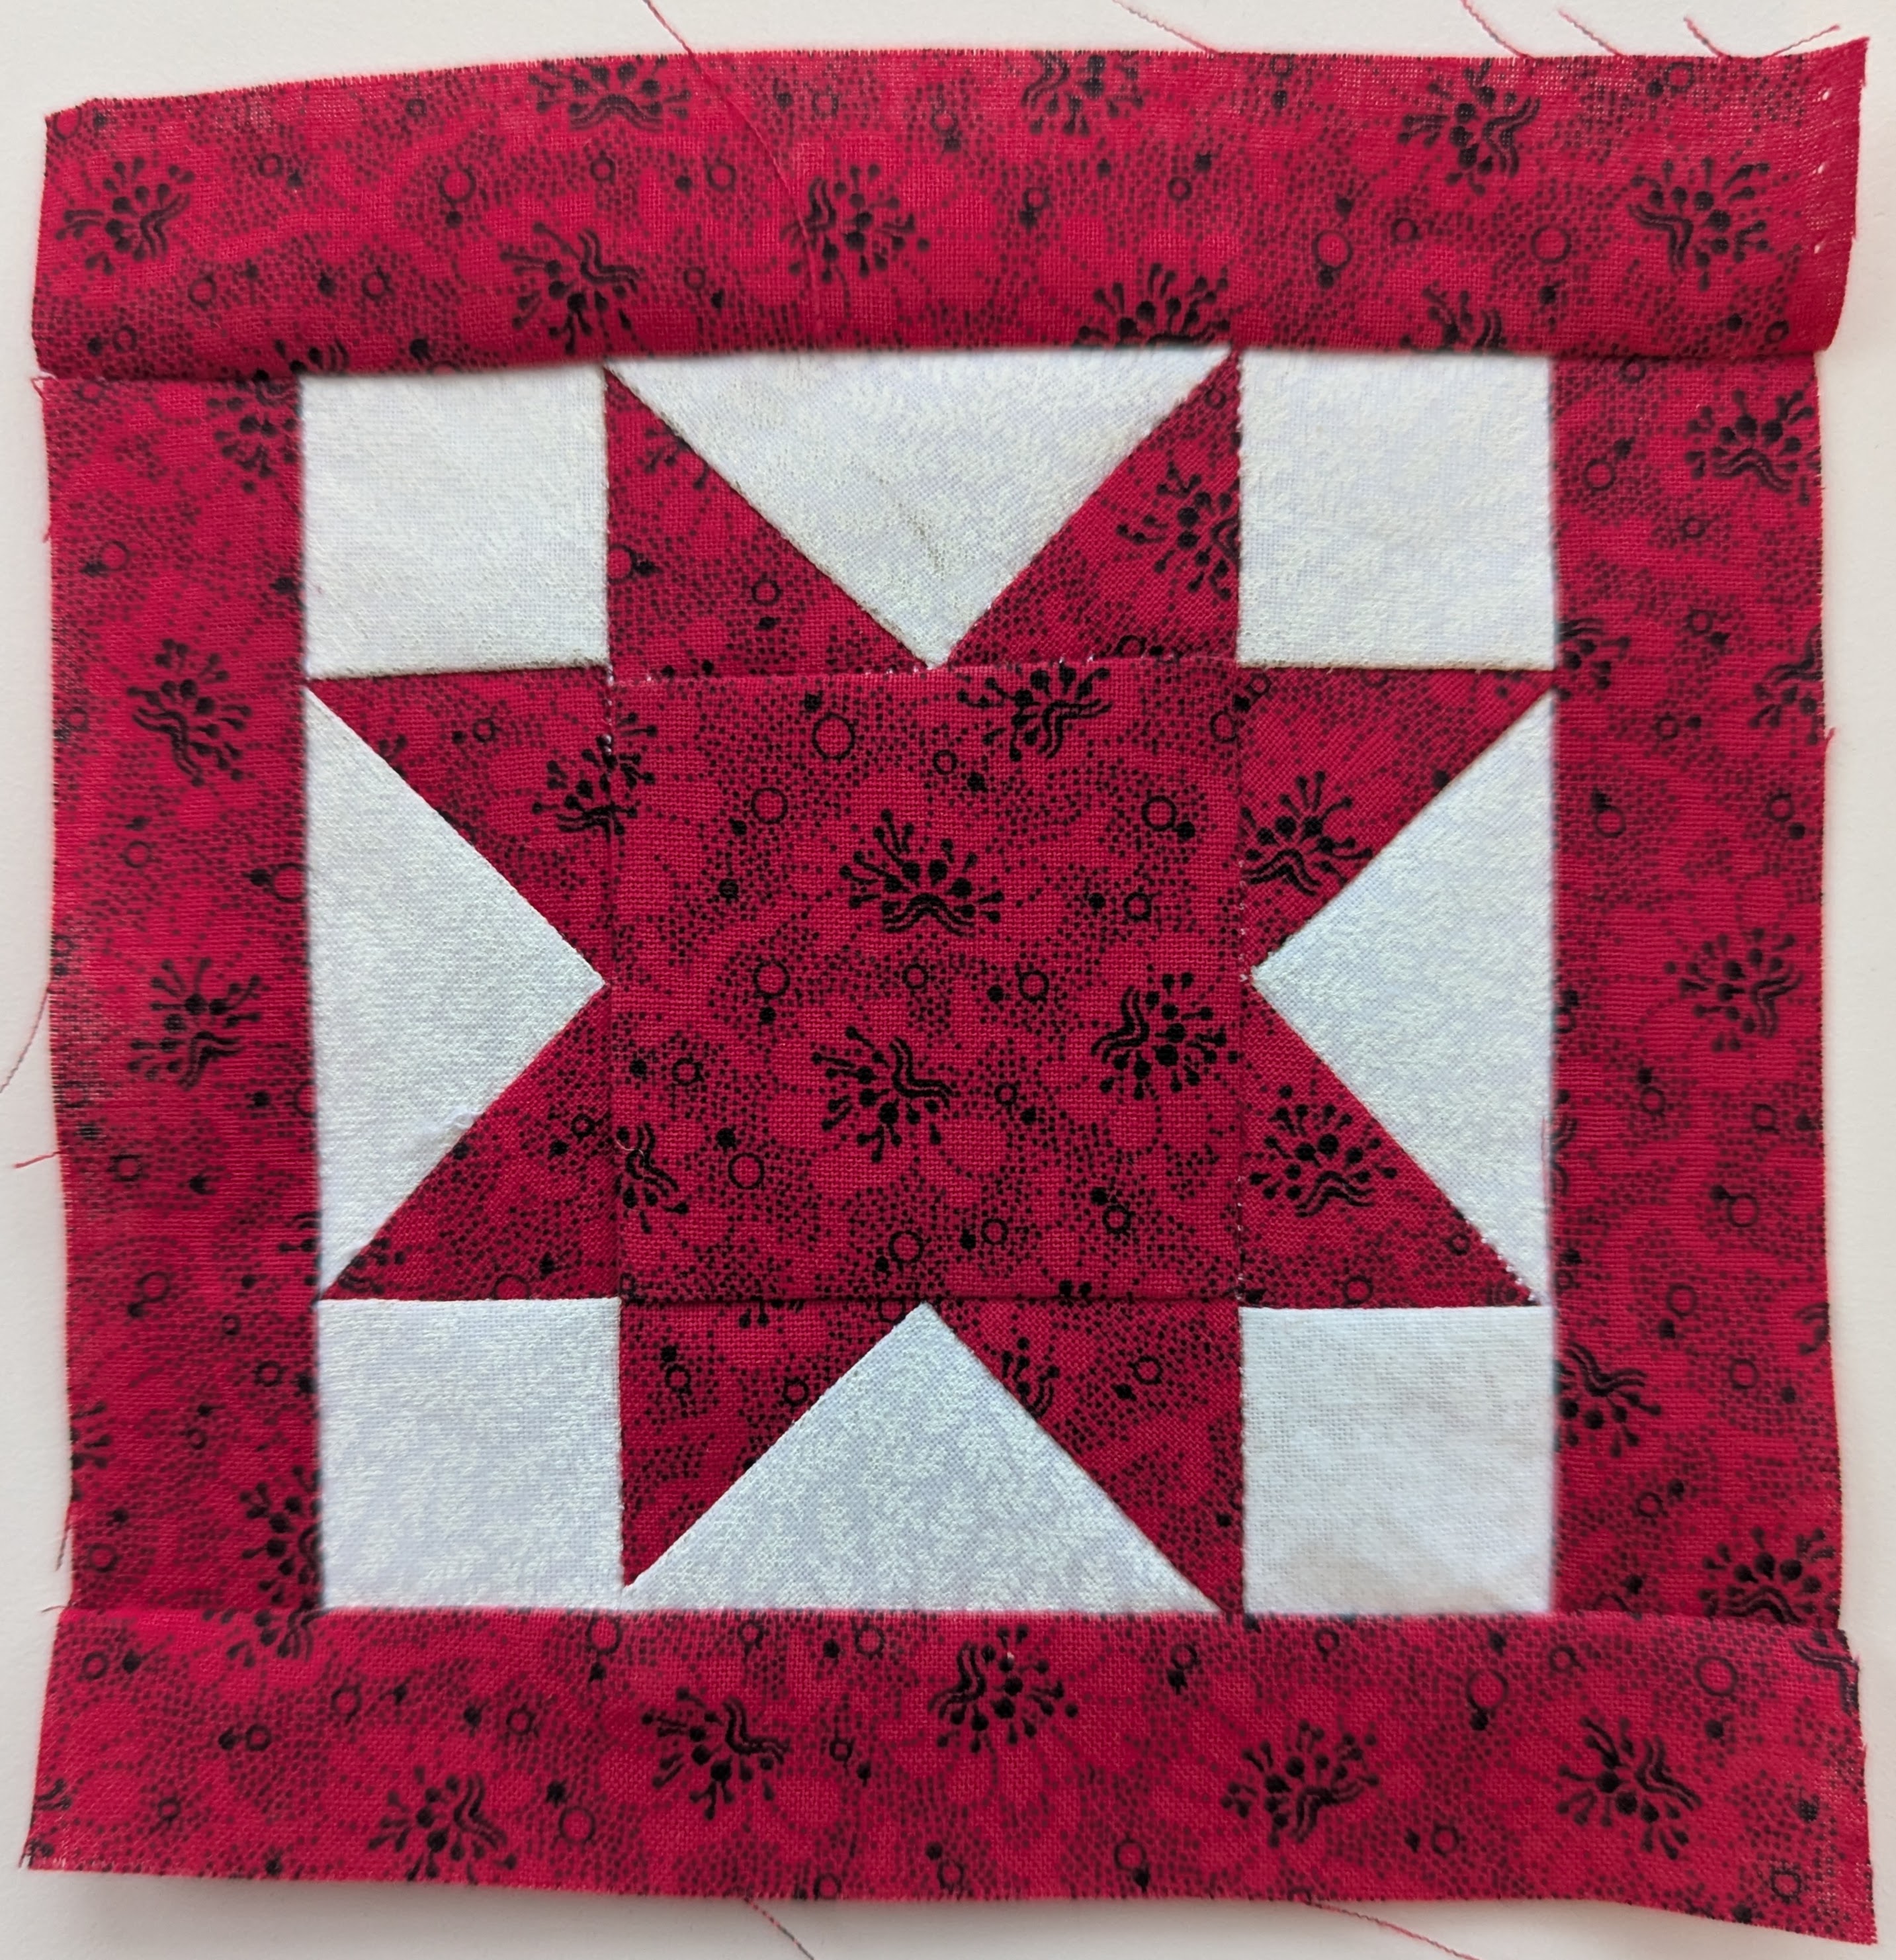

Successes:
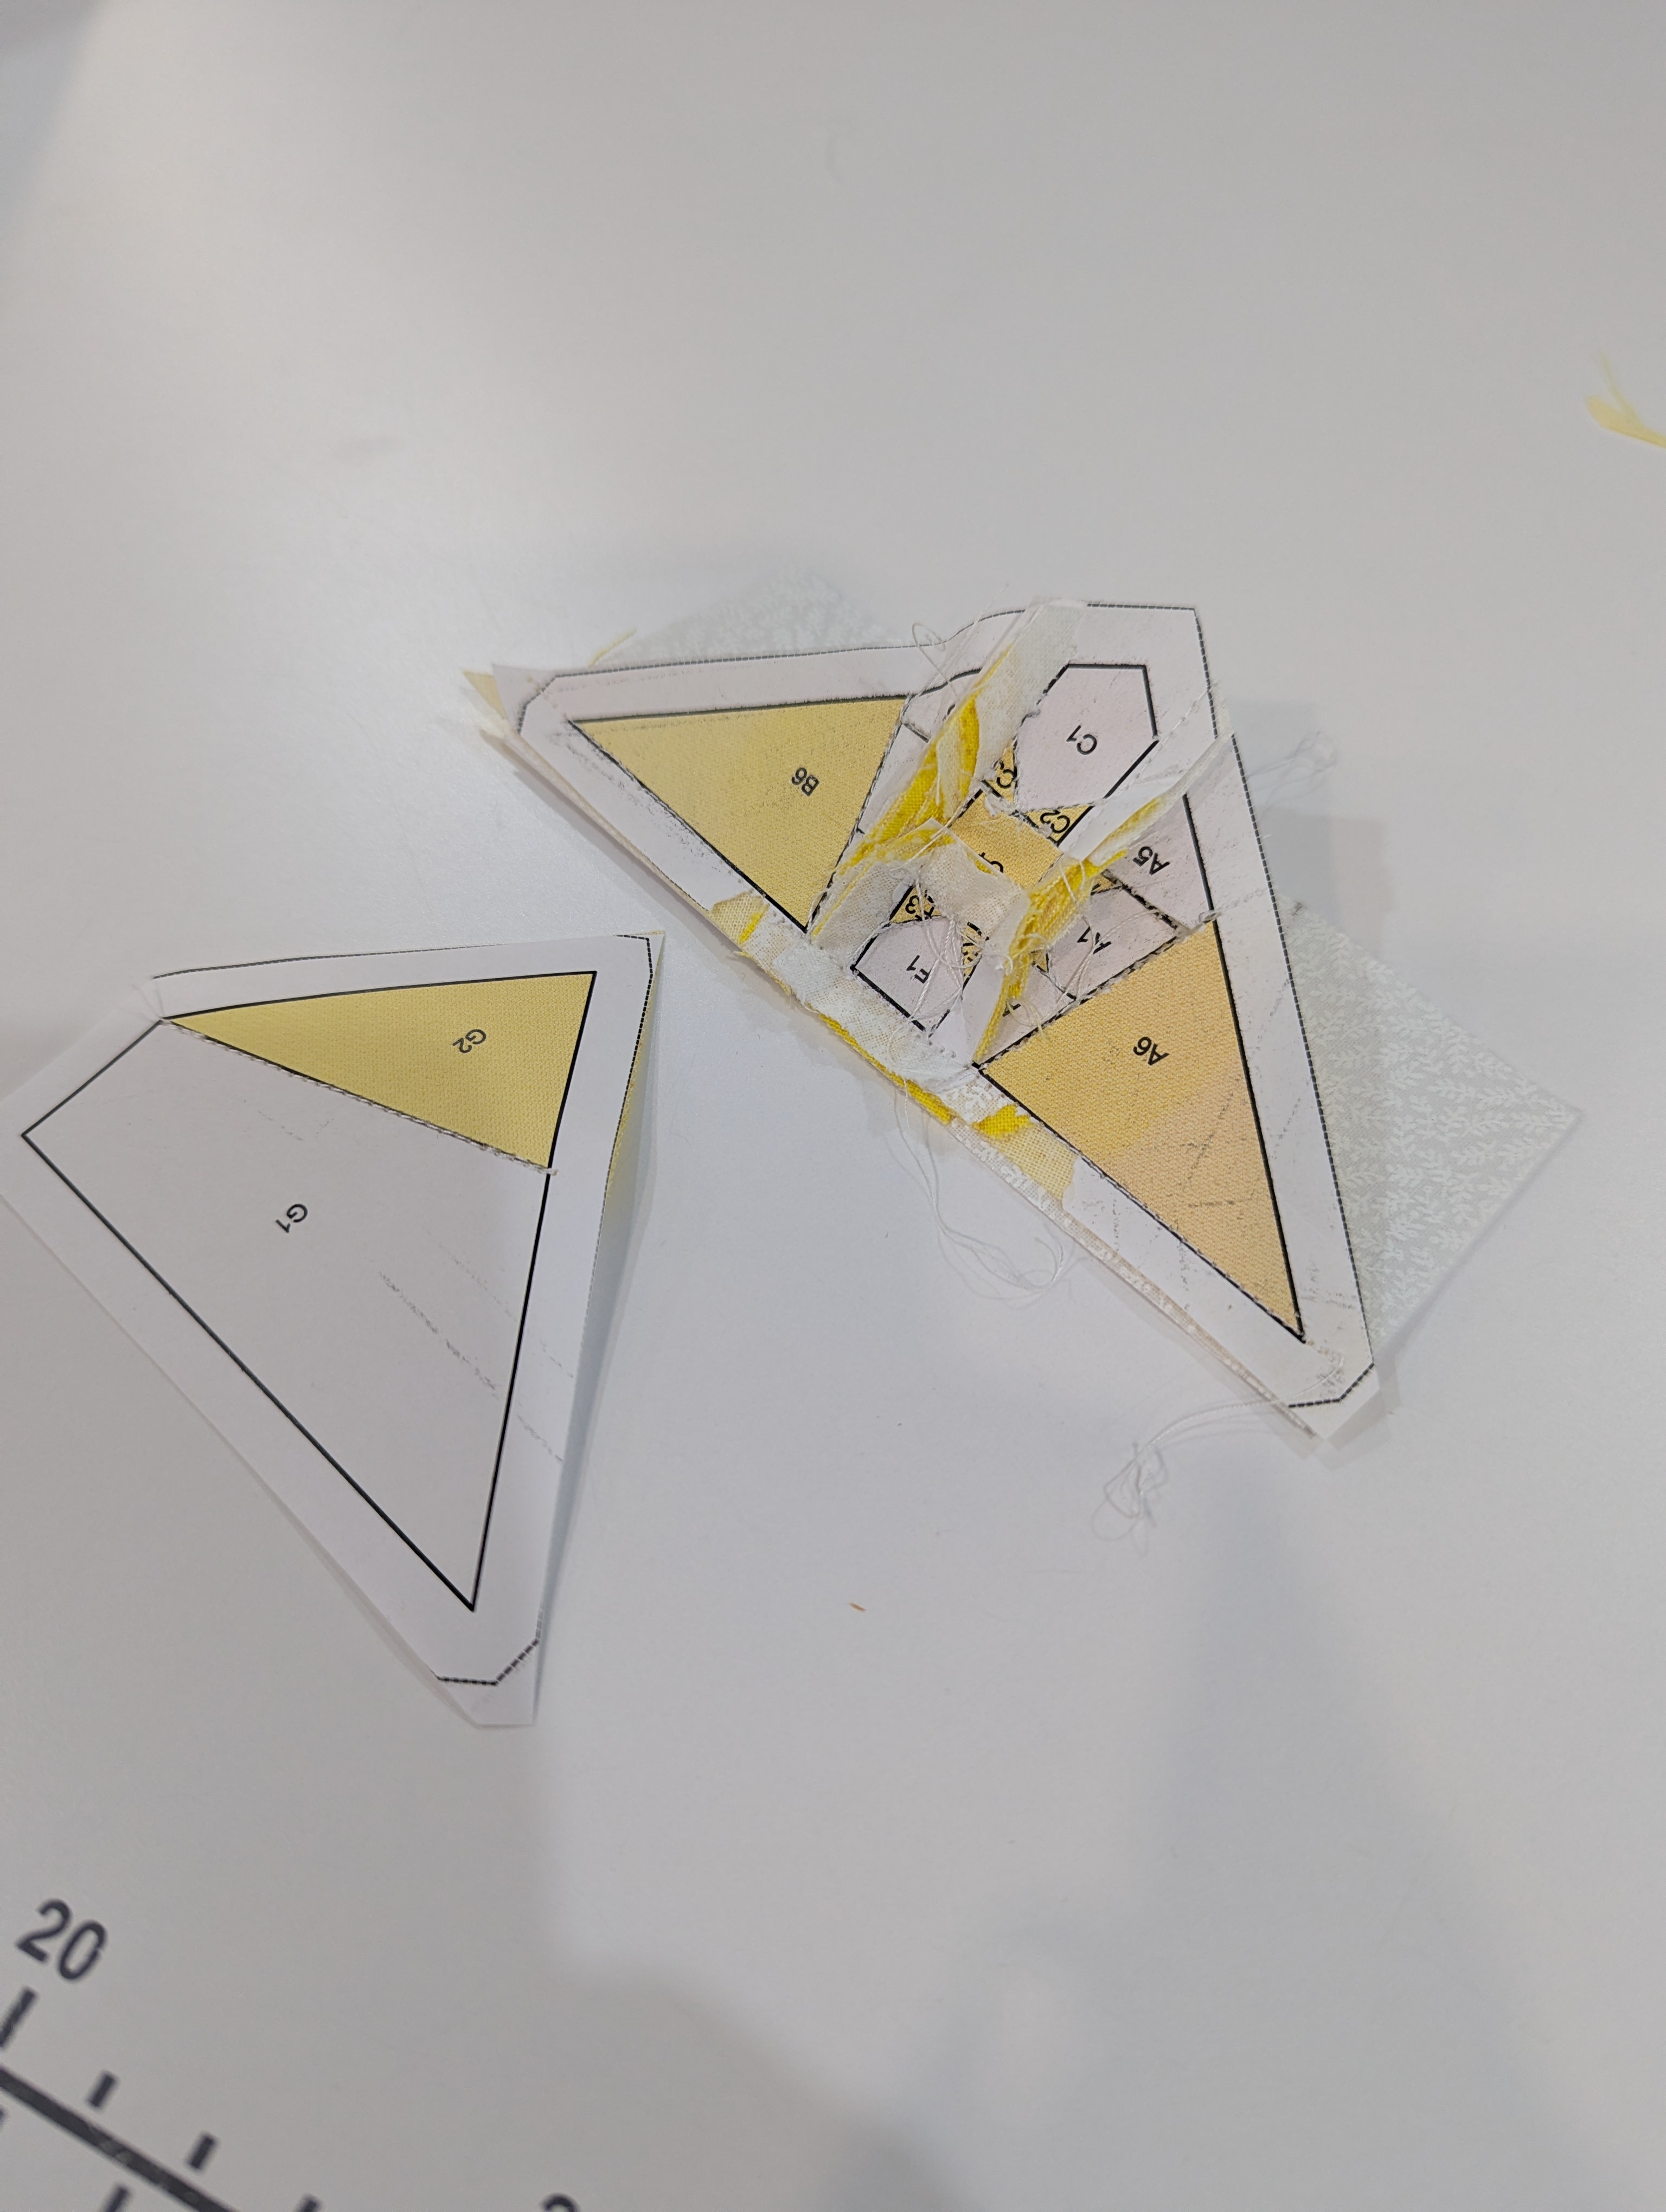
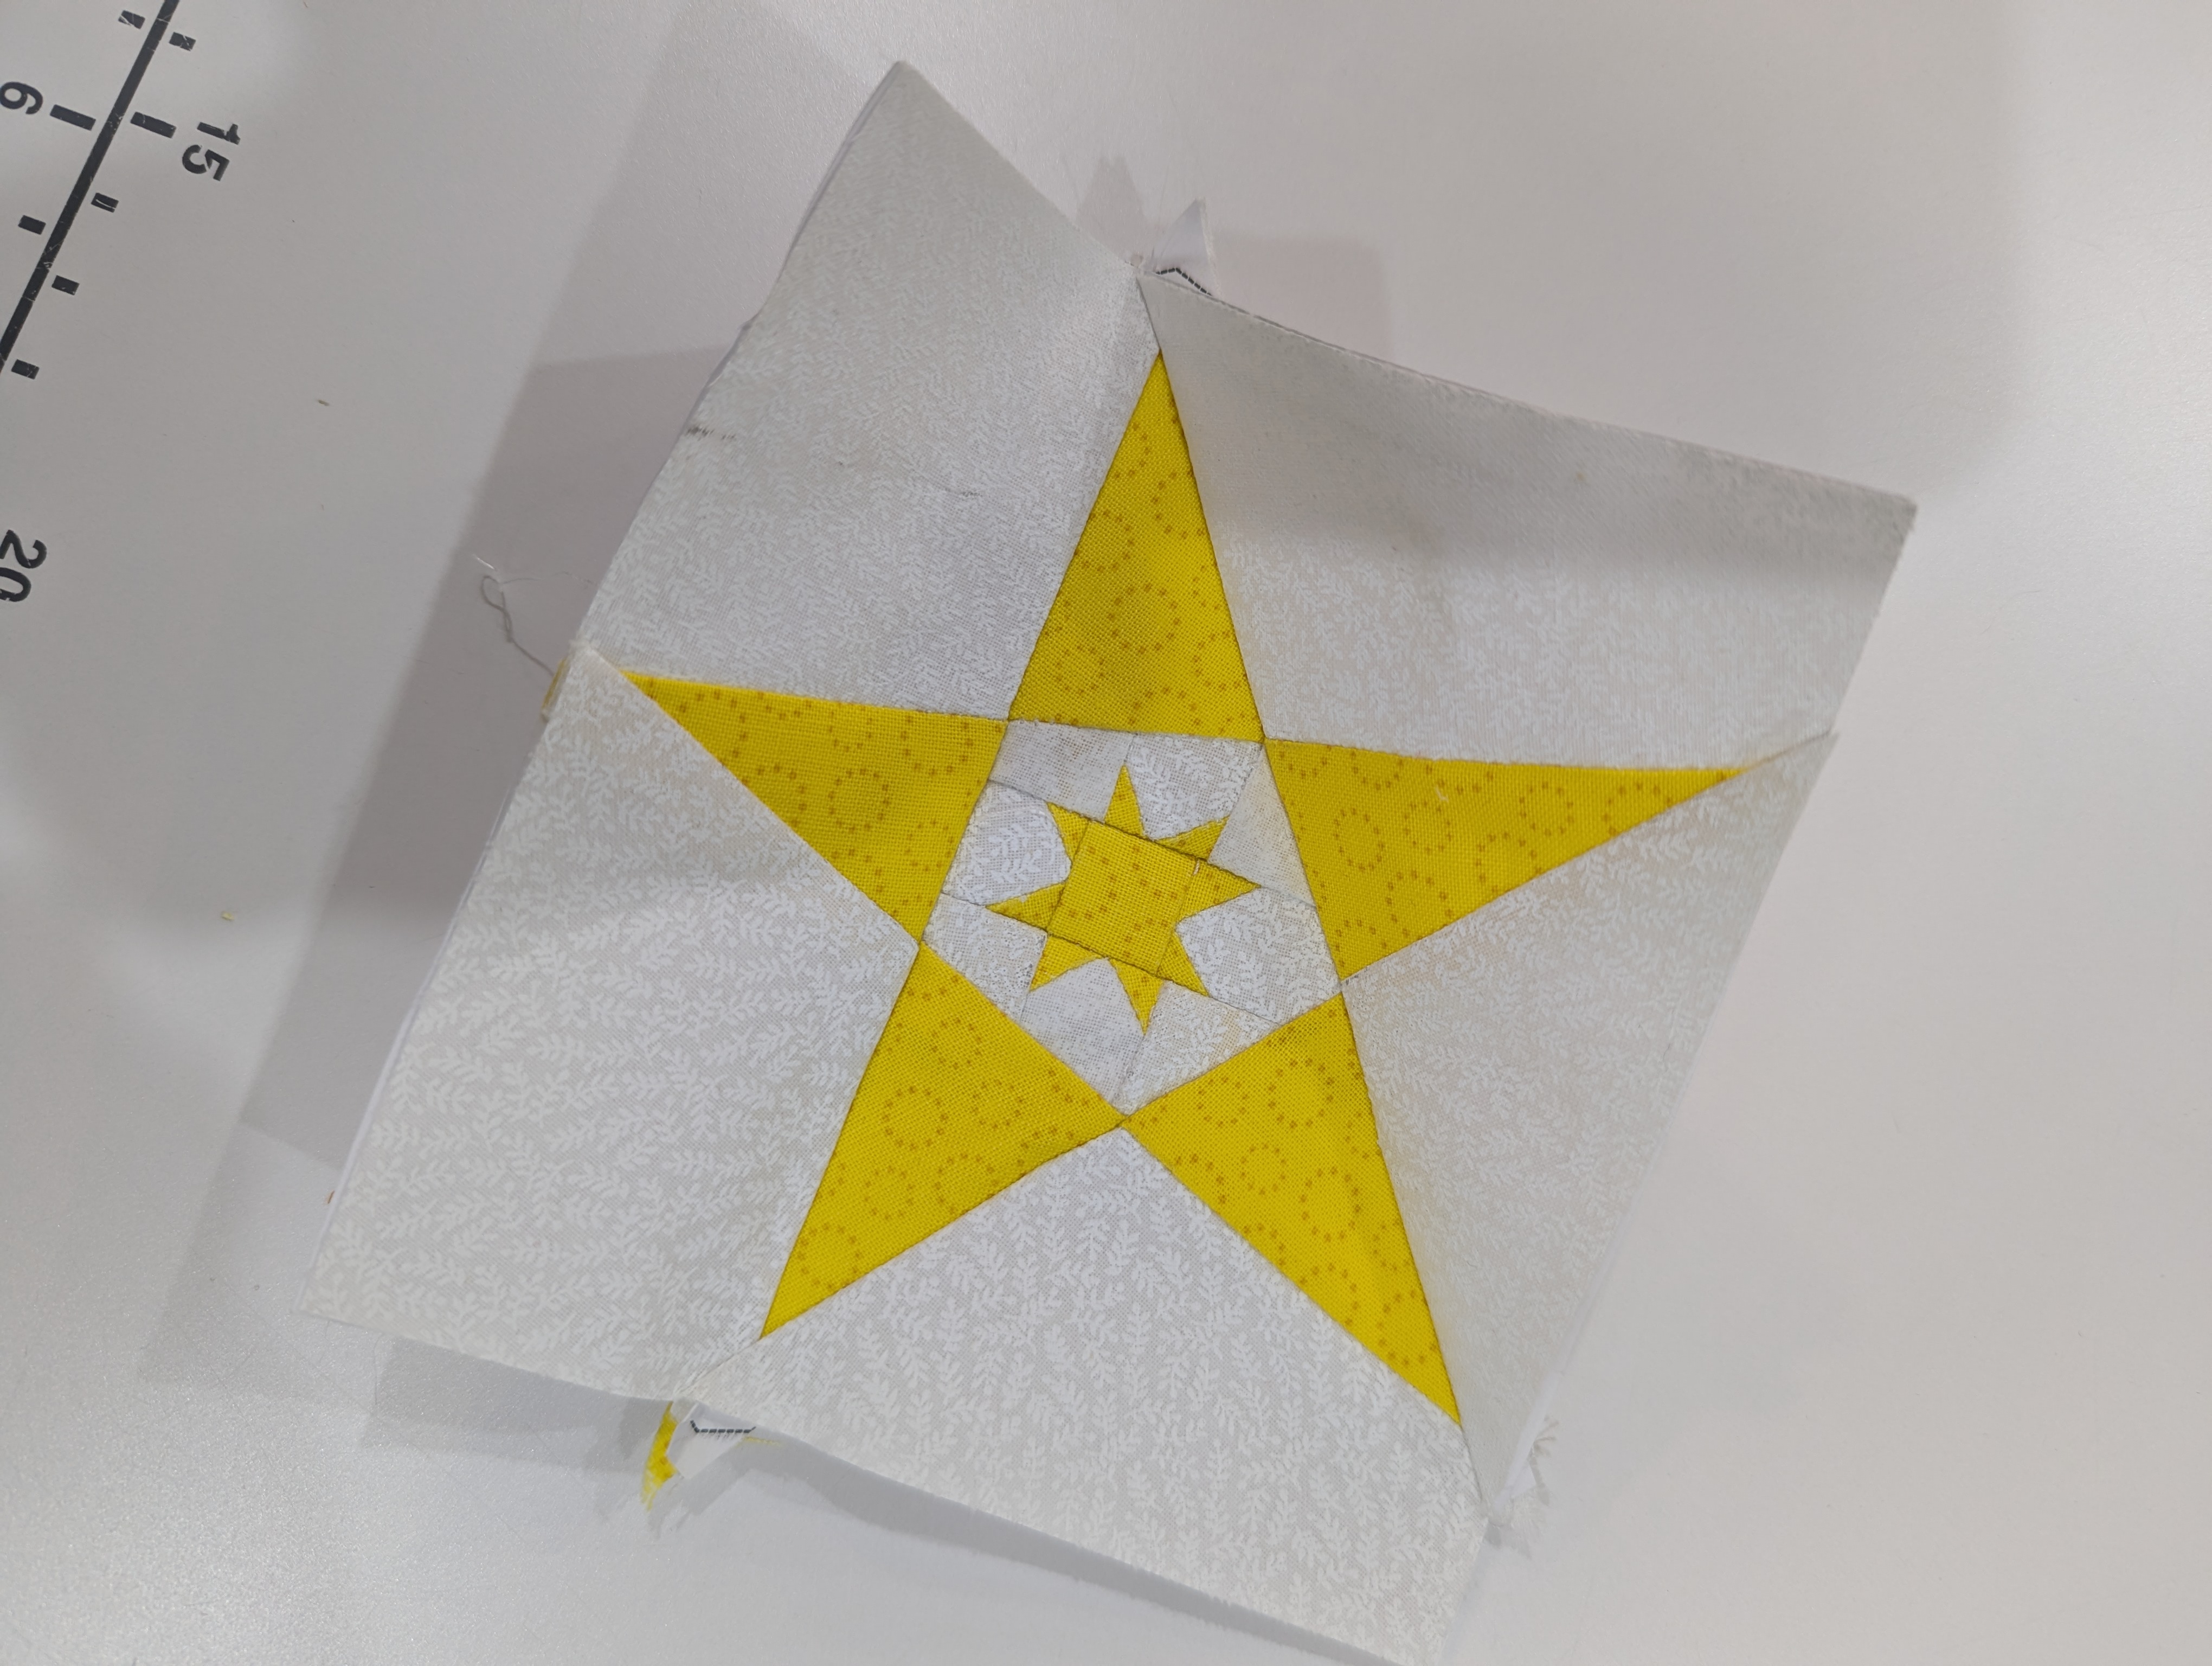
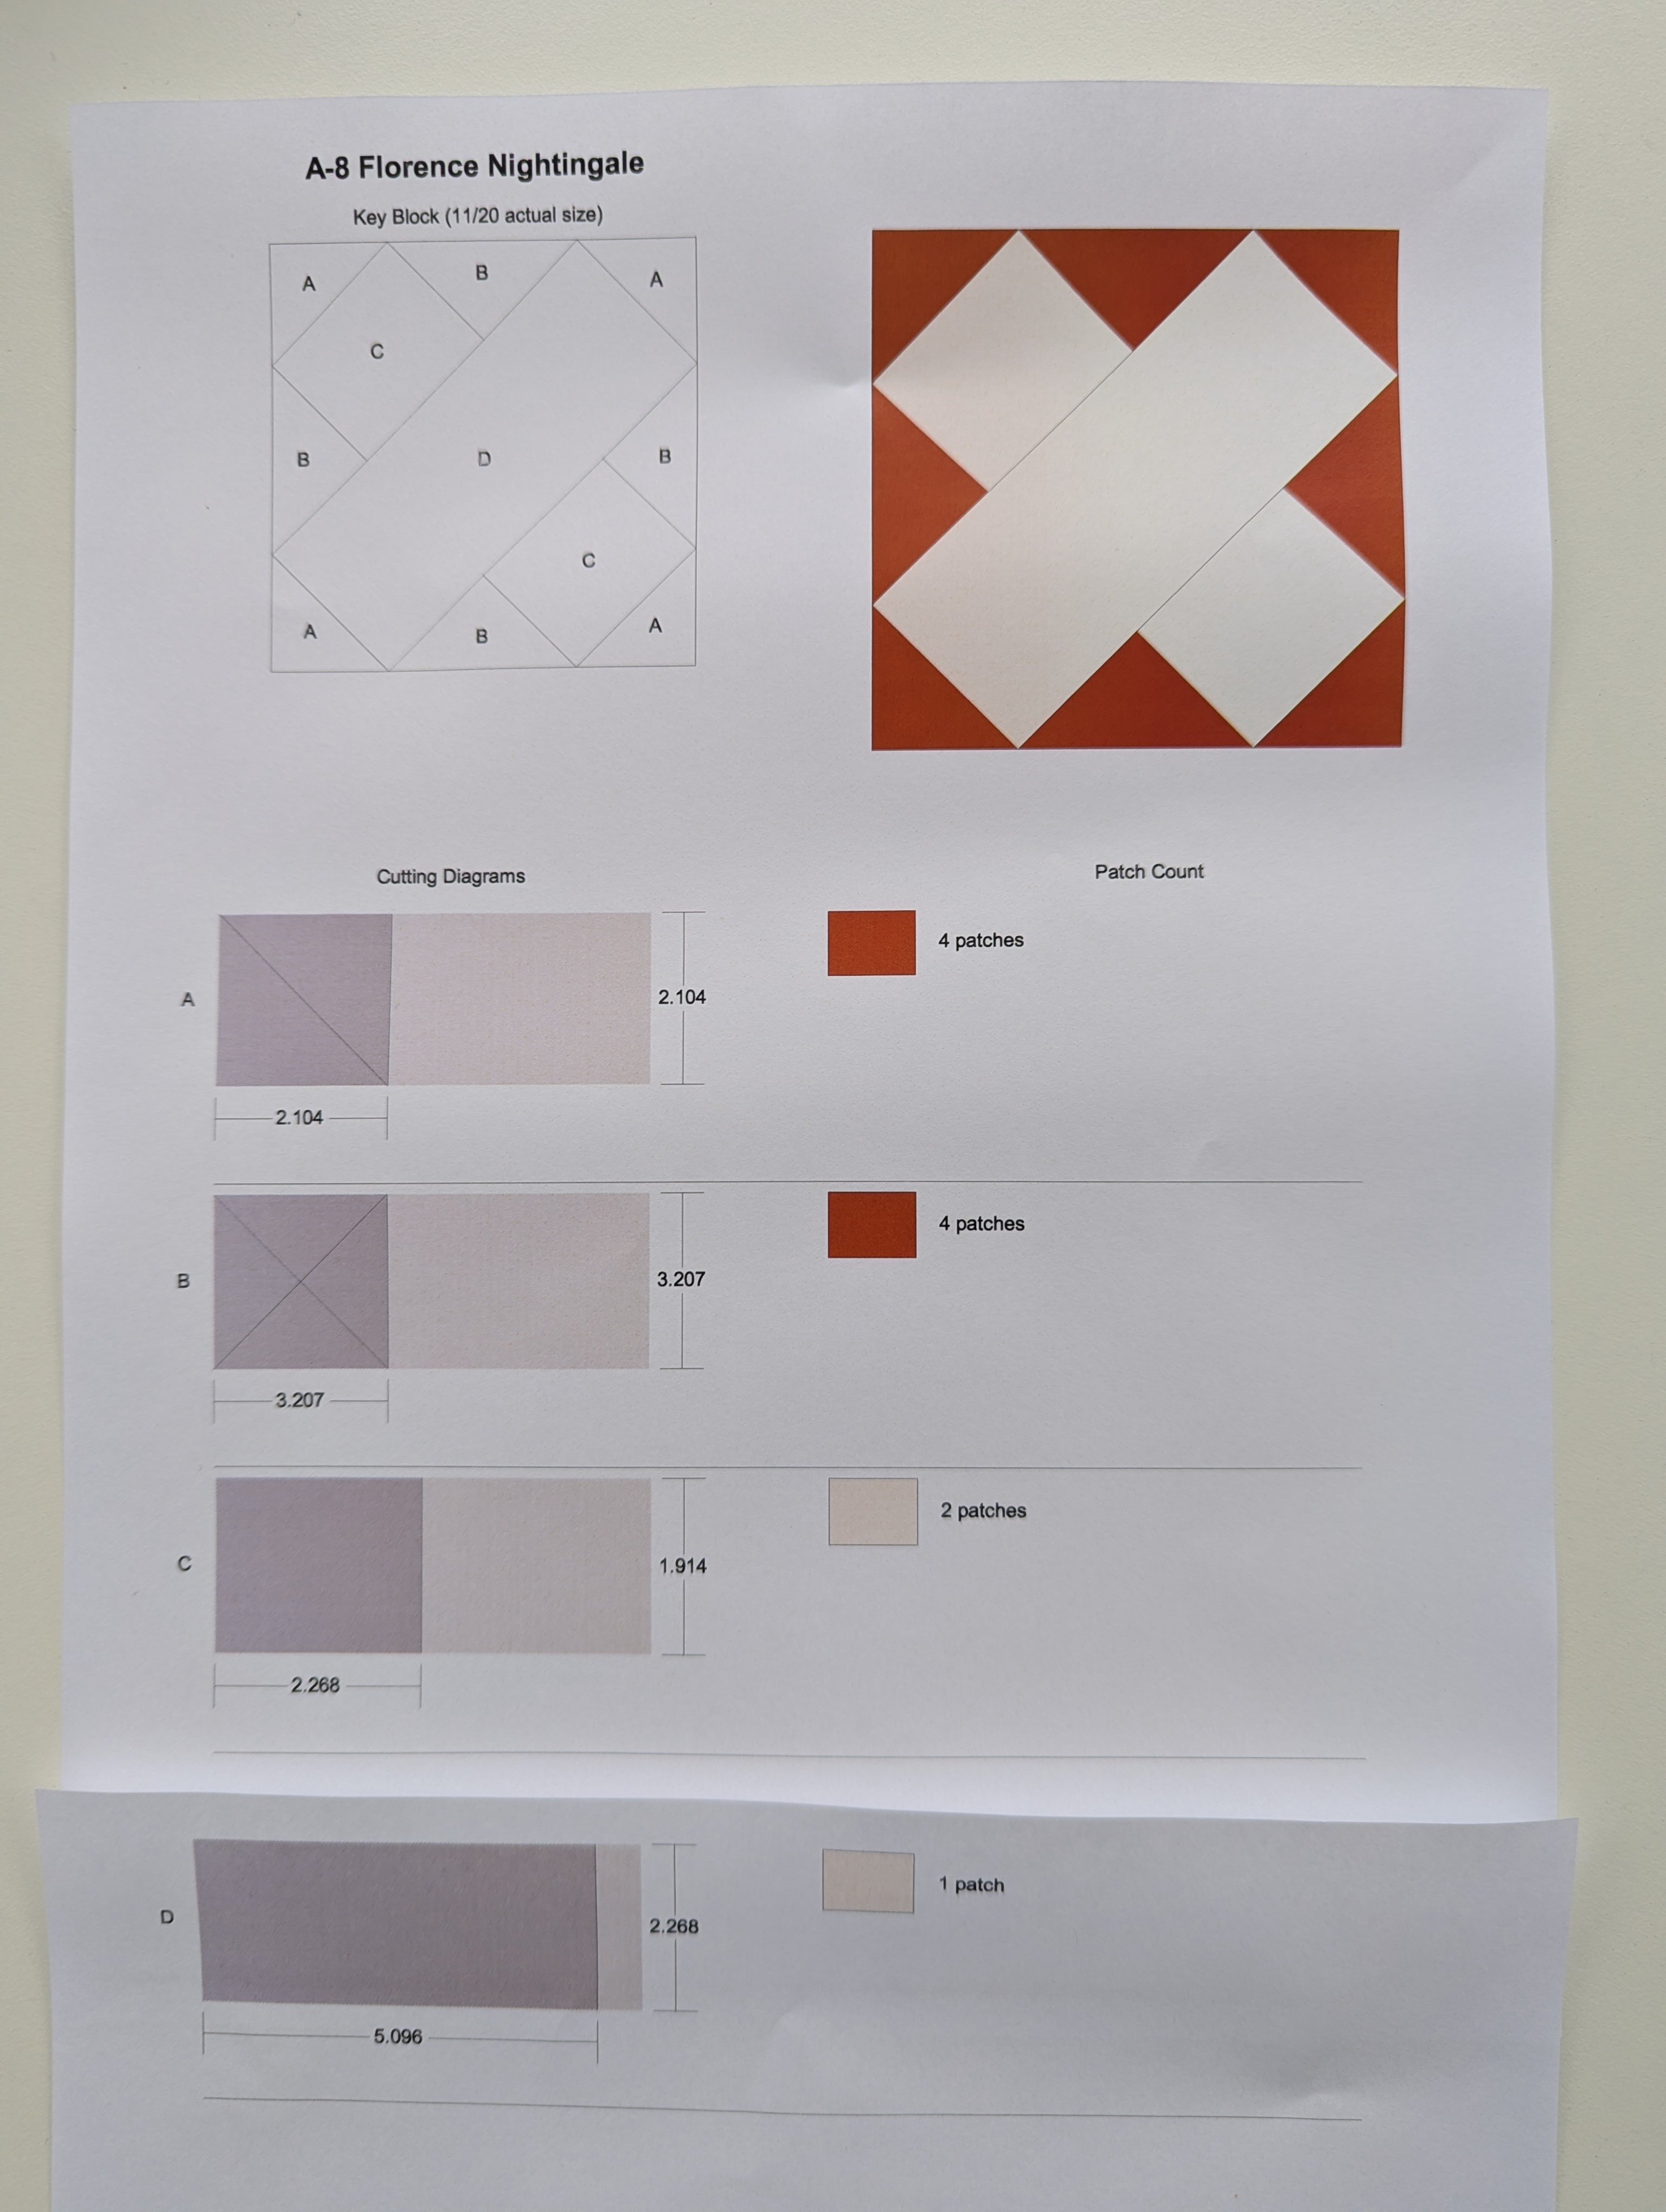
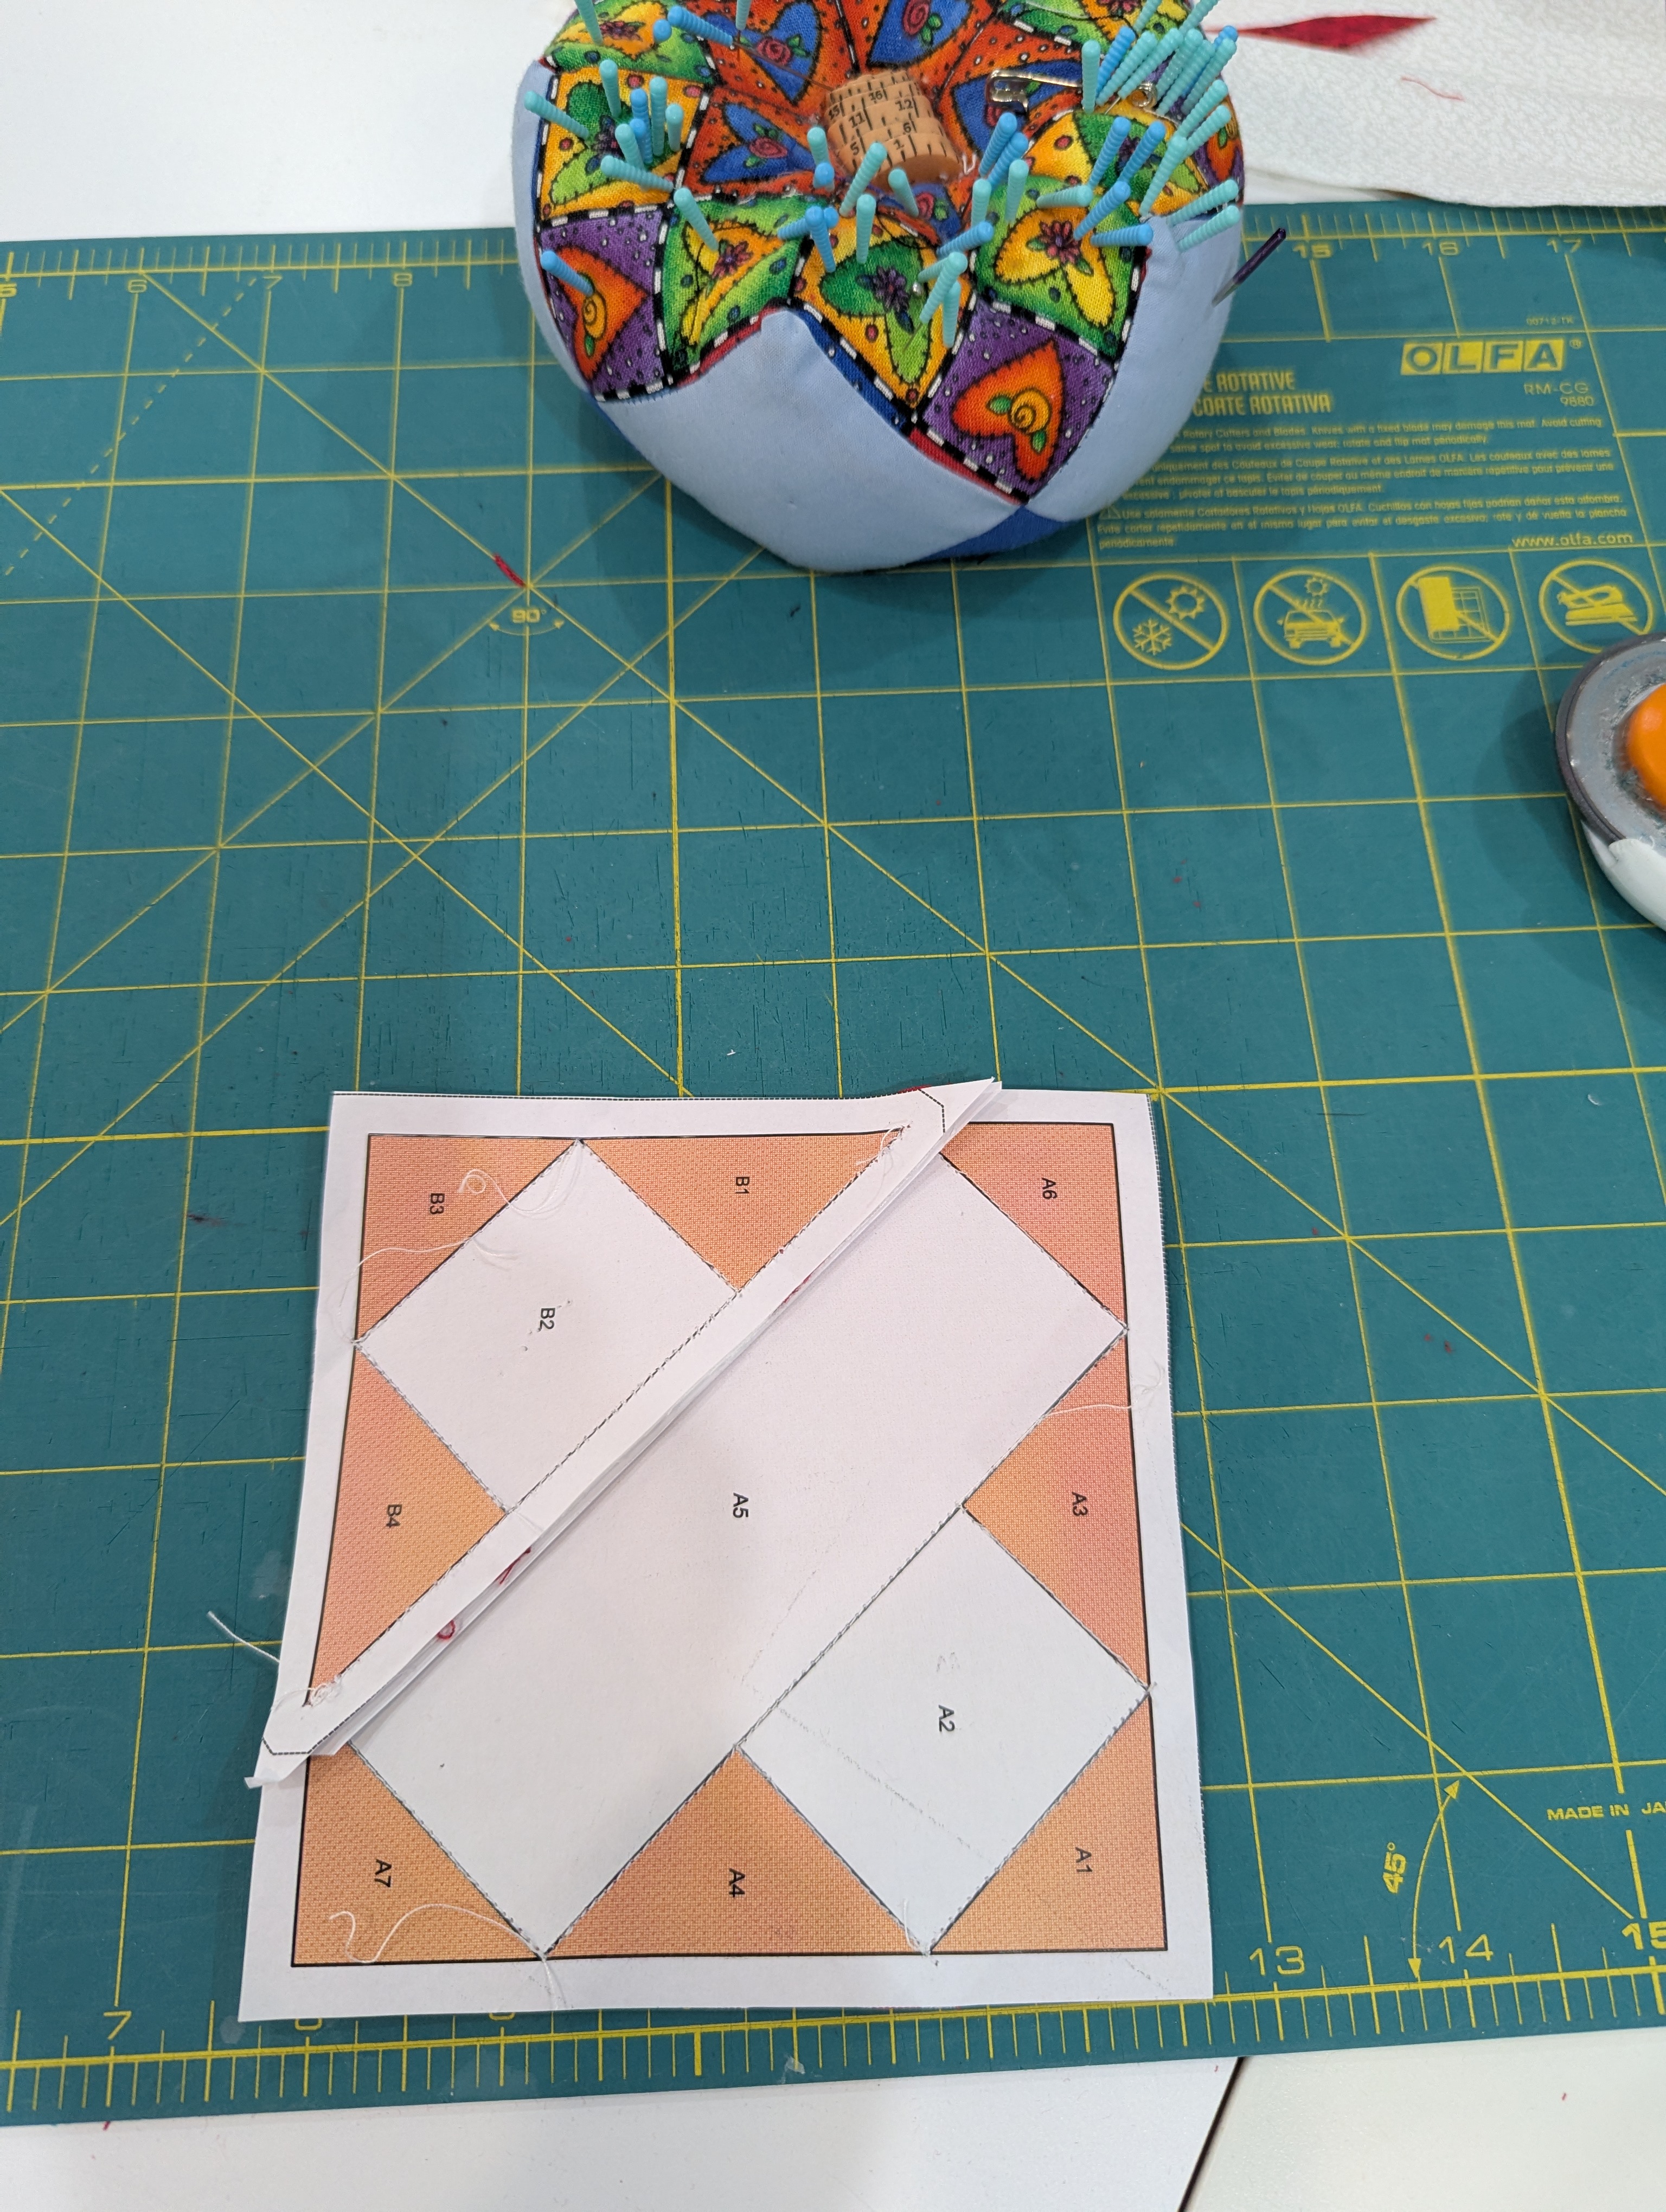
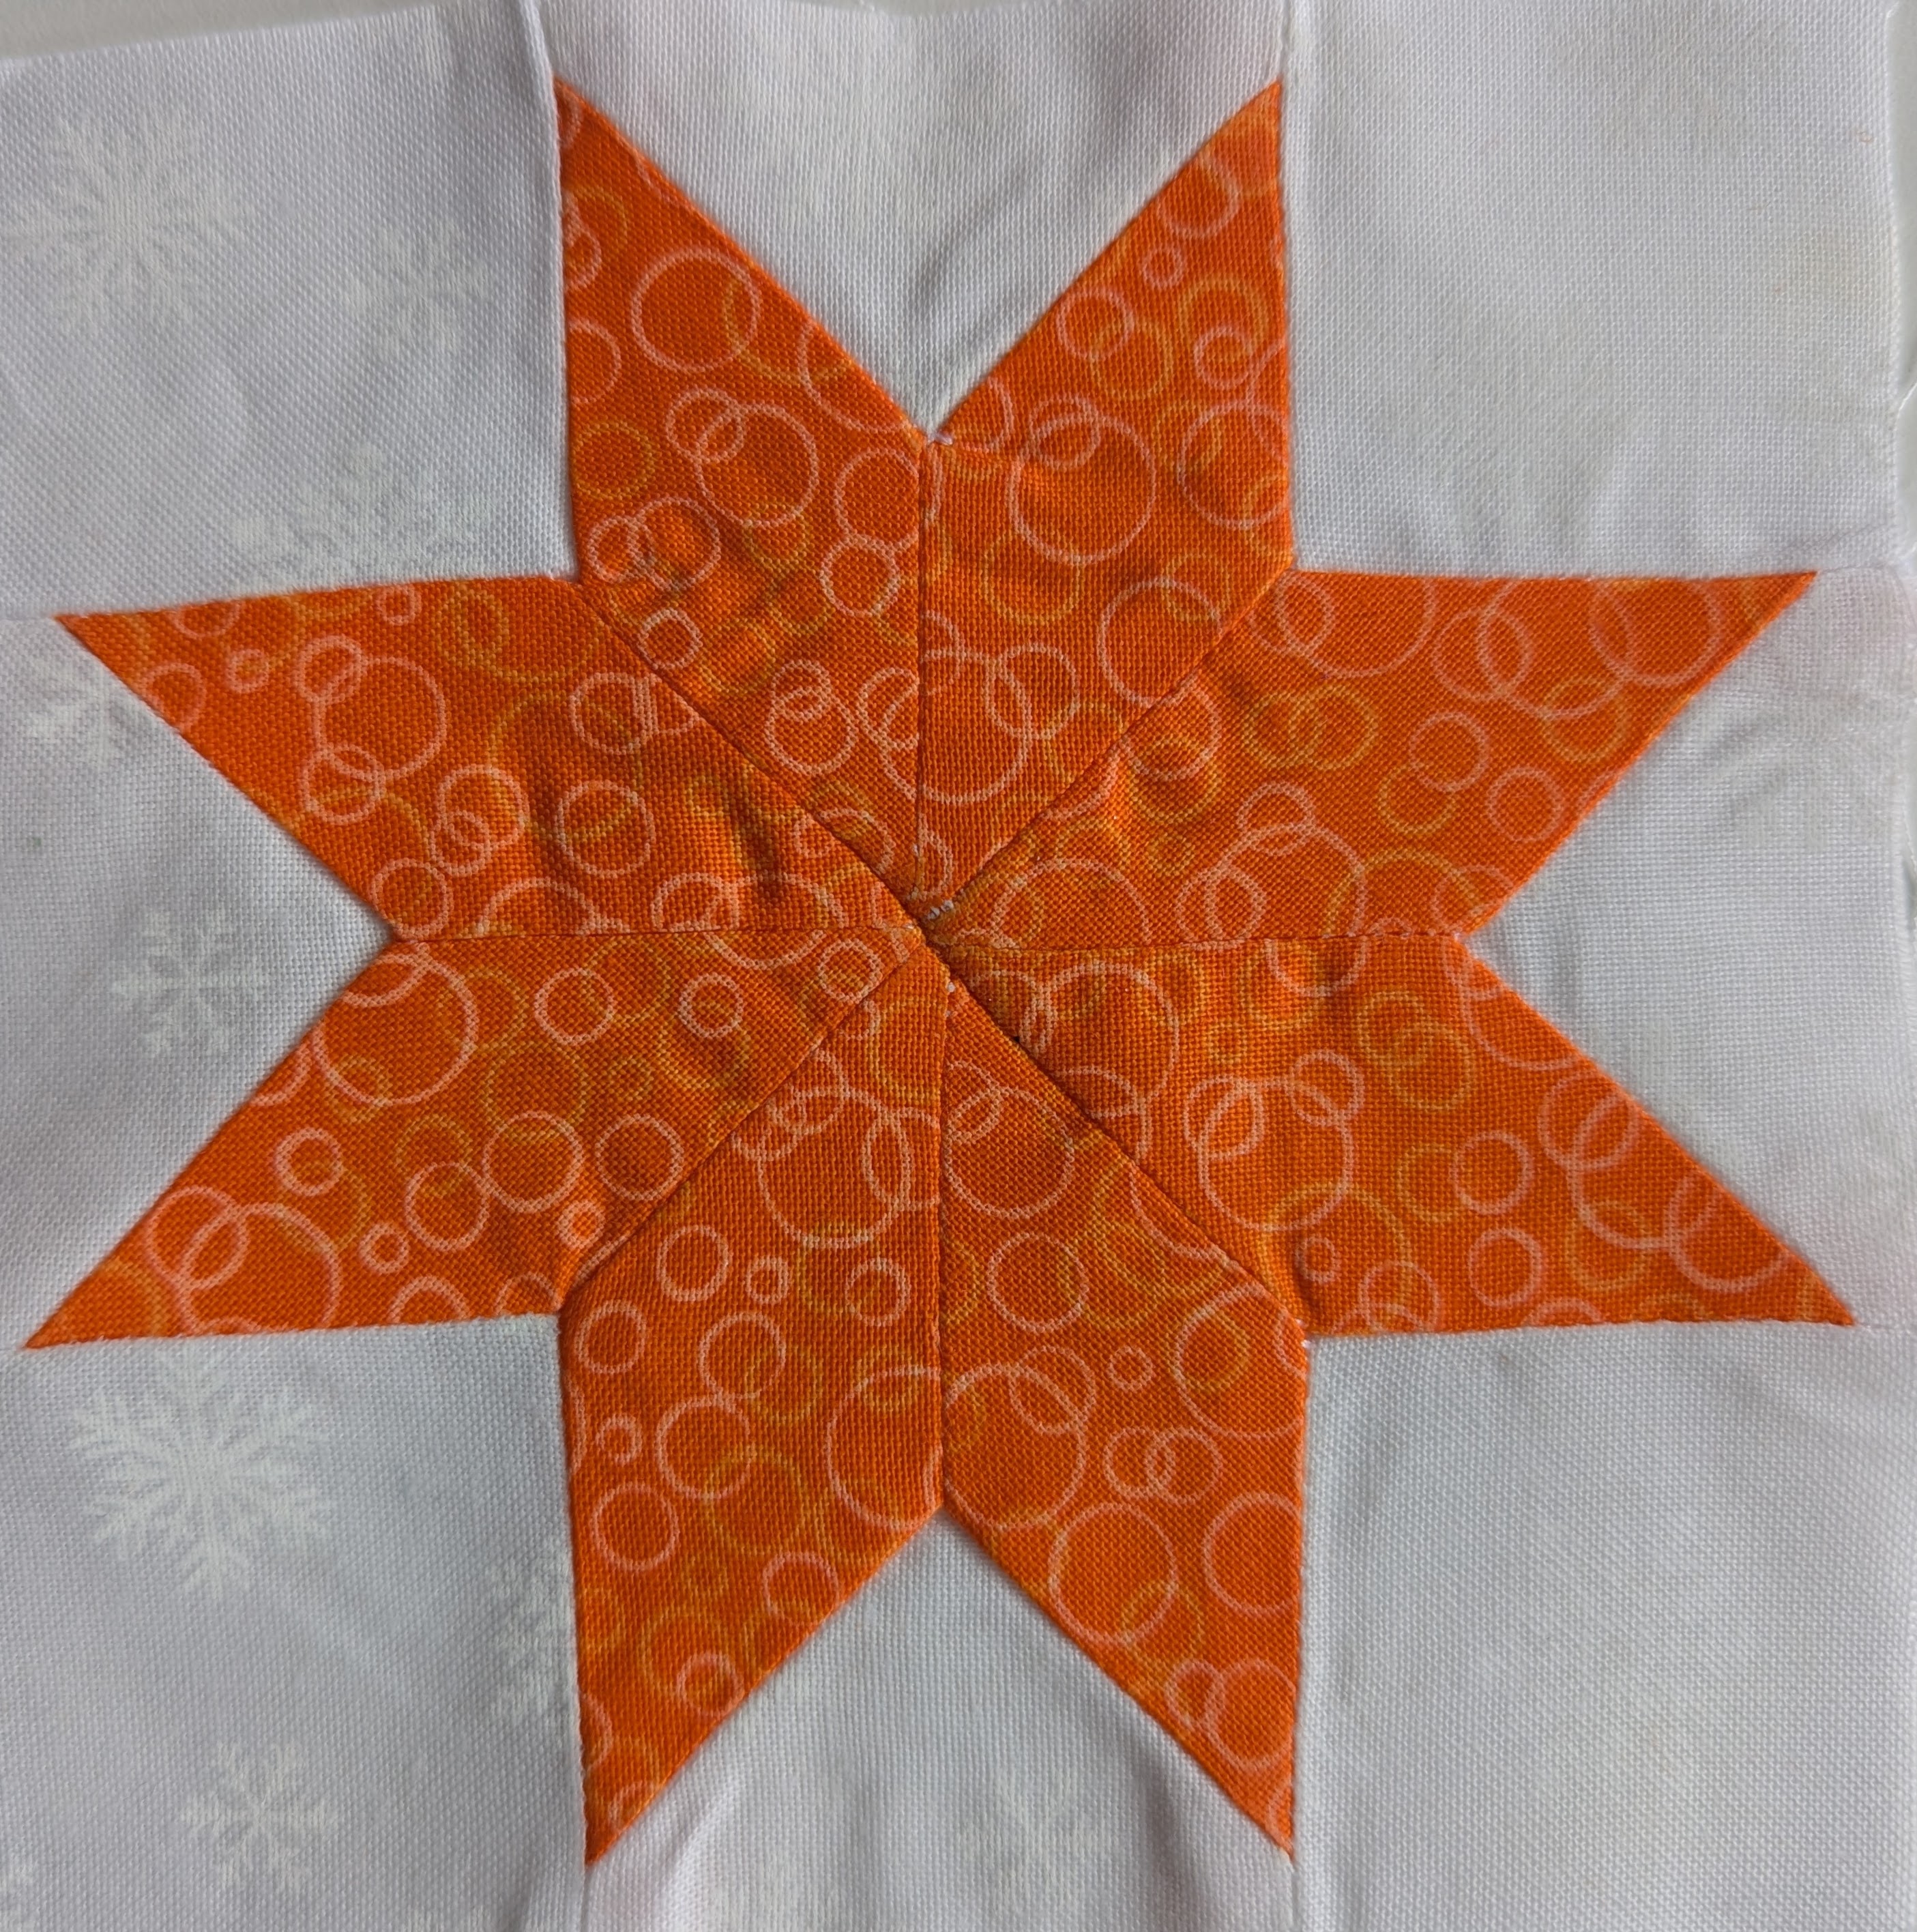
- I pressed the star seams “open”, so that I had a clean corner into which I could set the white triangles and squares.
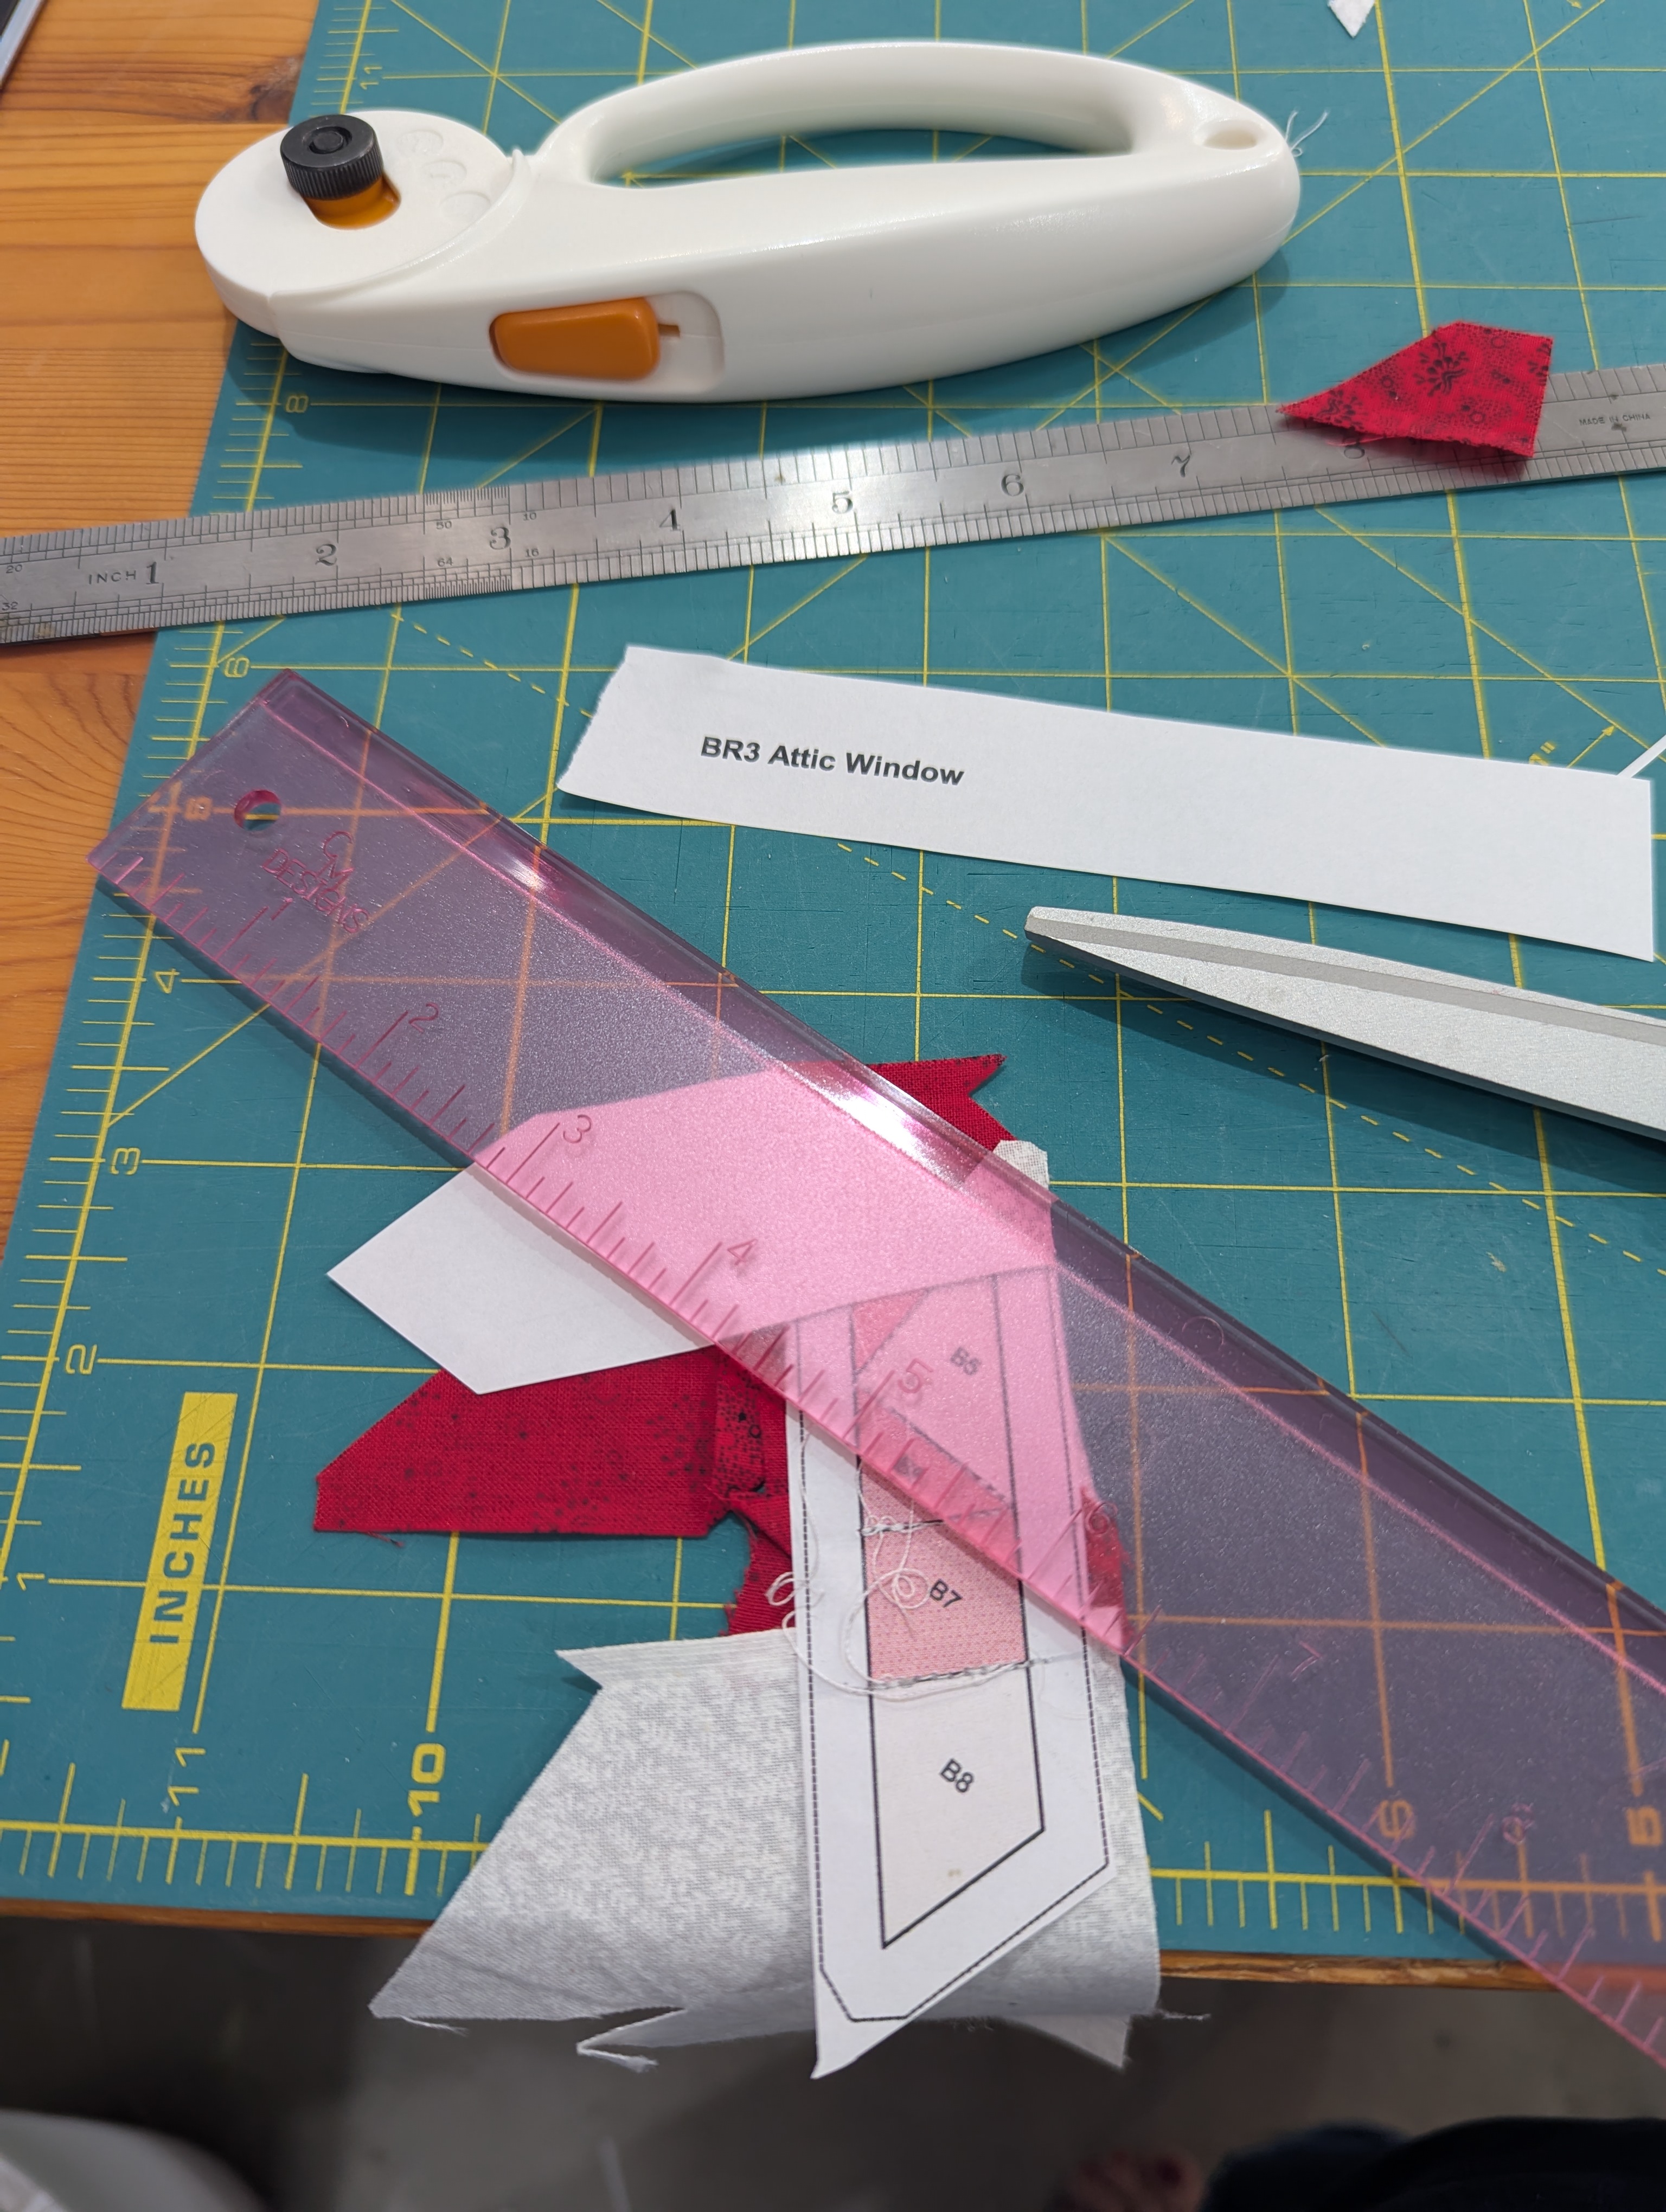
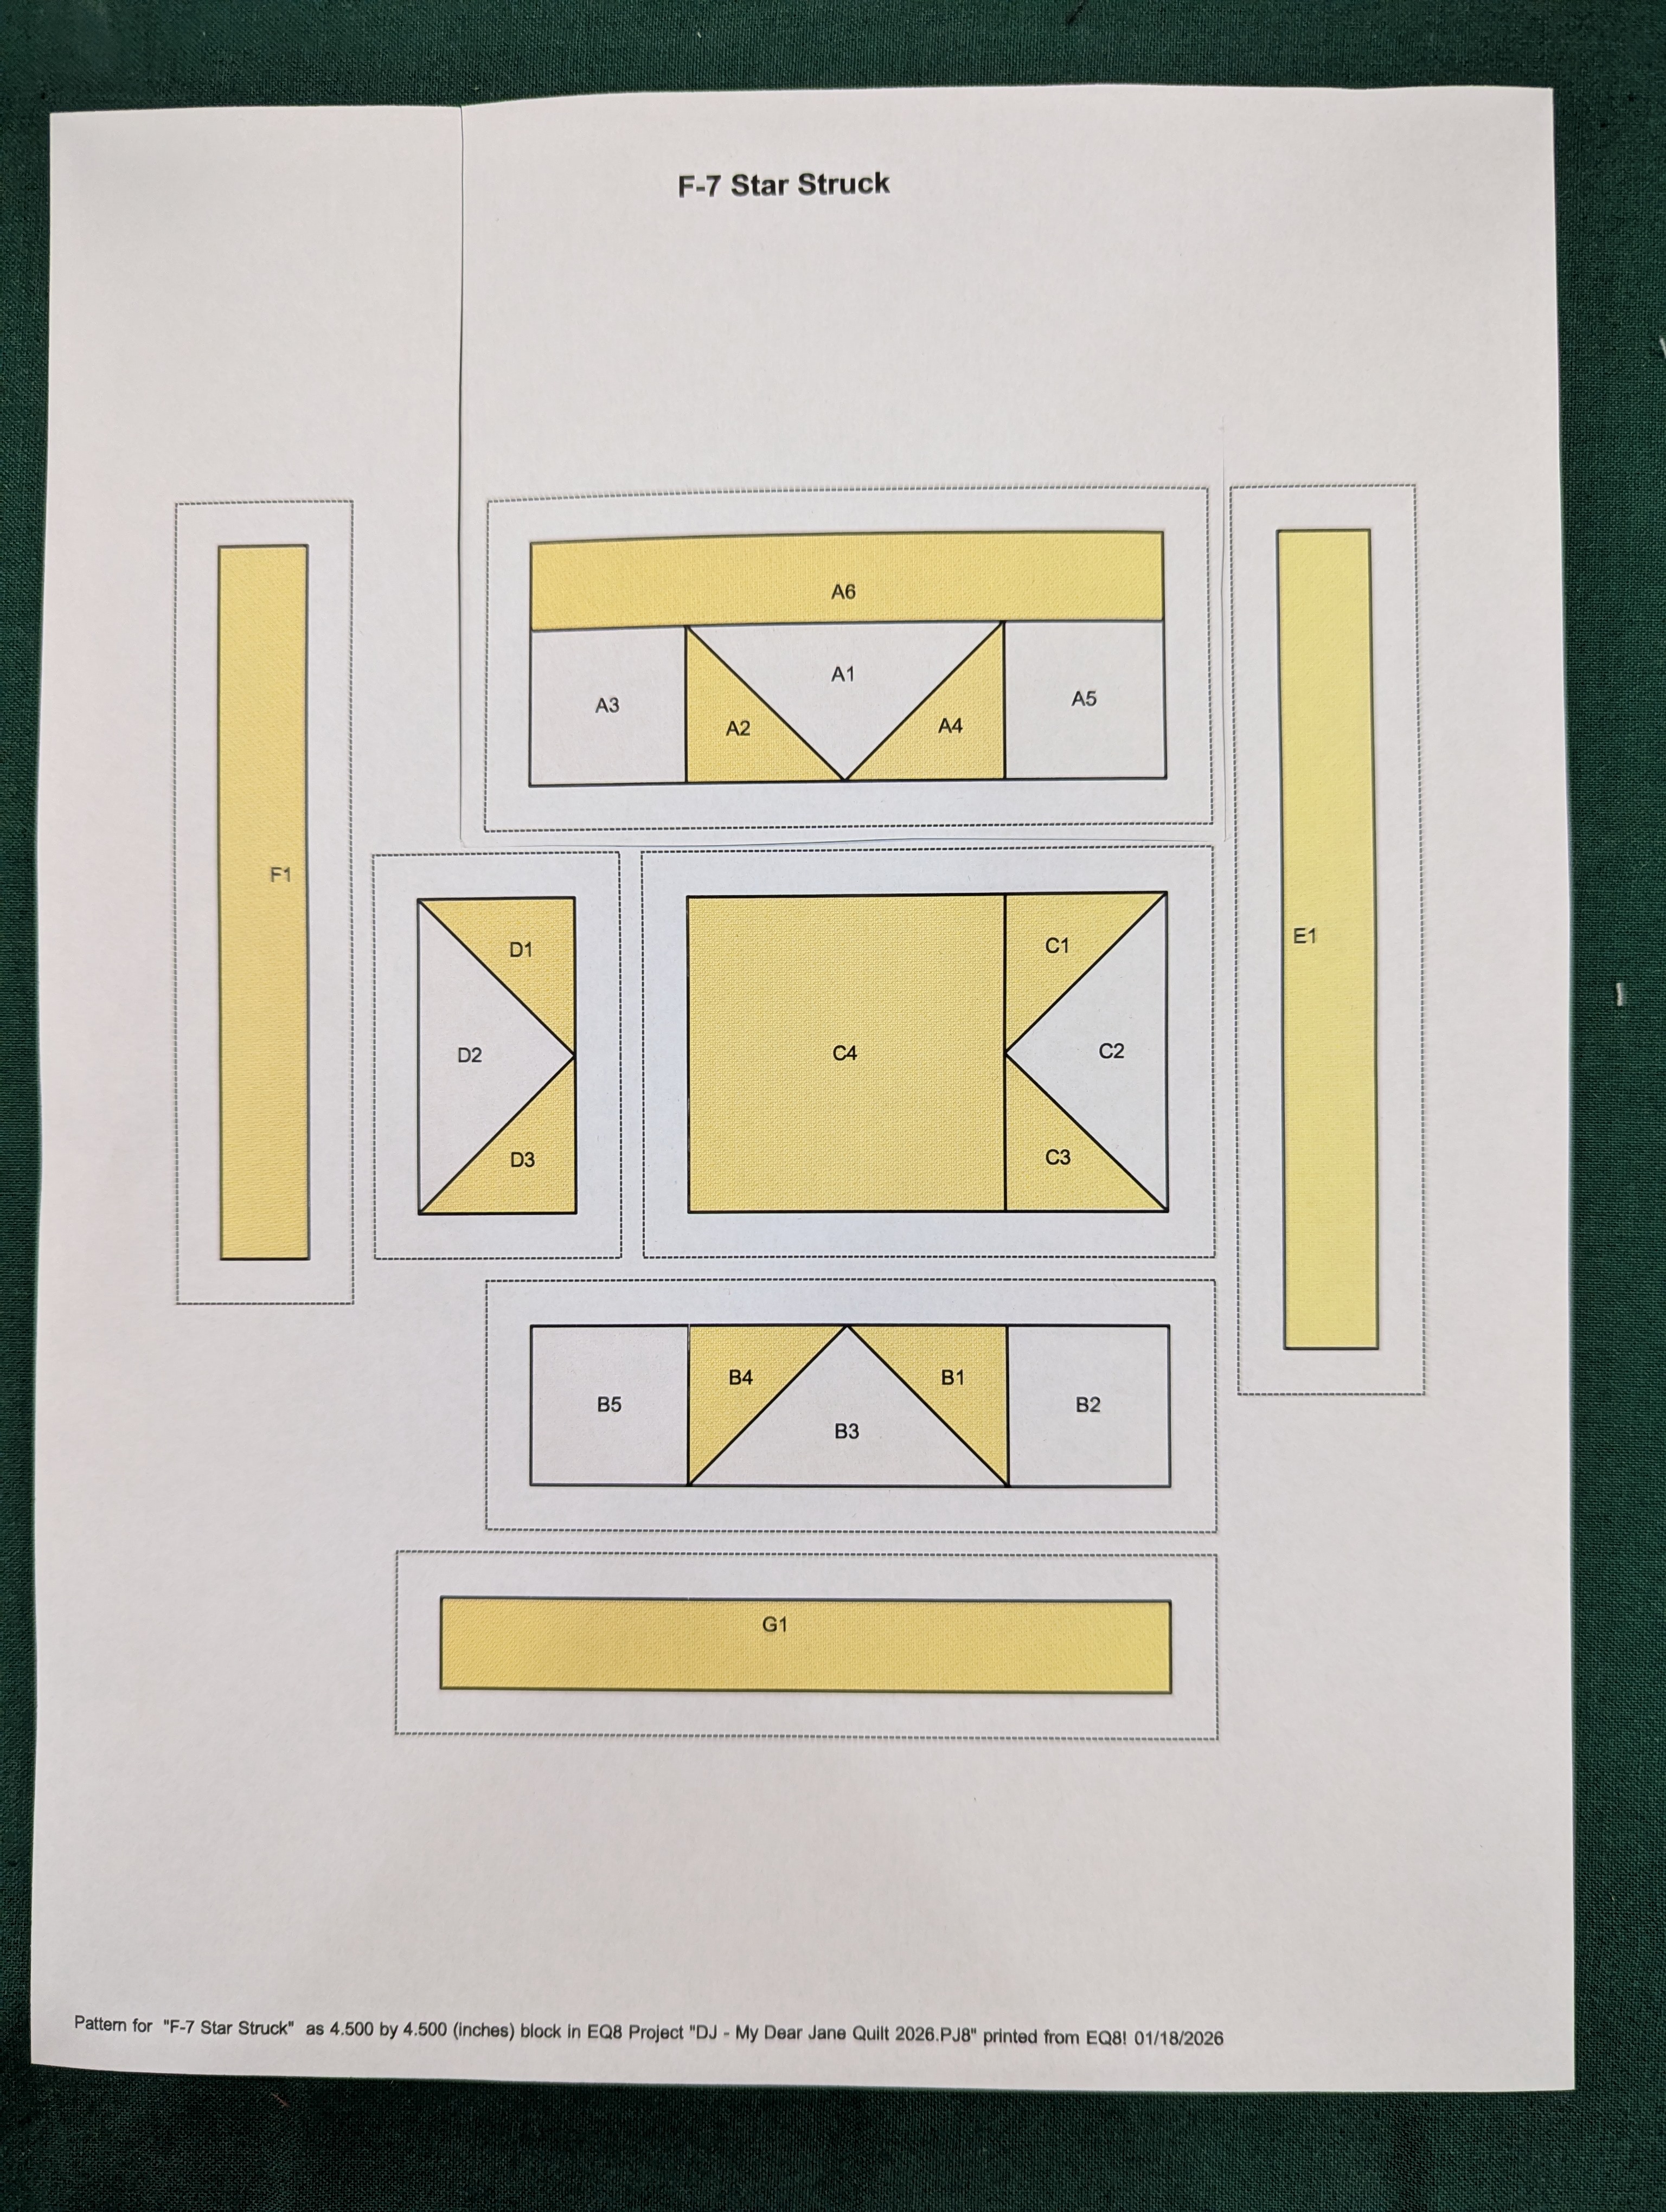
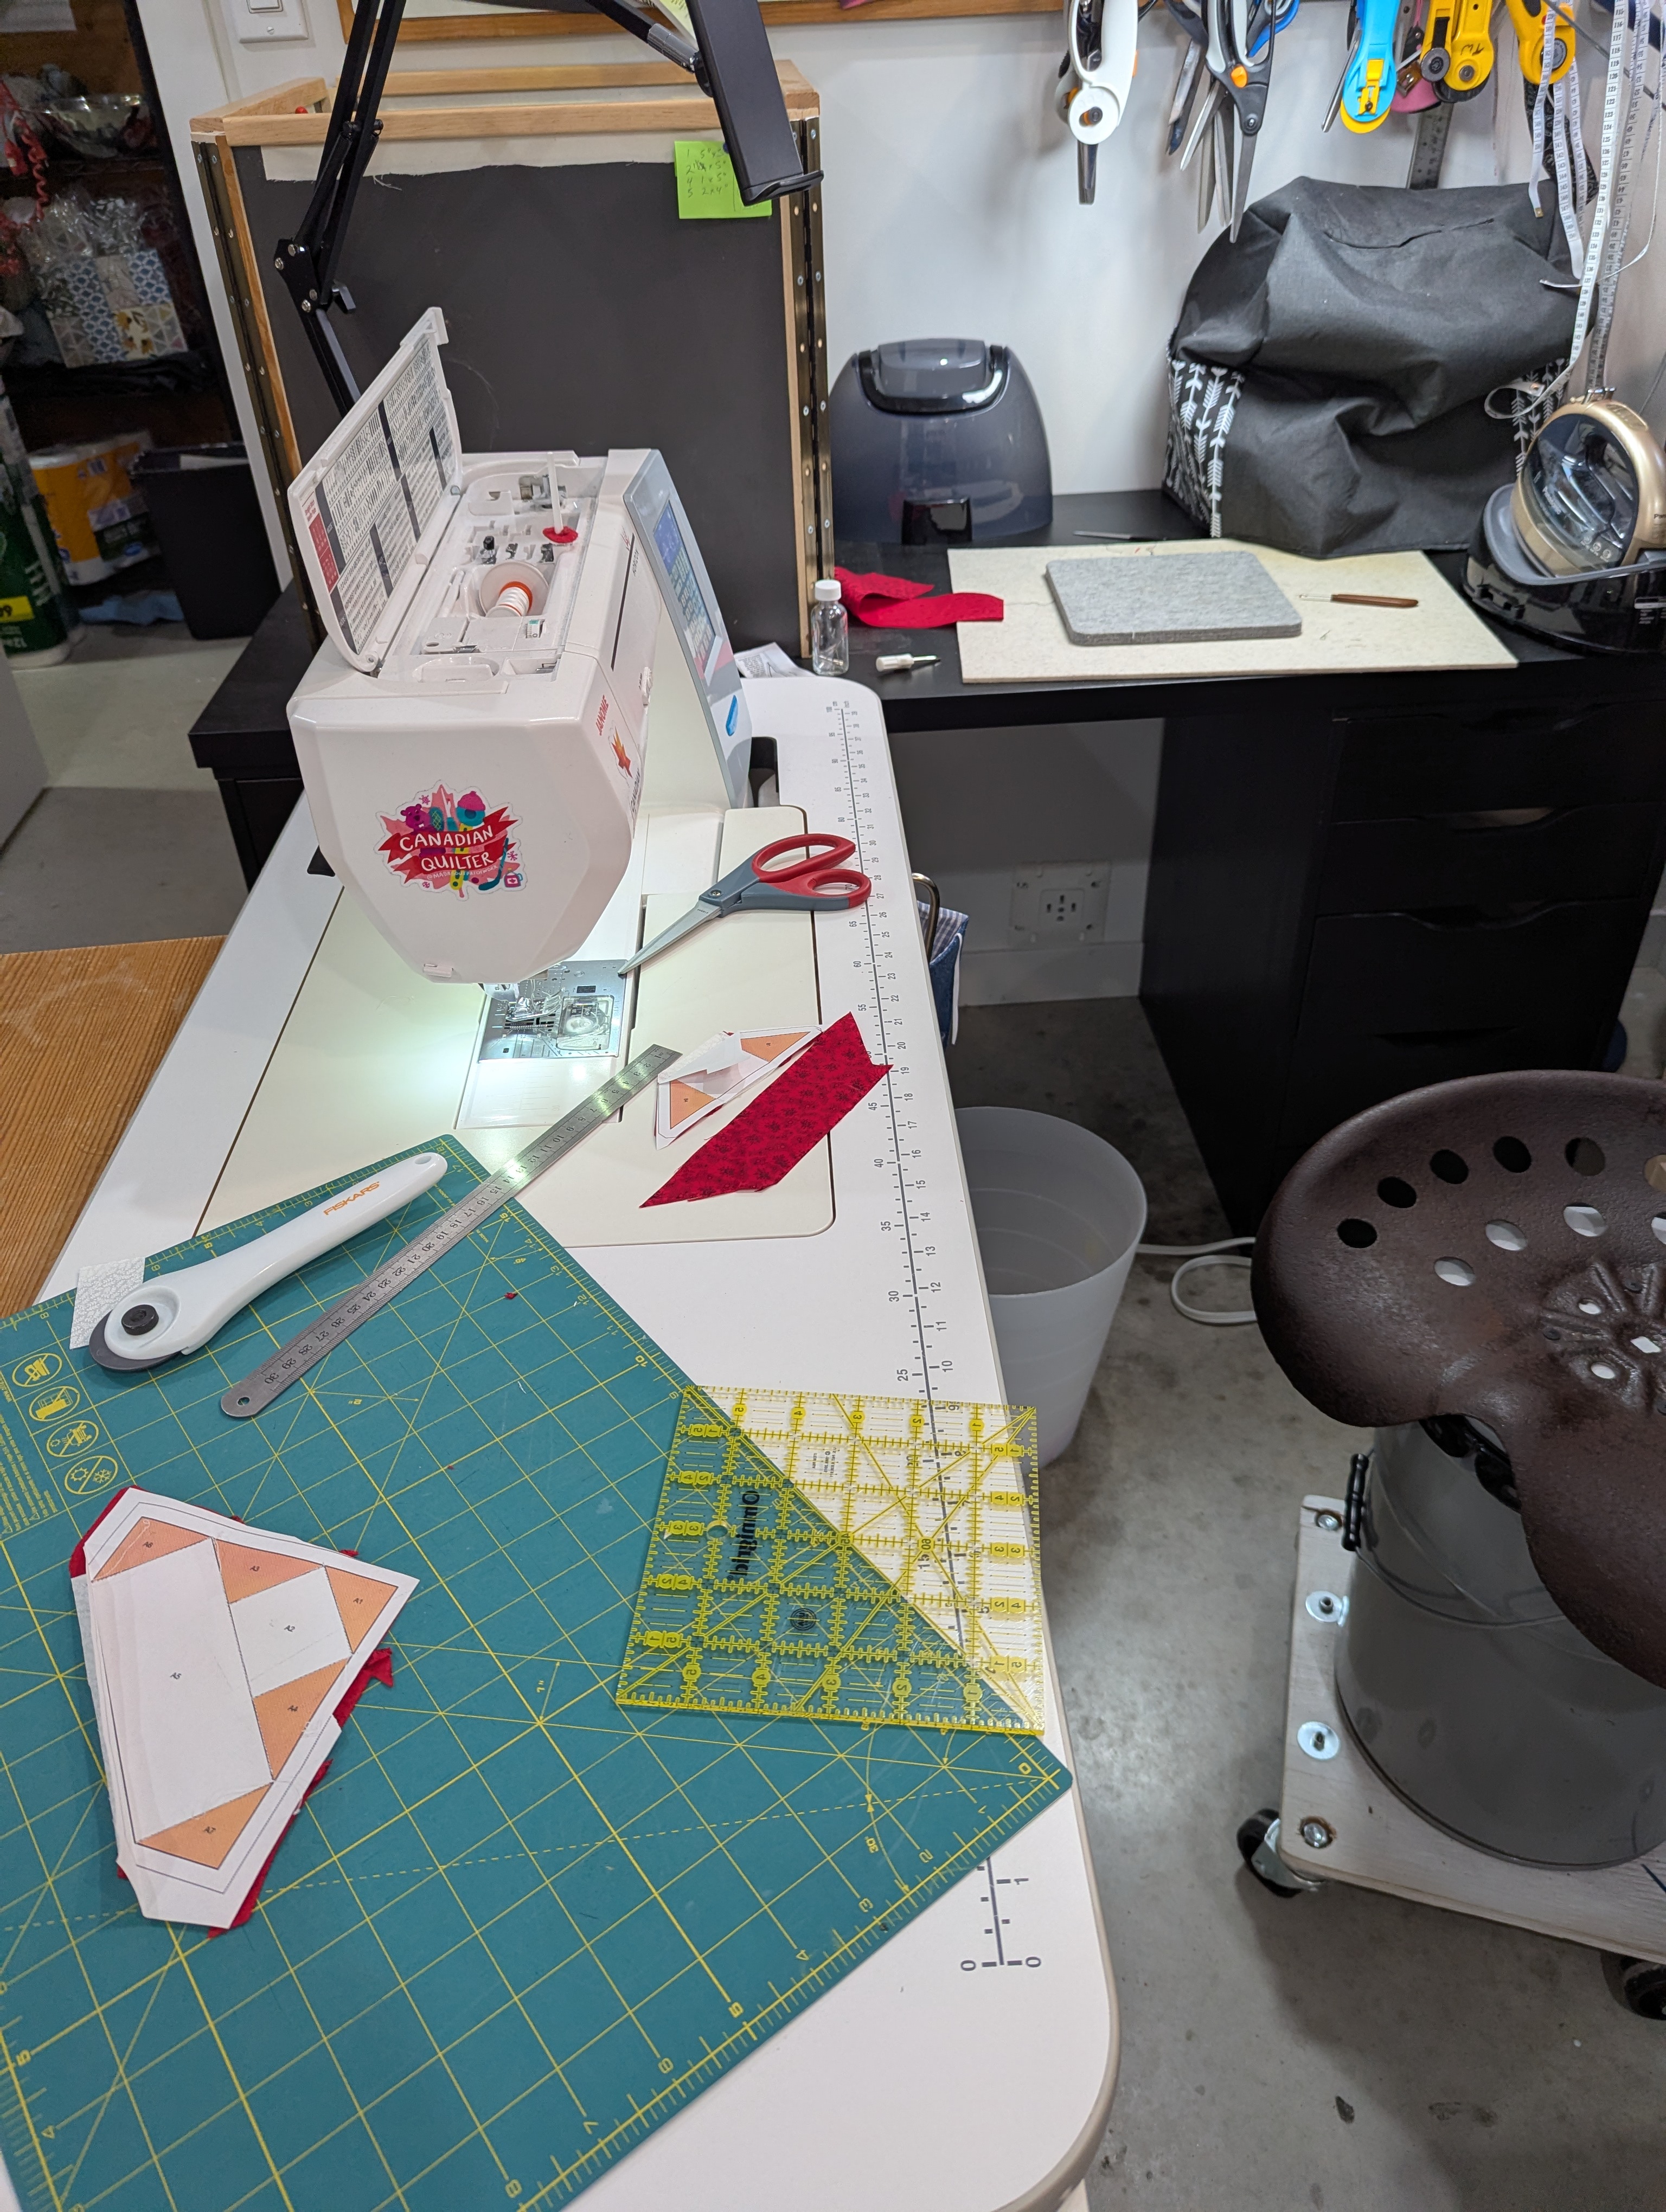
- I made a conversion chart for all the measurements from 1/16″ to 15/16″, so that I could estimate the cutting size when using my rotary cutter and ruler.
- I pressed the all the perimeter triangles and squares towards the “dark” star, so there is only a tiny bit at the end of the point where the orange might shadow through the white.
Challenges:
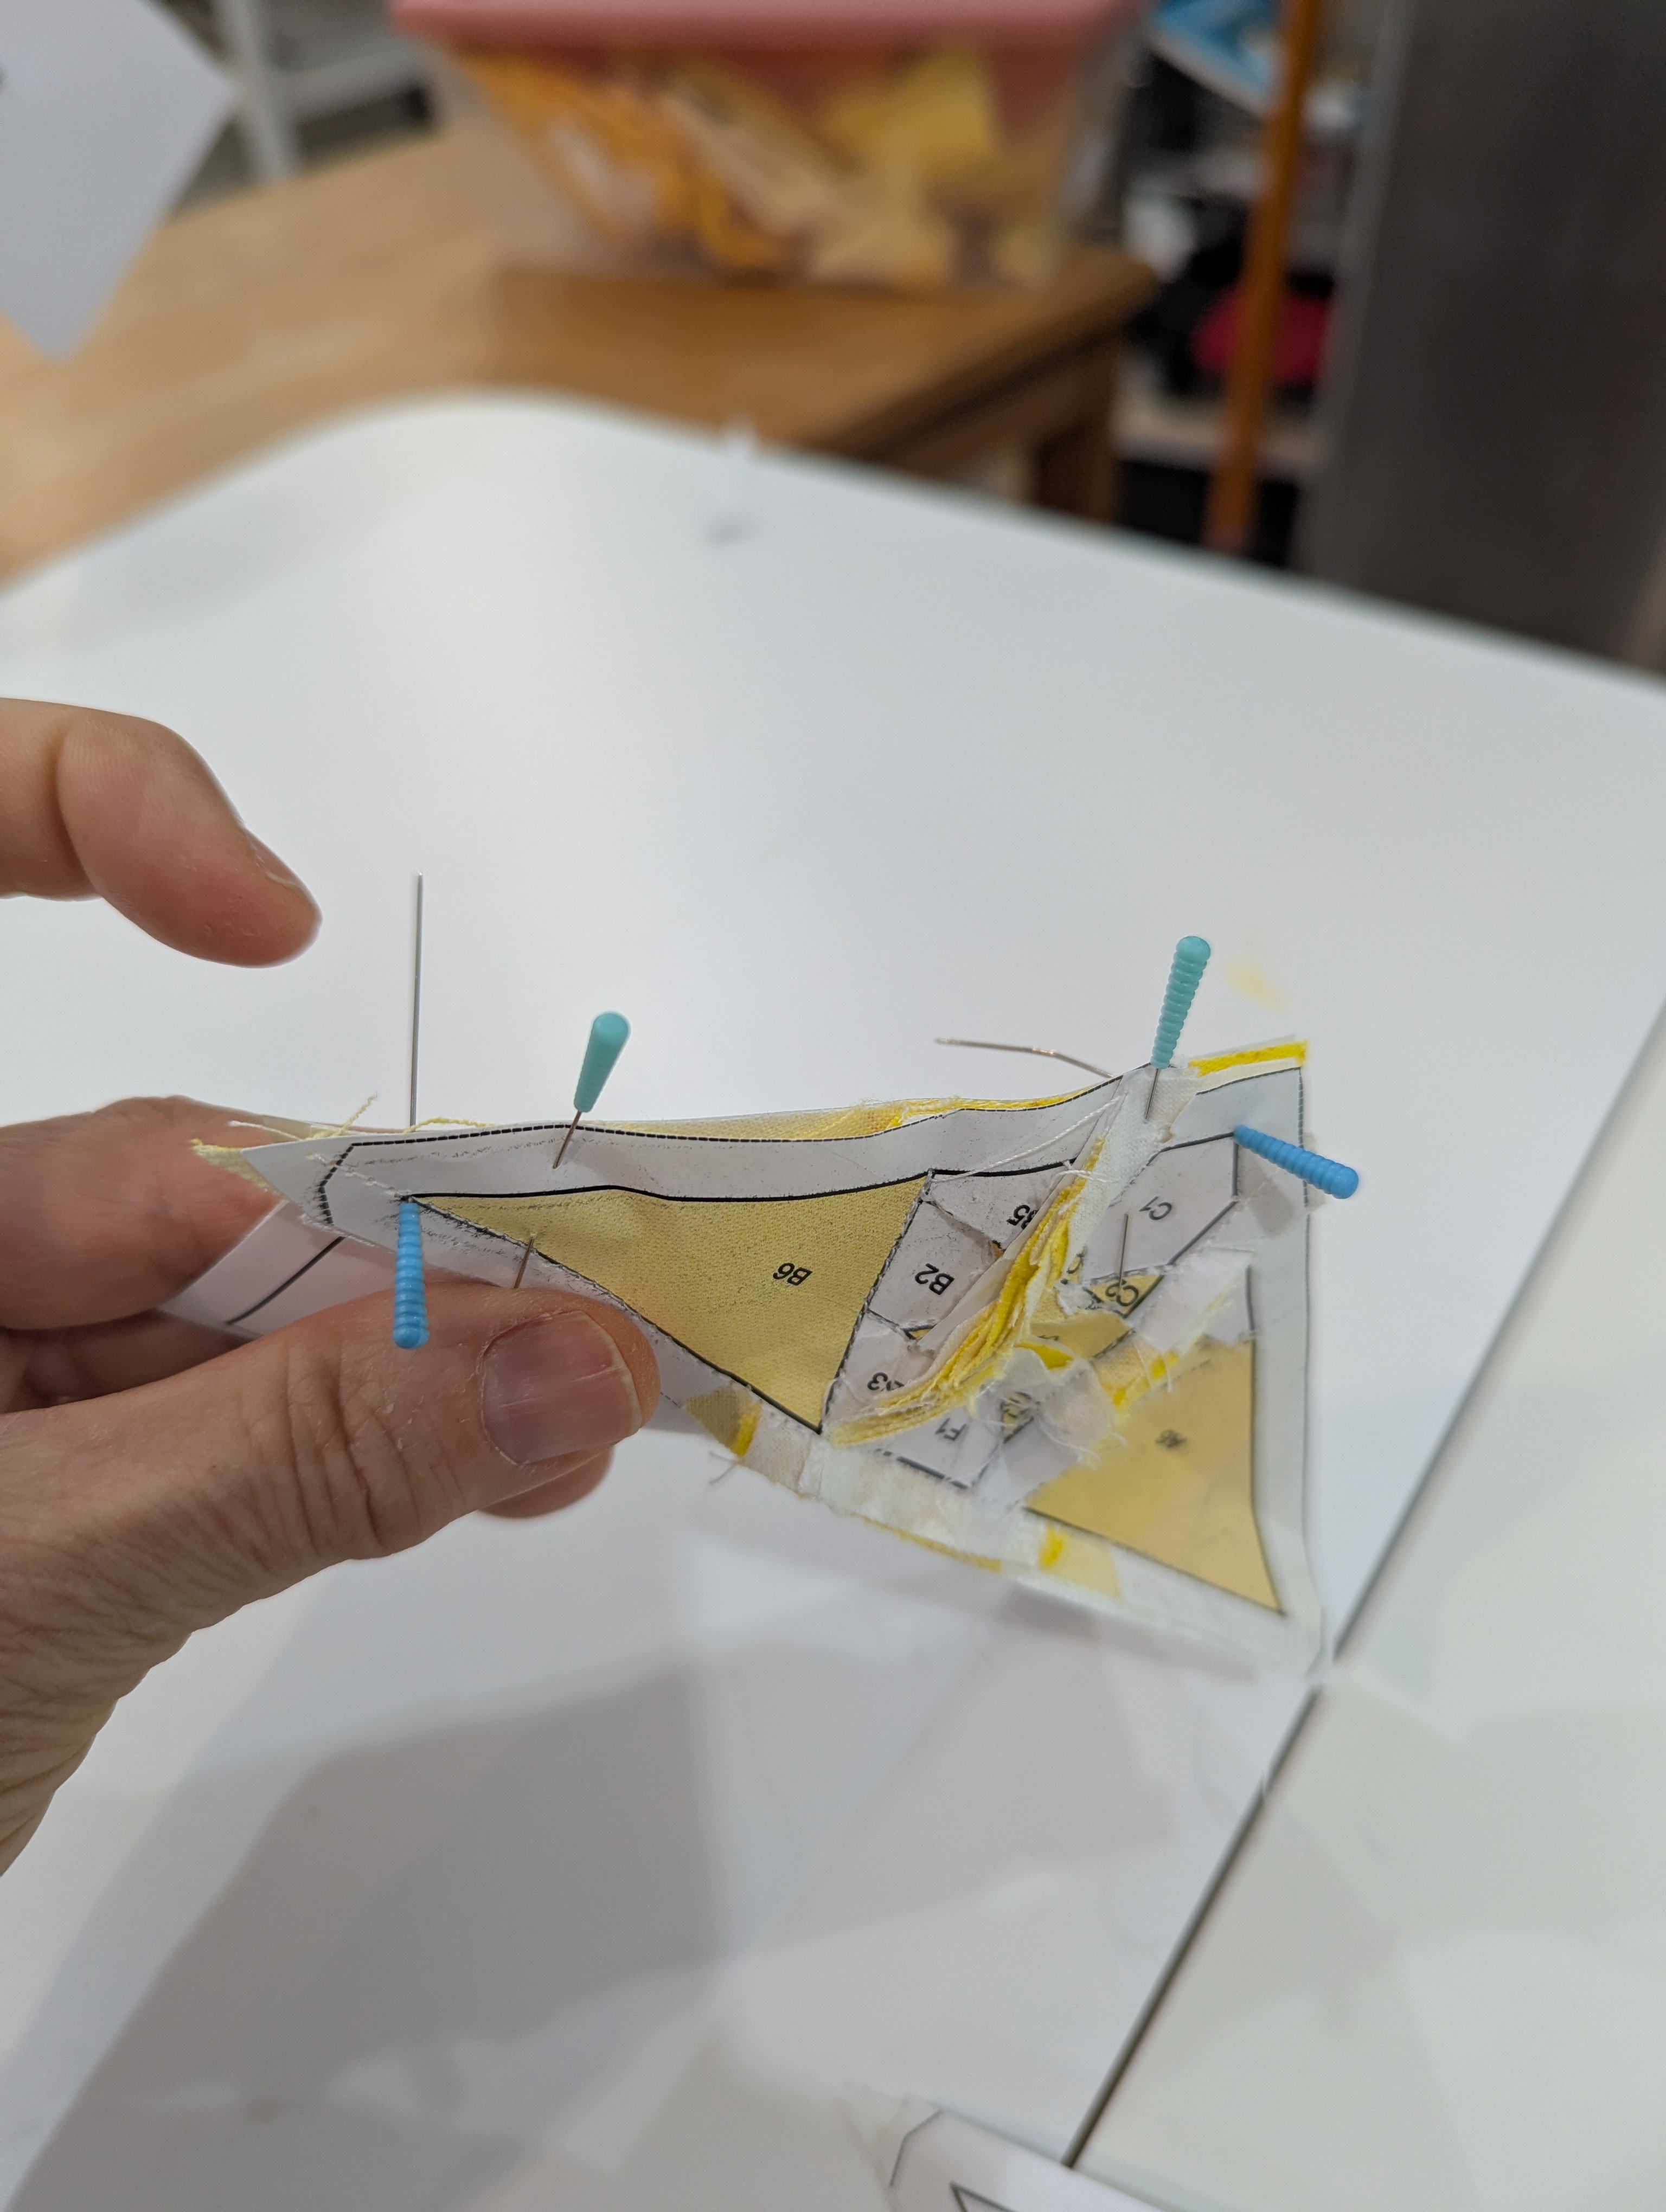
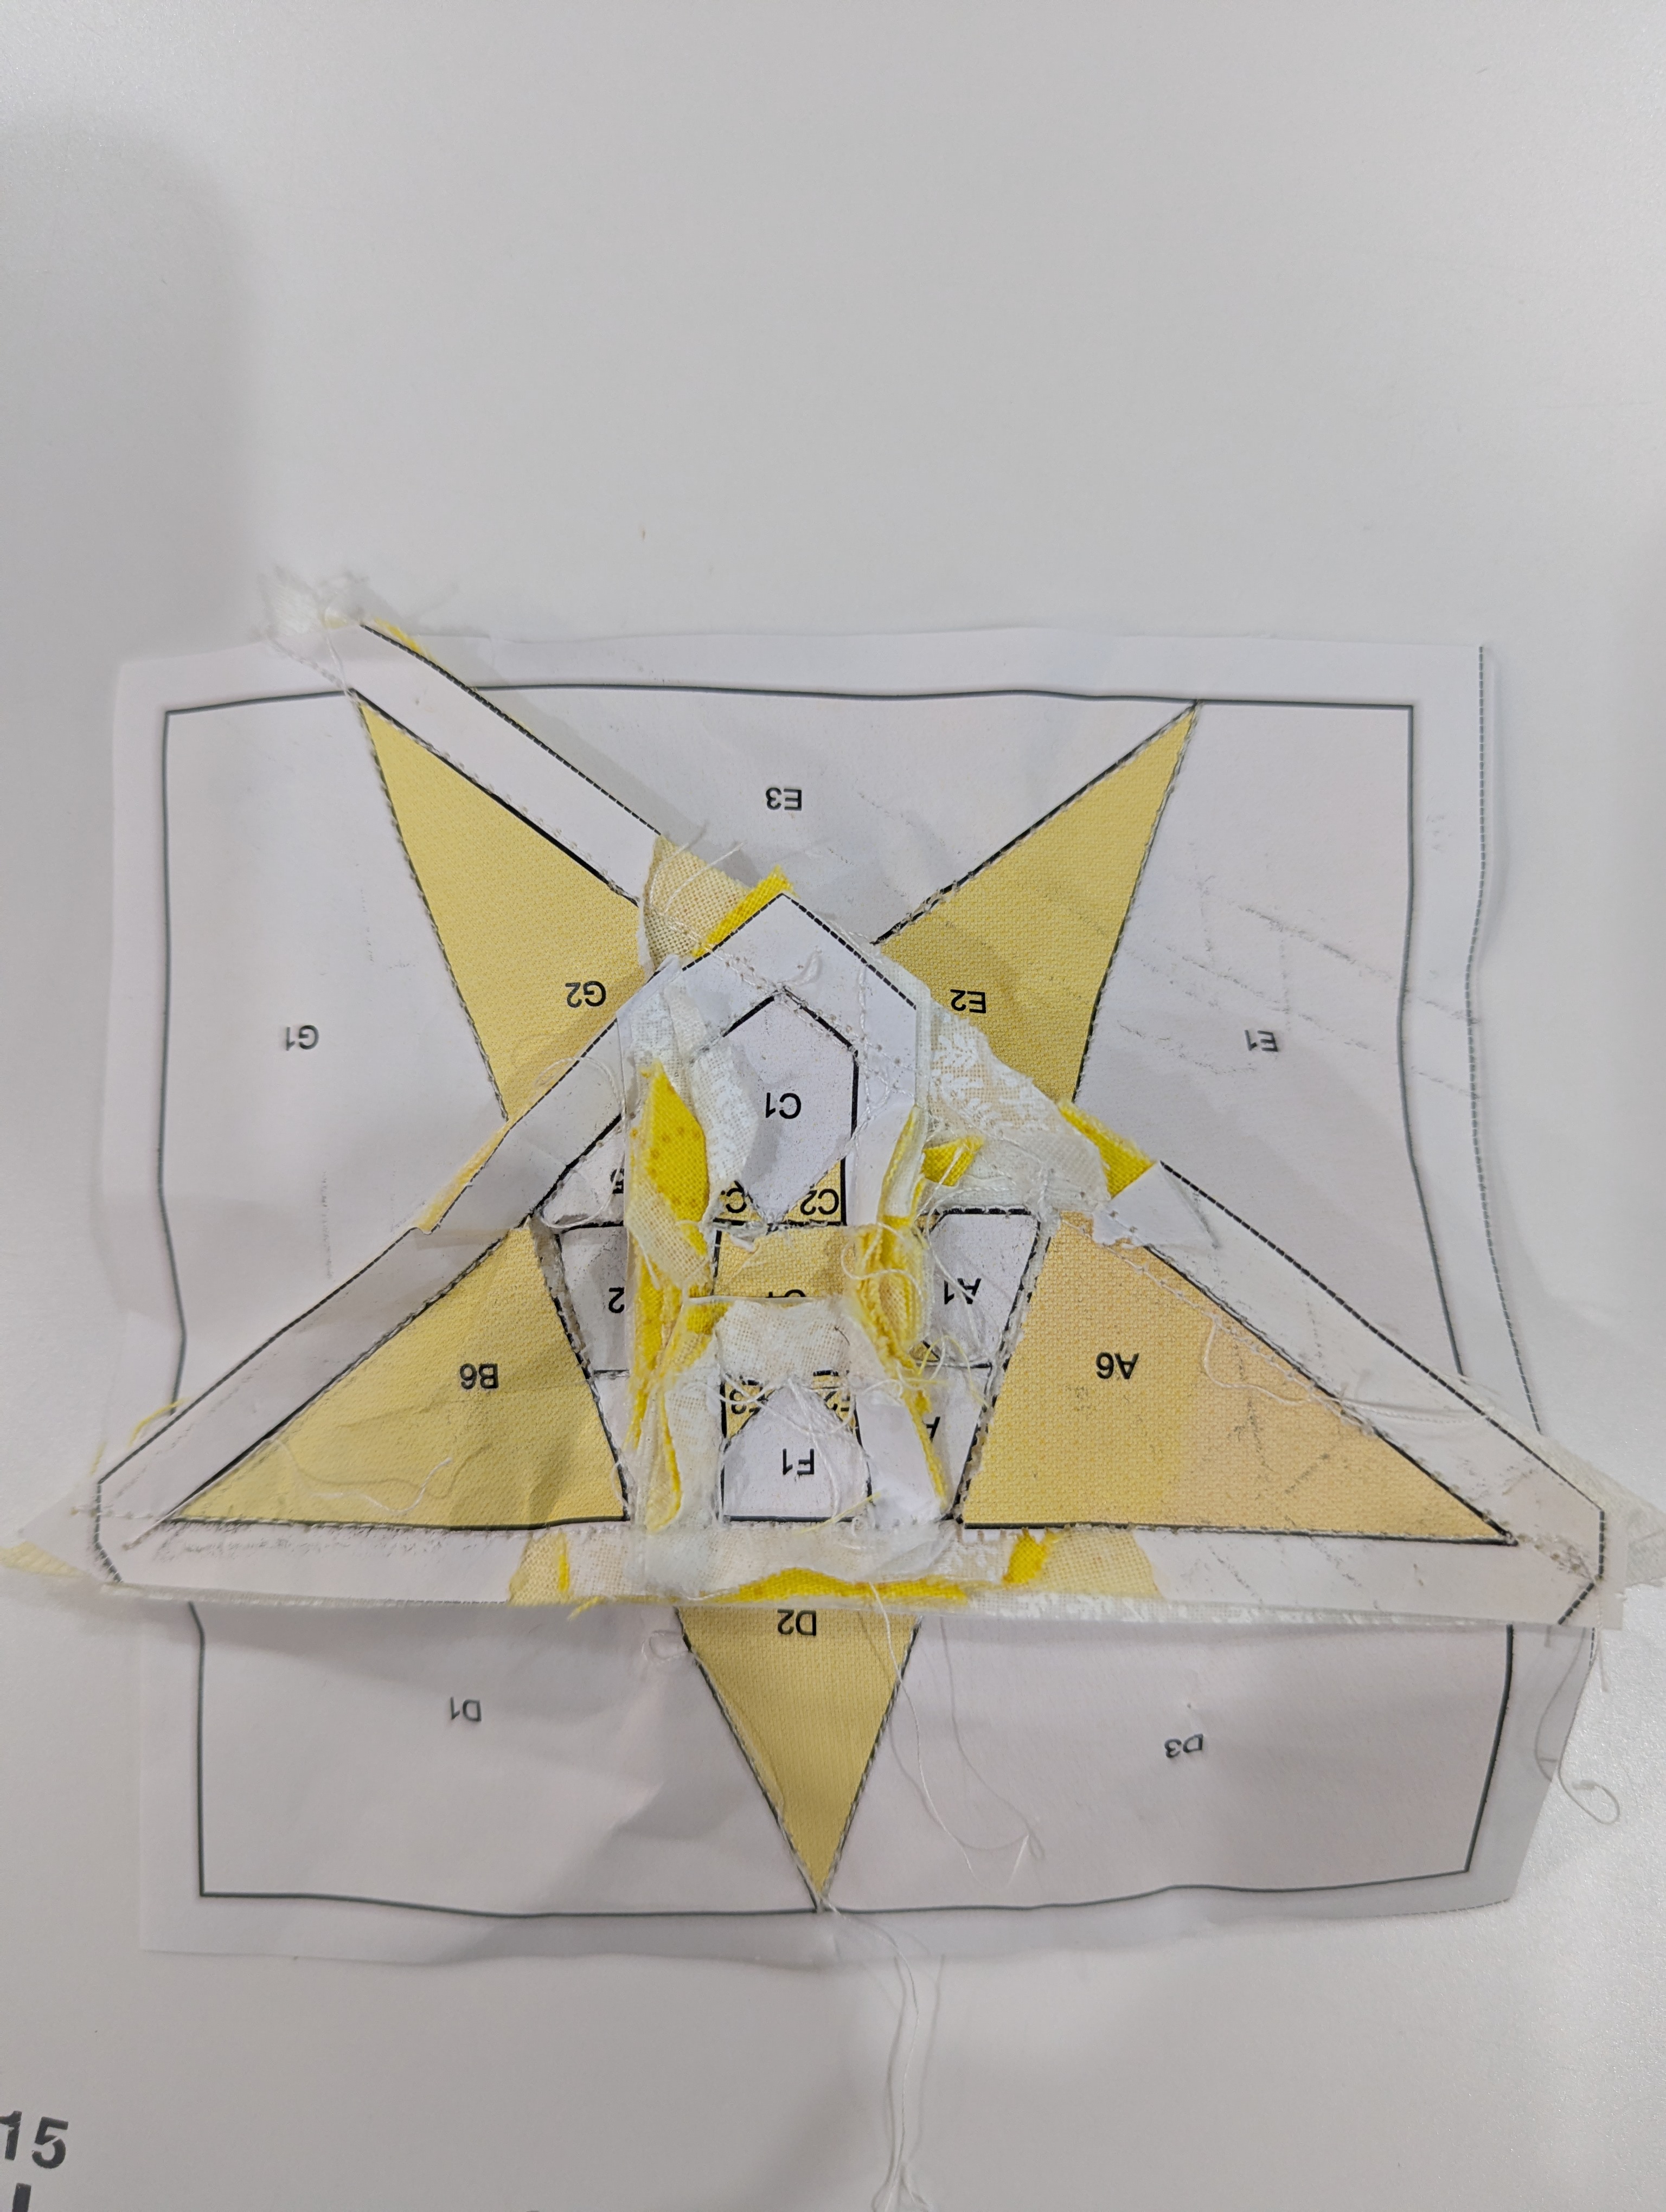
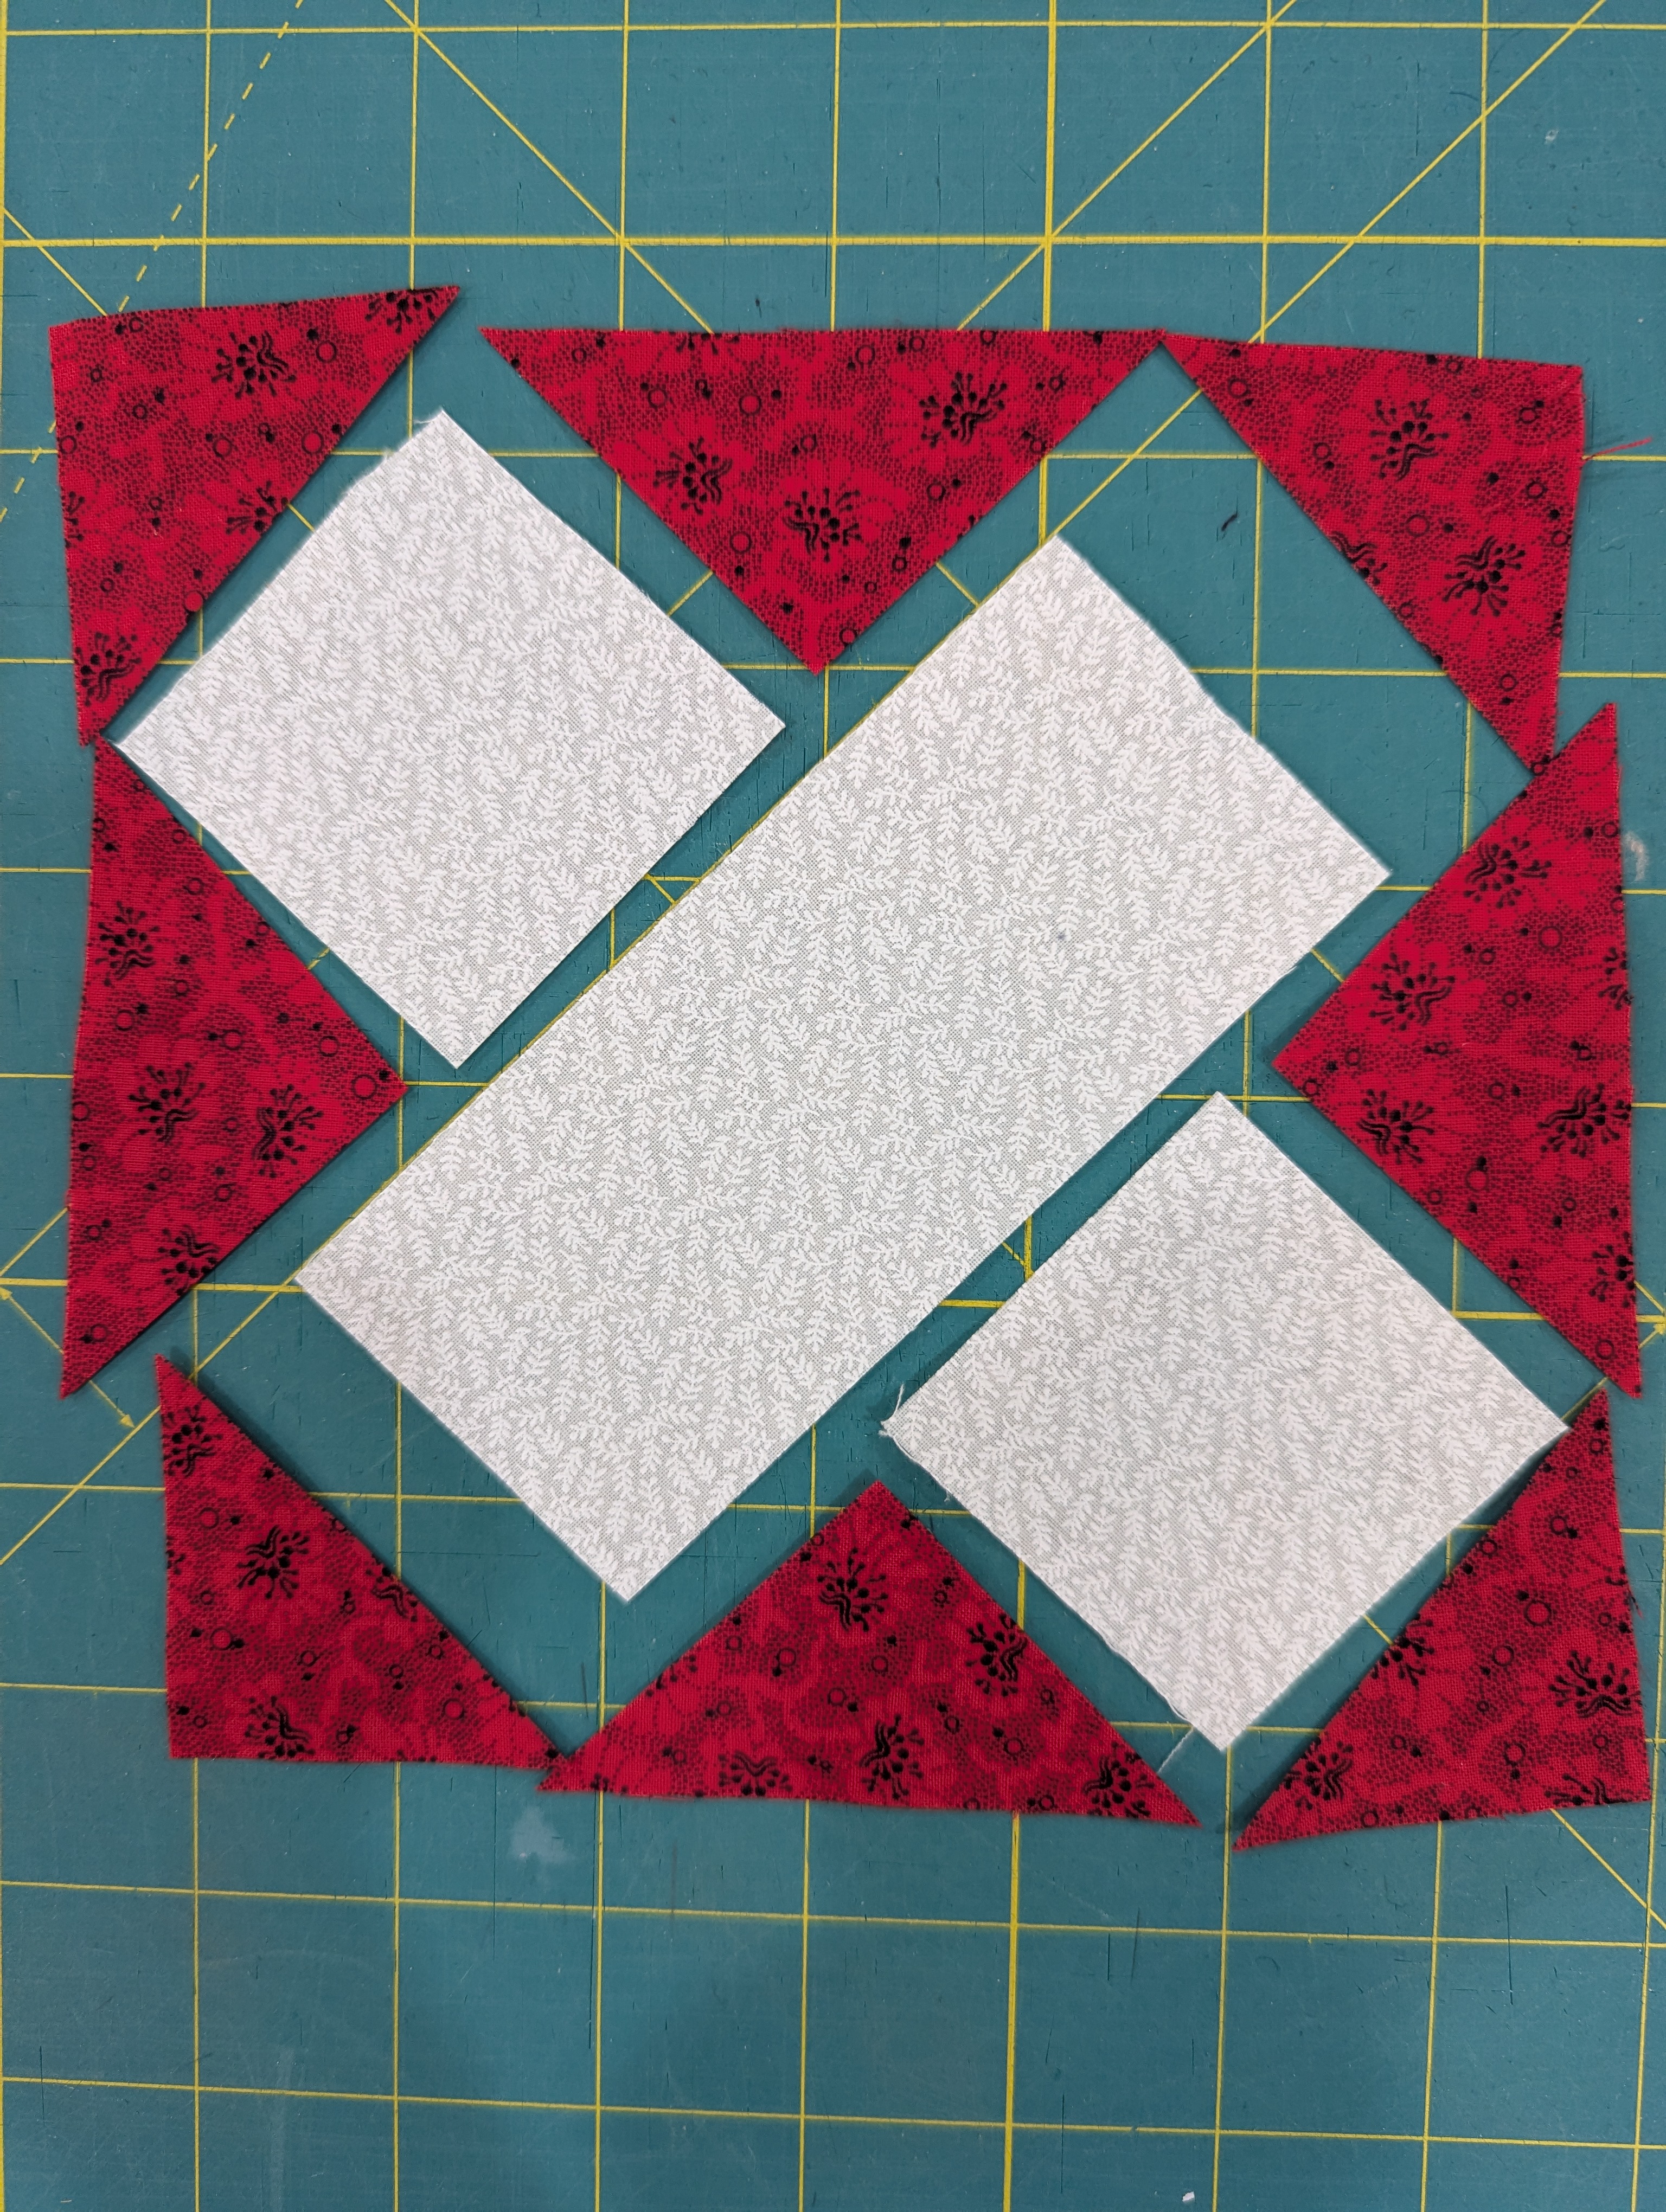
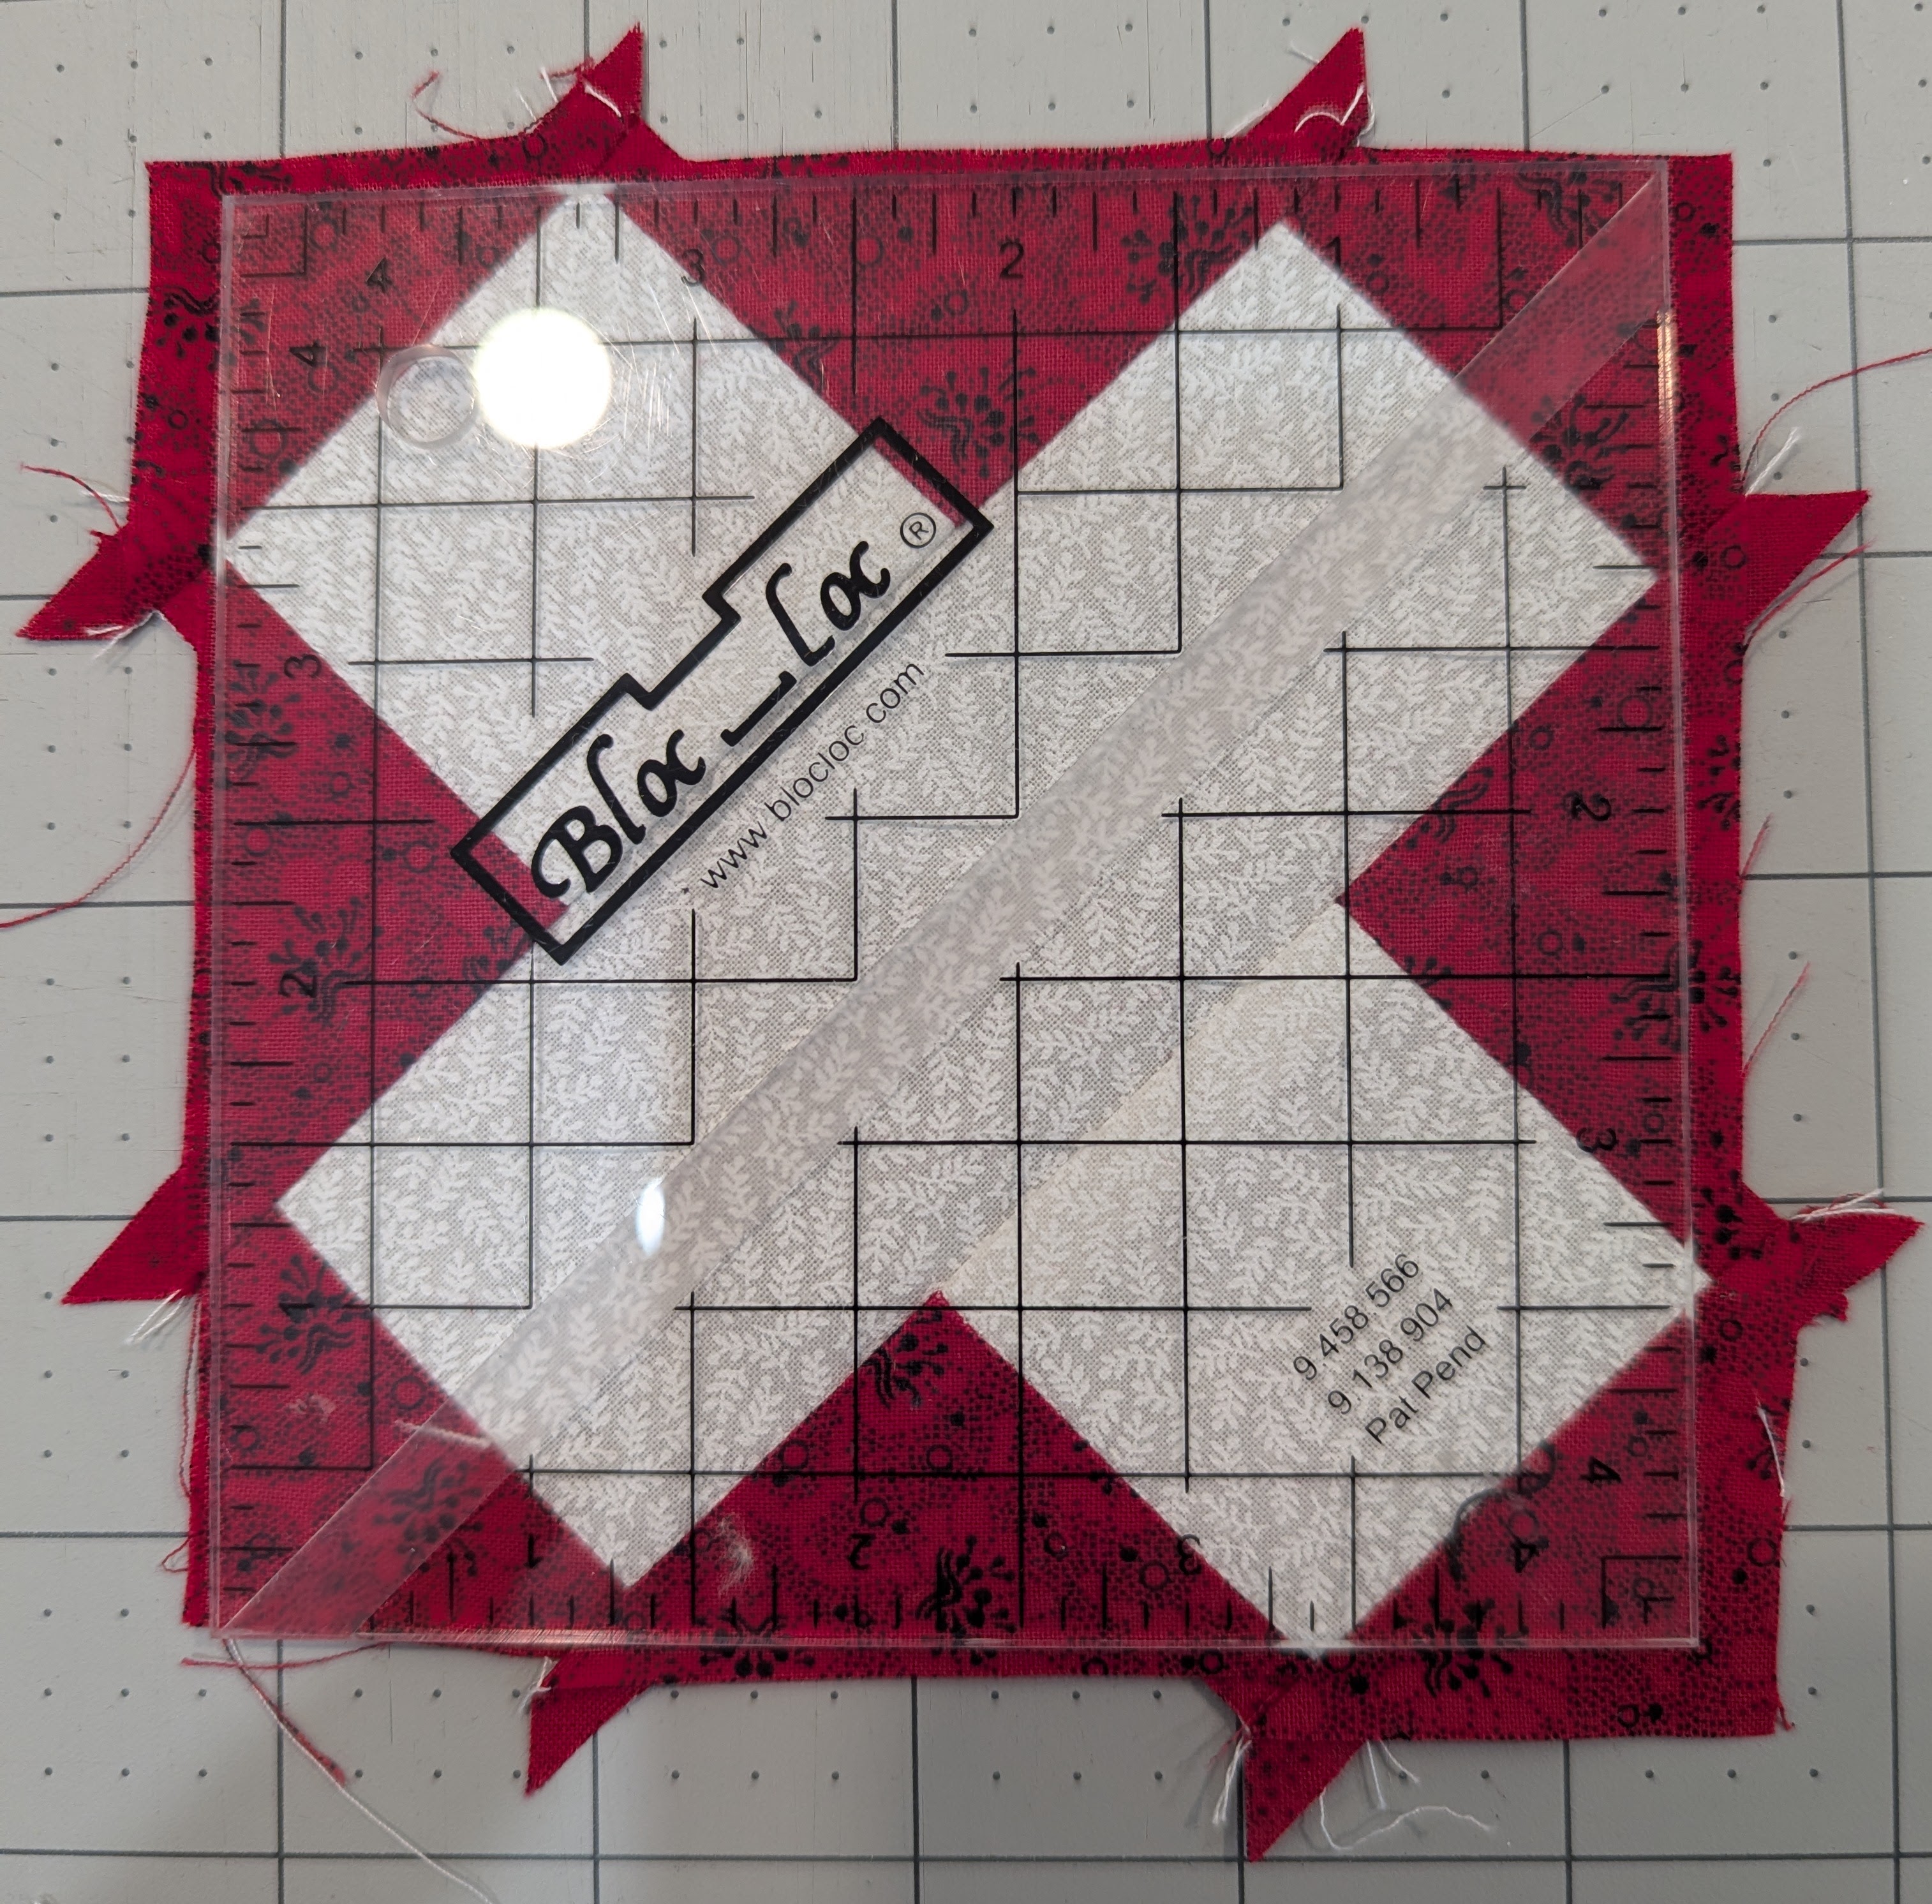
- The star points are all on the bias, so they have a tendency to stretch. When first pieced together, they made a “cup”, and required pressing to lay flat.
- There are many seams coming together in the middle, but with all seams pressed open, it helped even out the thickness
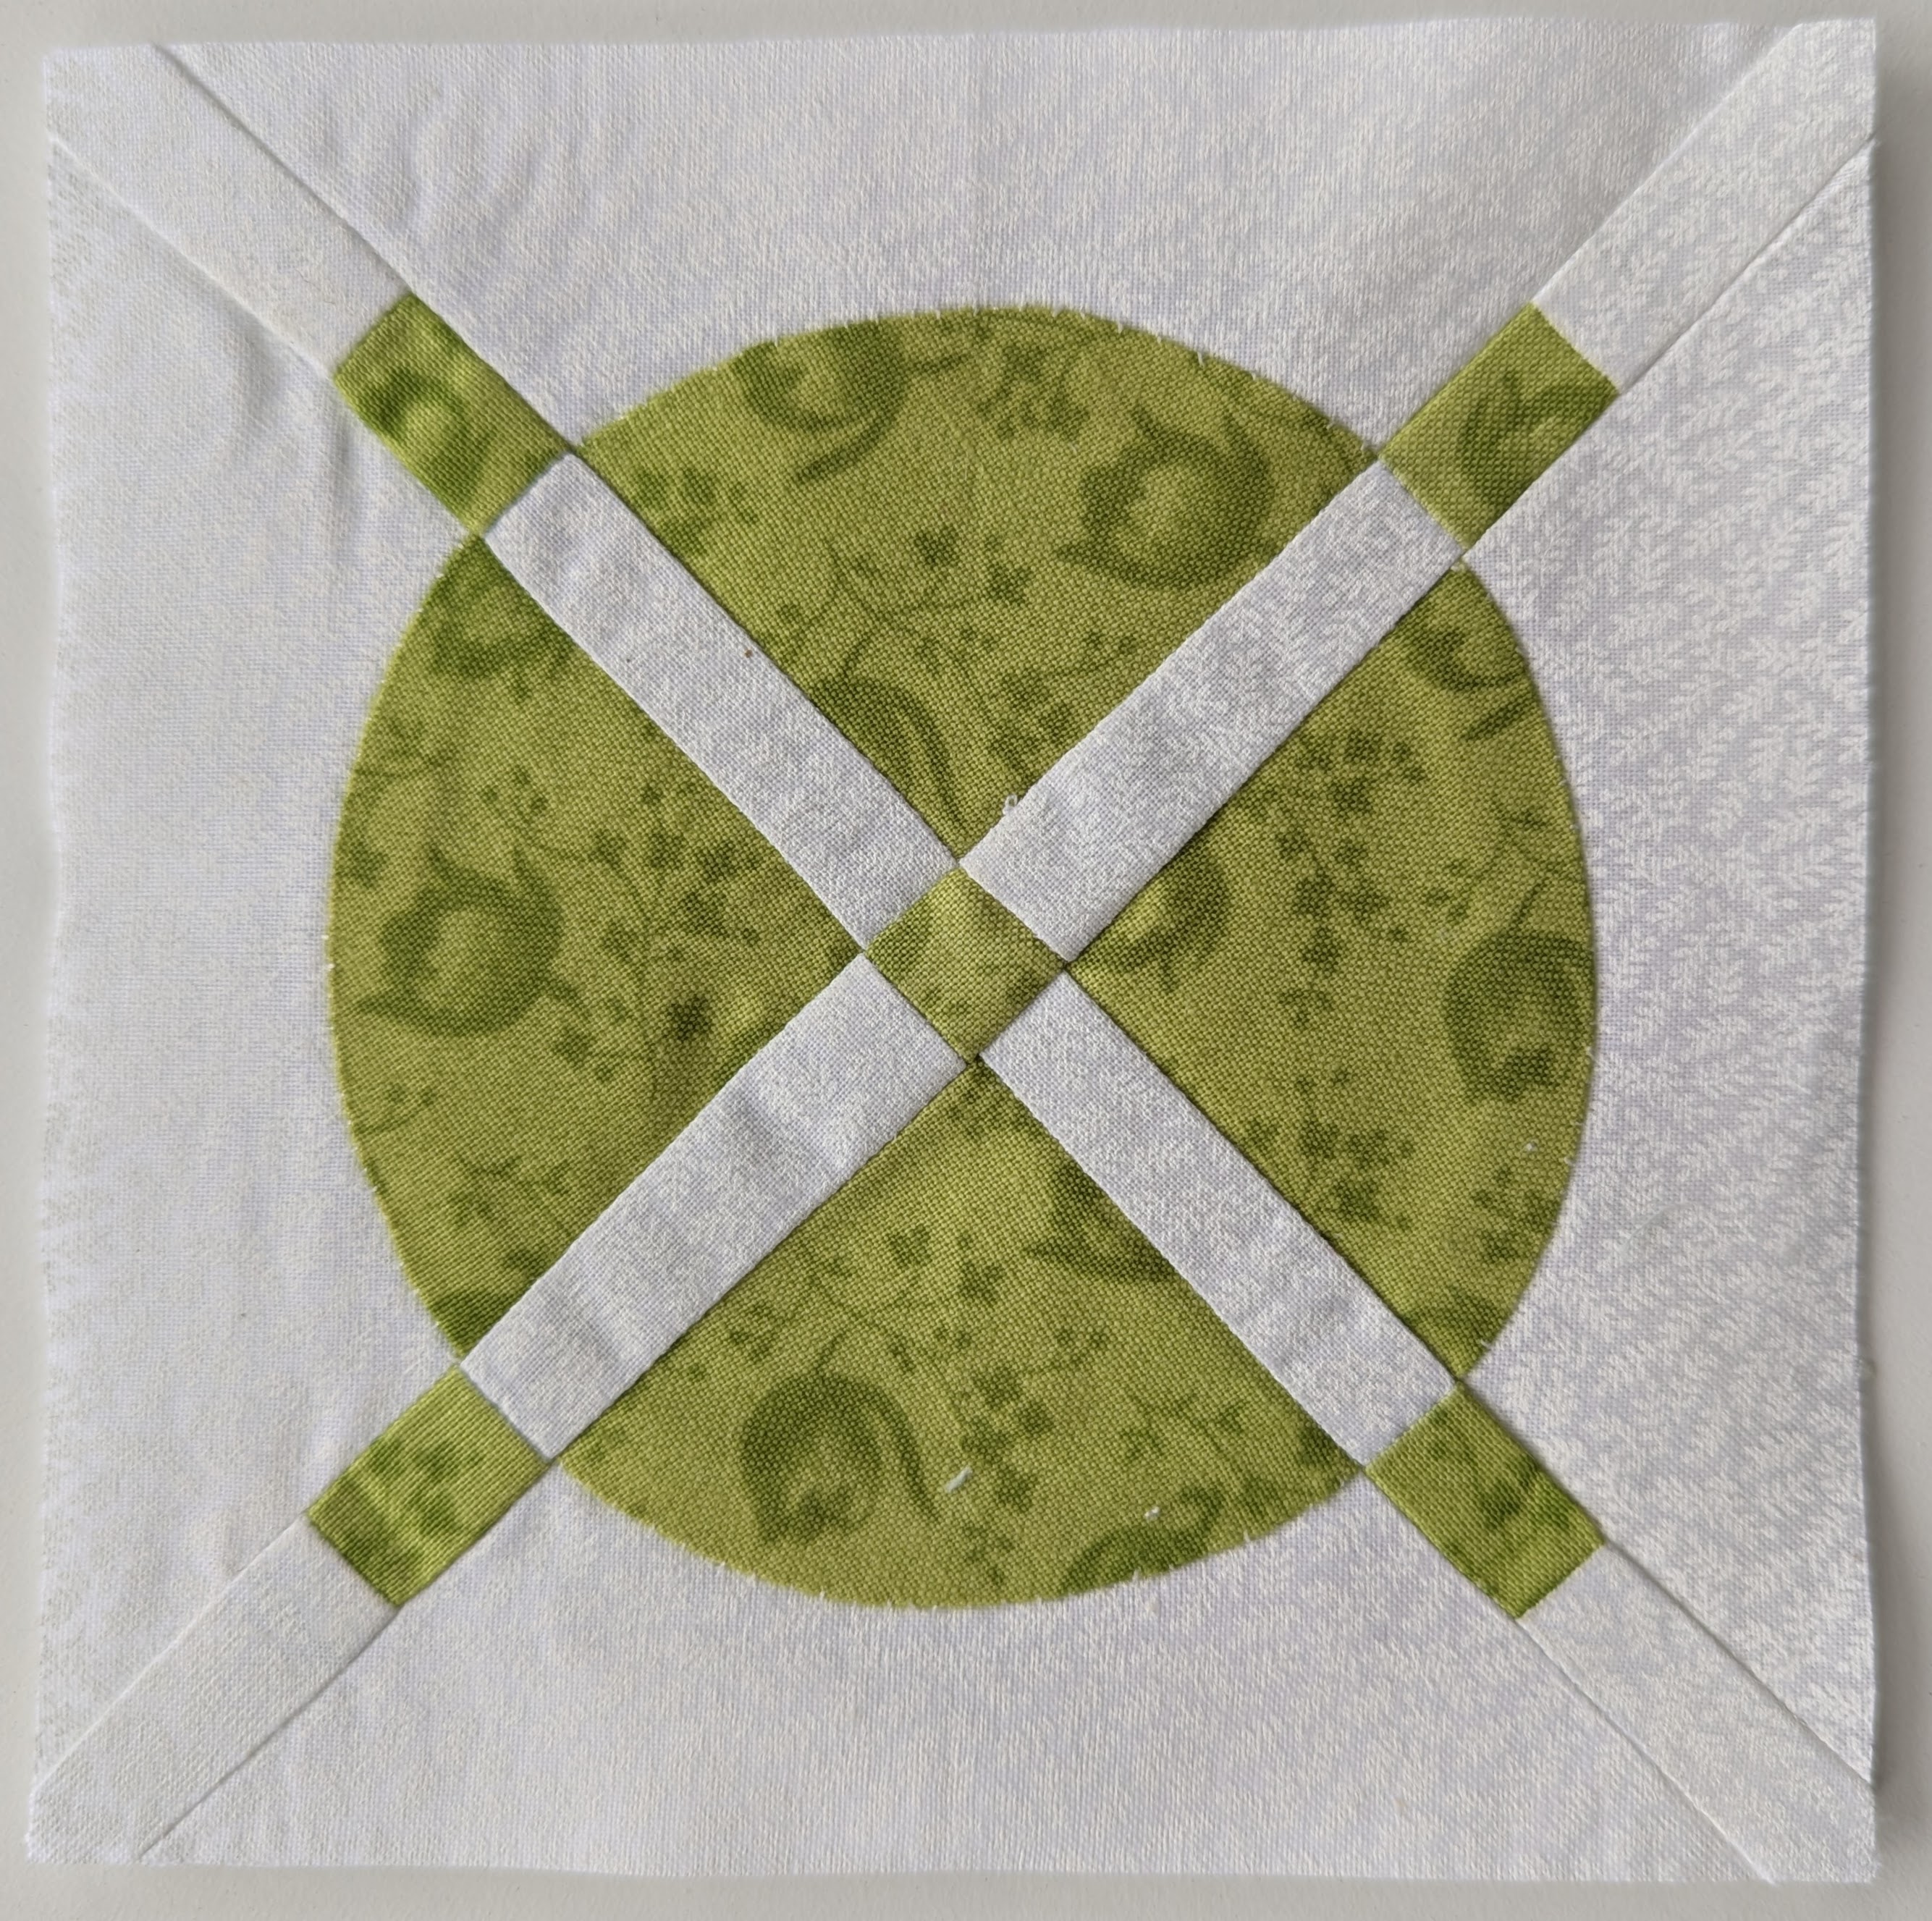
- This is a very strong colour, sitting to the right of the centre block. I will have to plan to balance this out as I construct the other blocks near the centre.
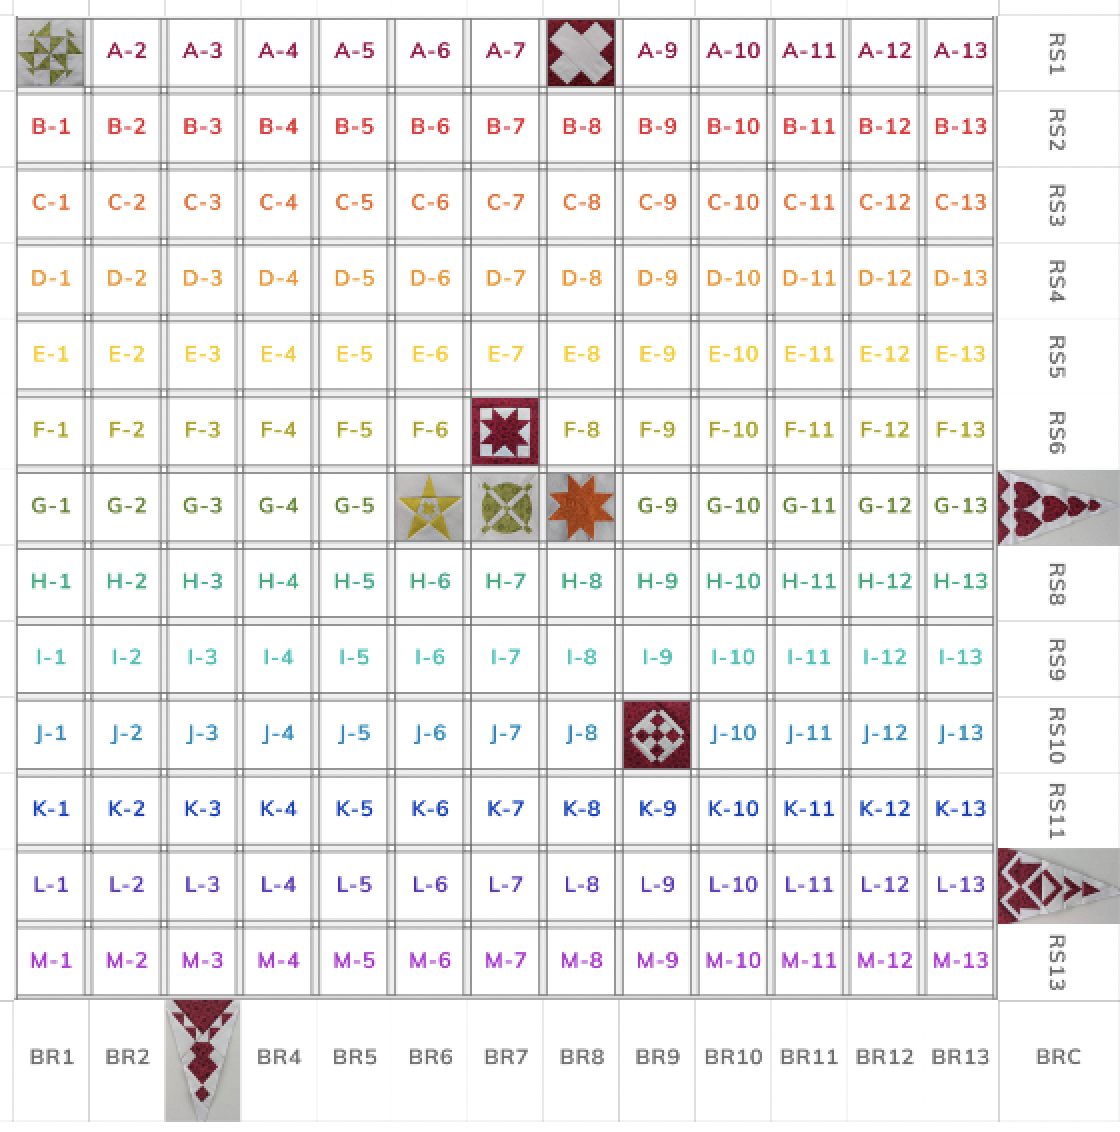
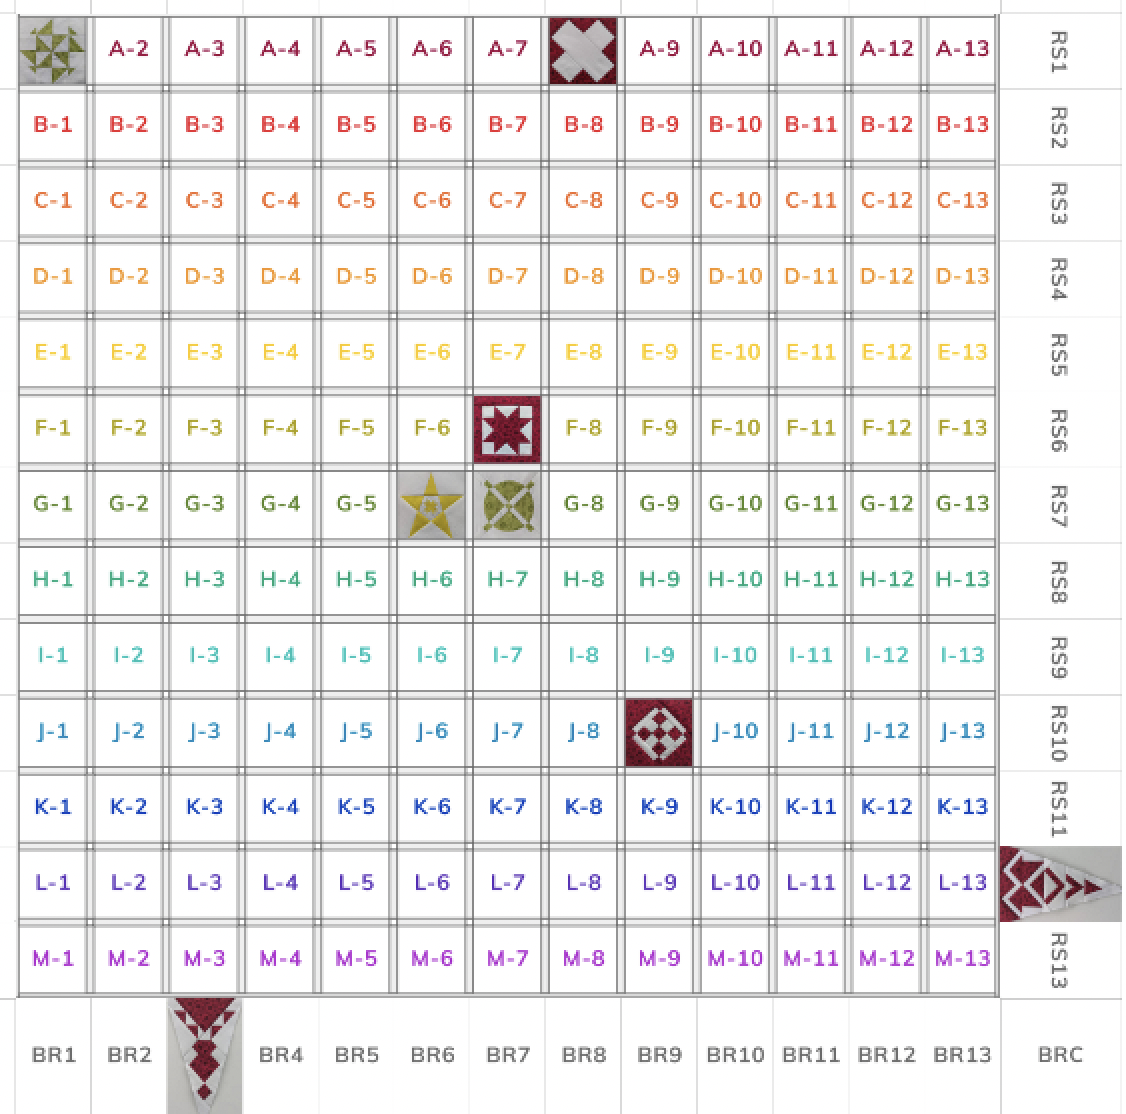
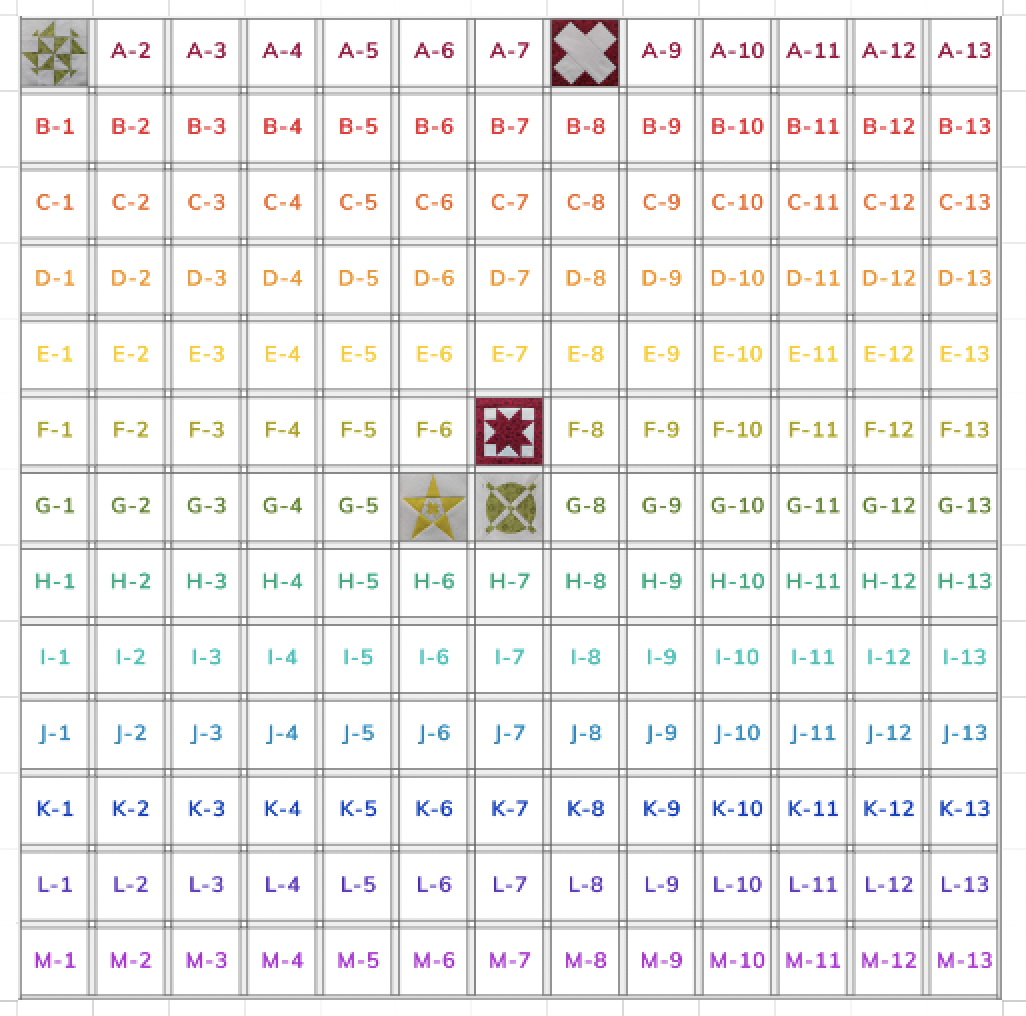
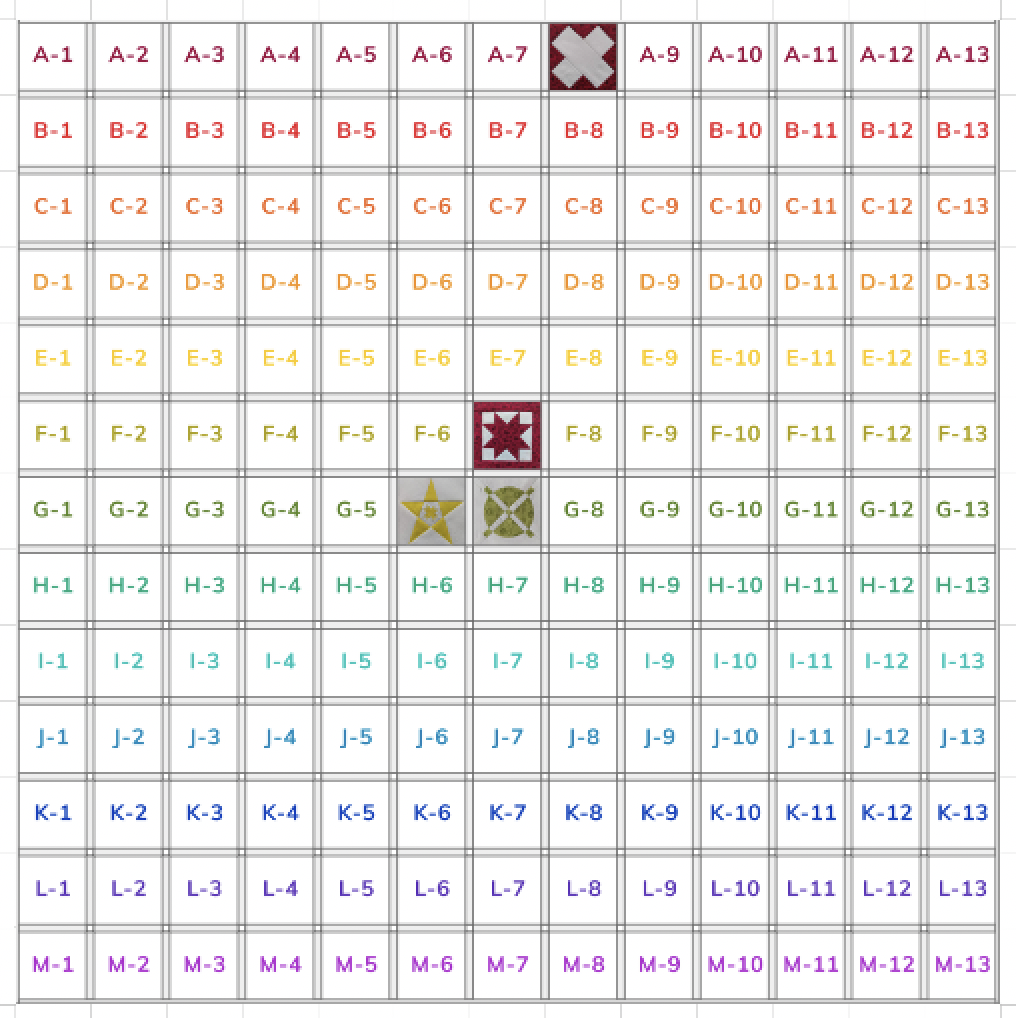
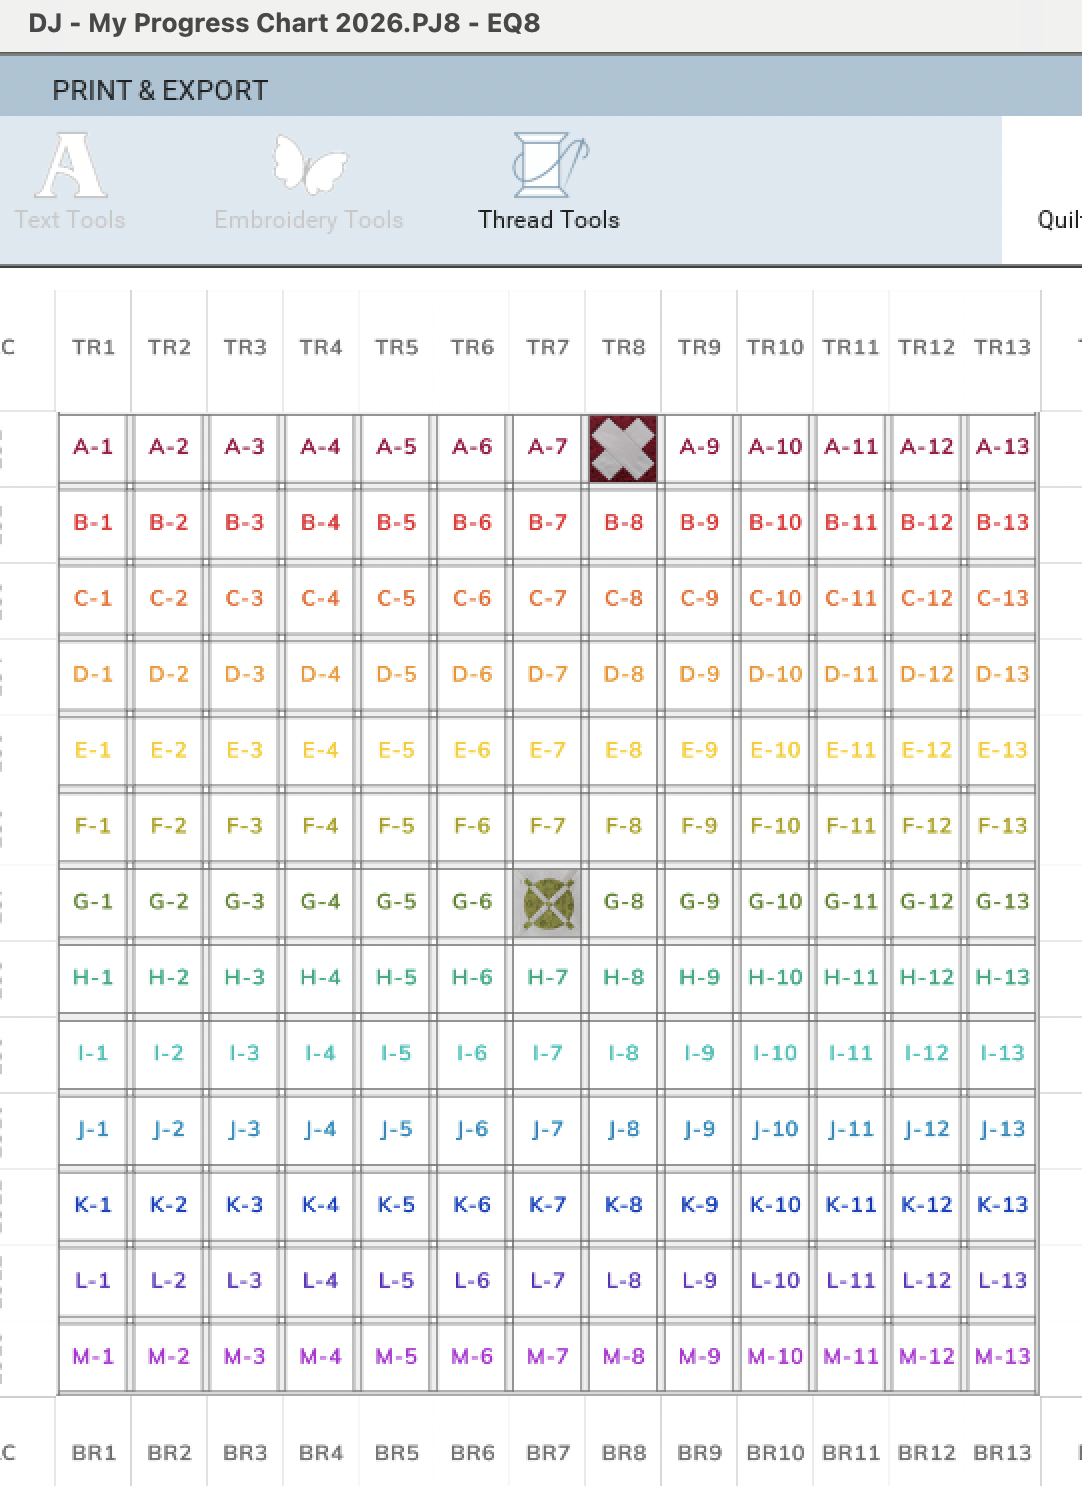
Here’s what the quilt looks like so far:
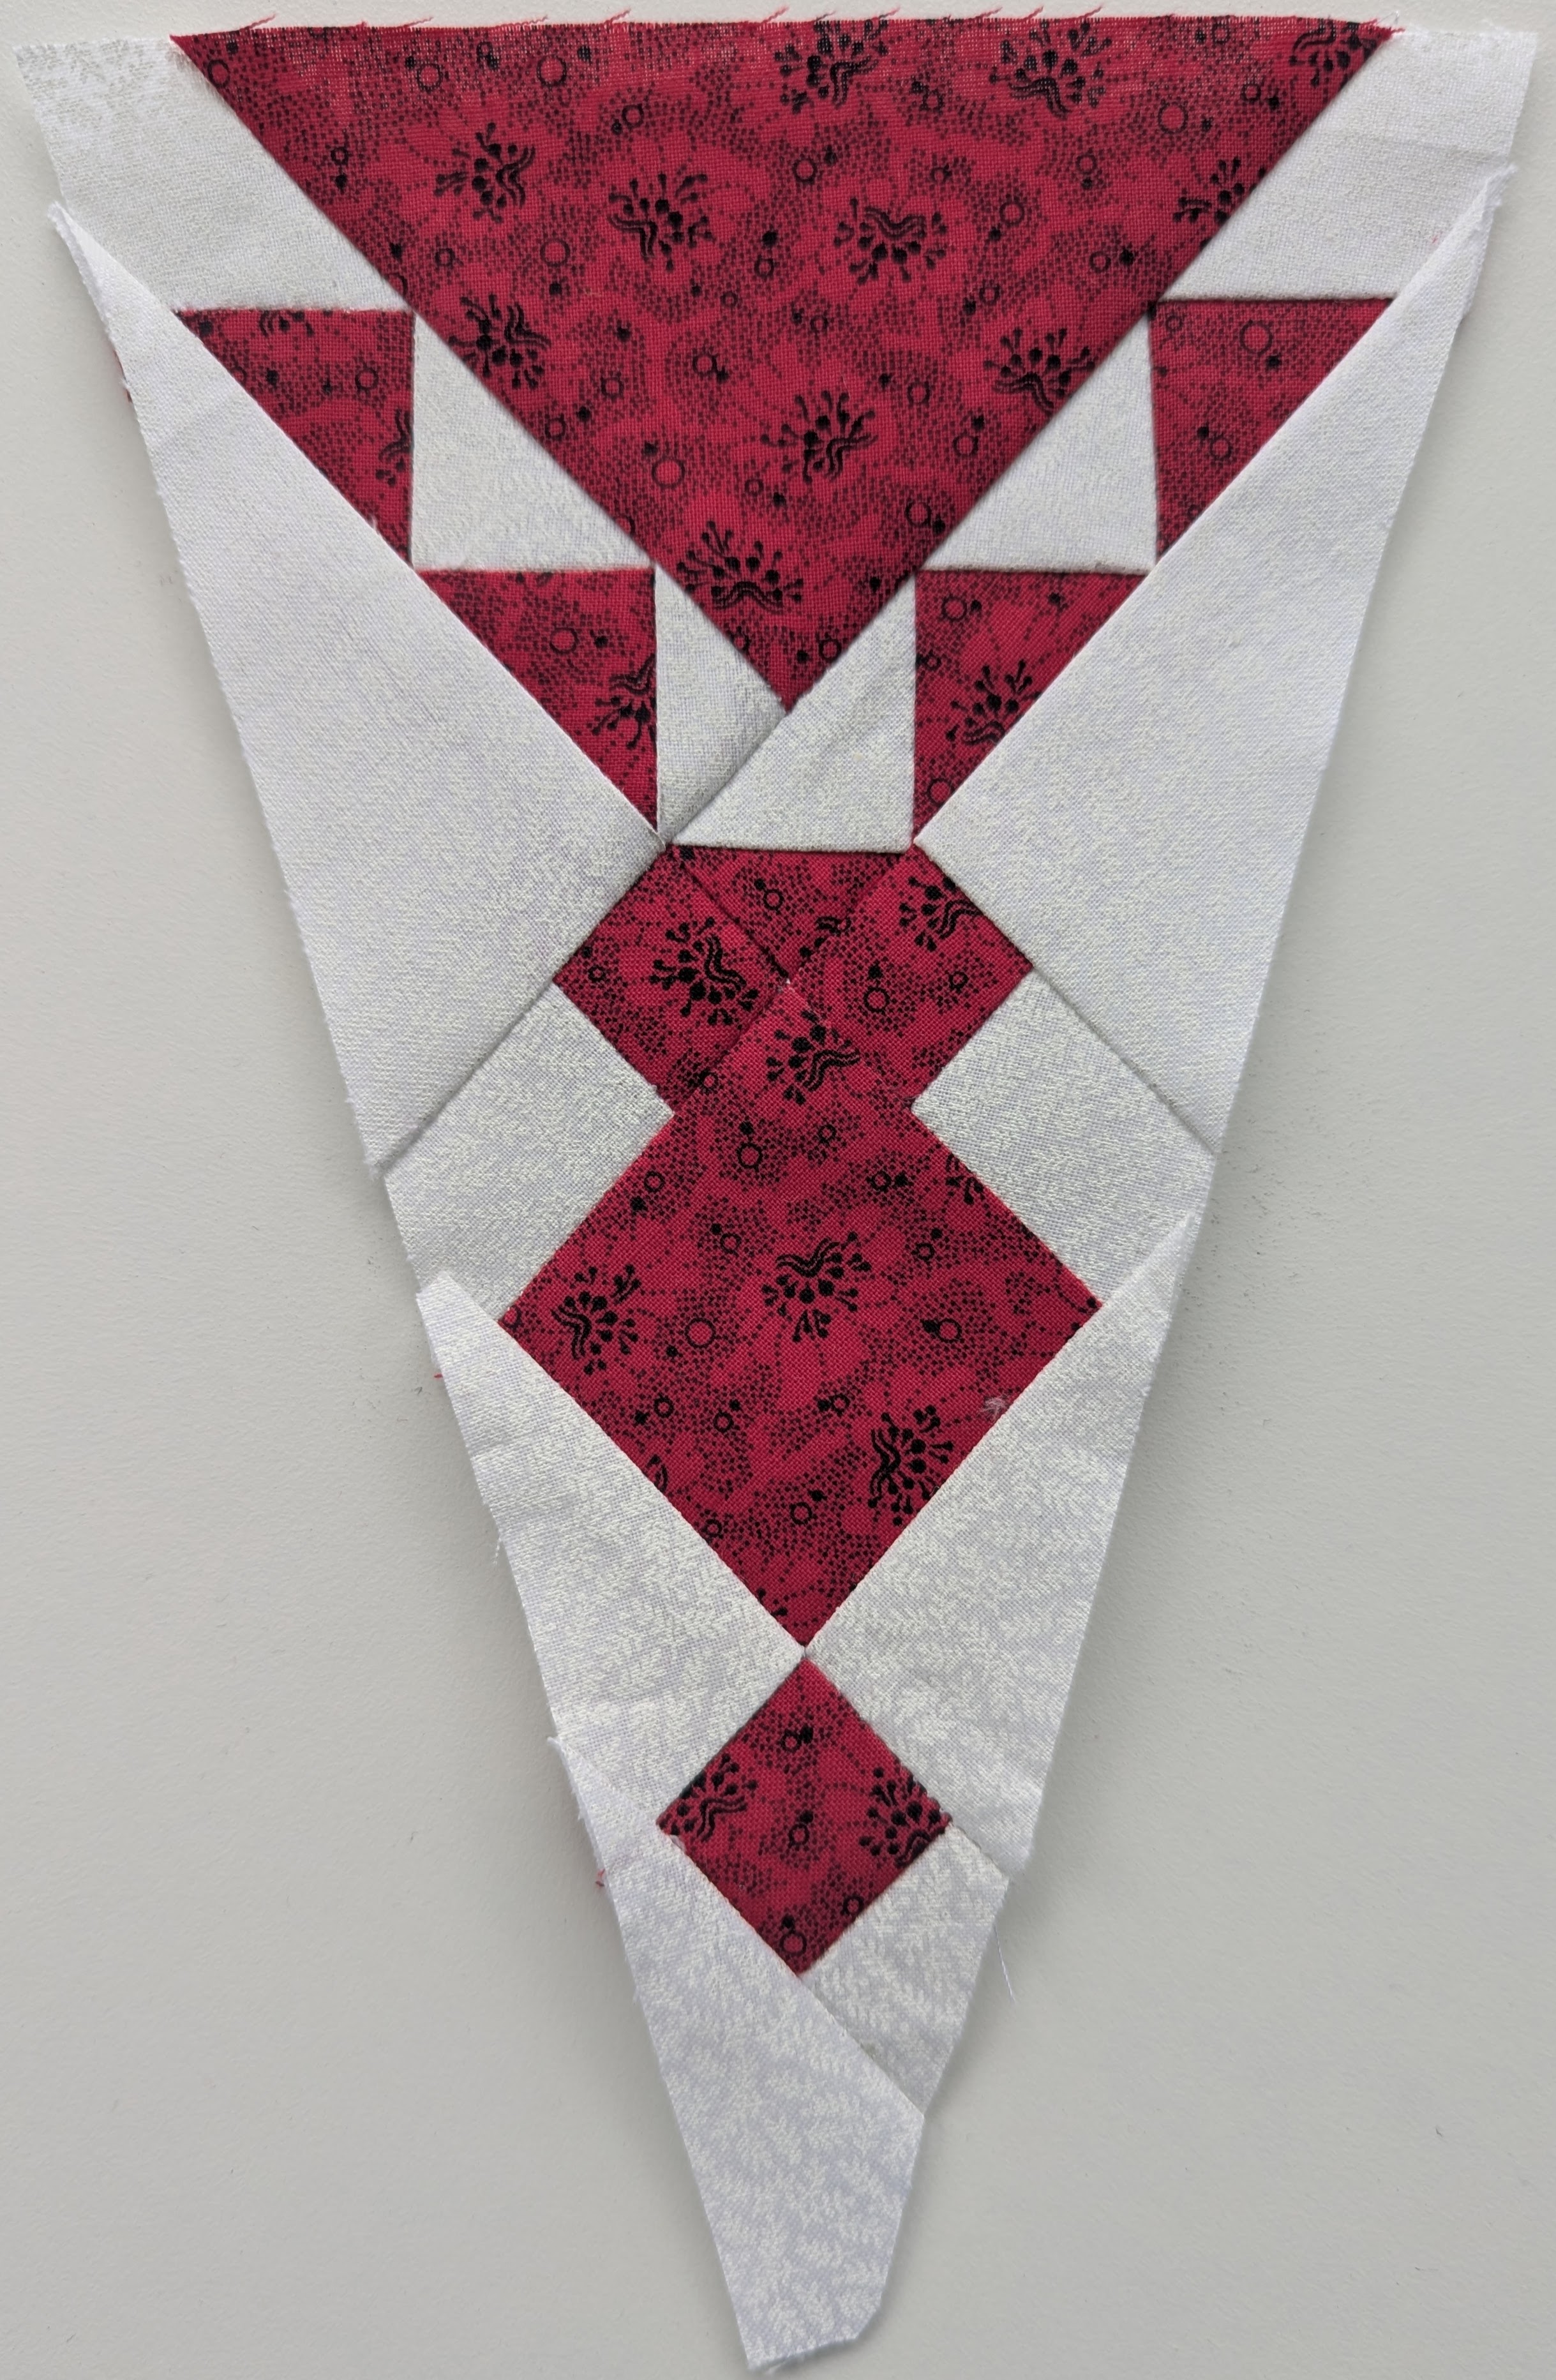
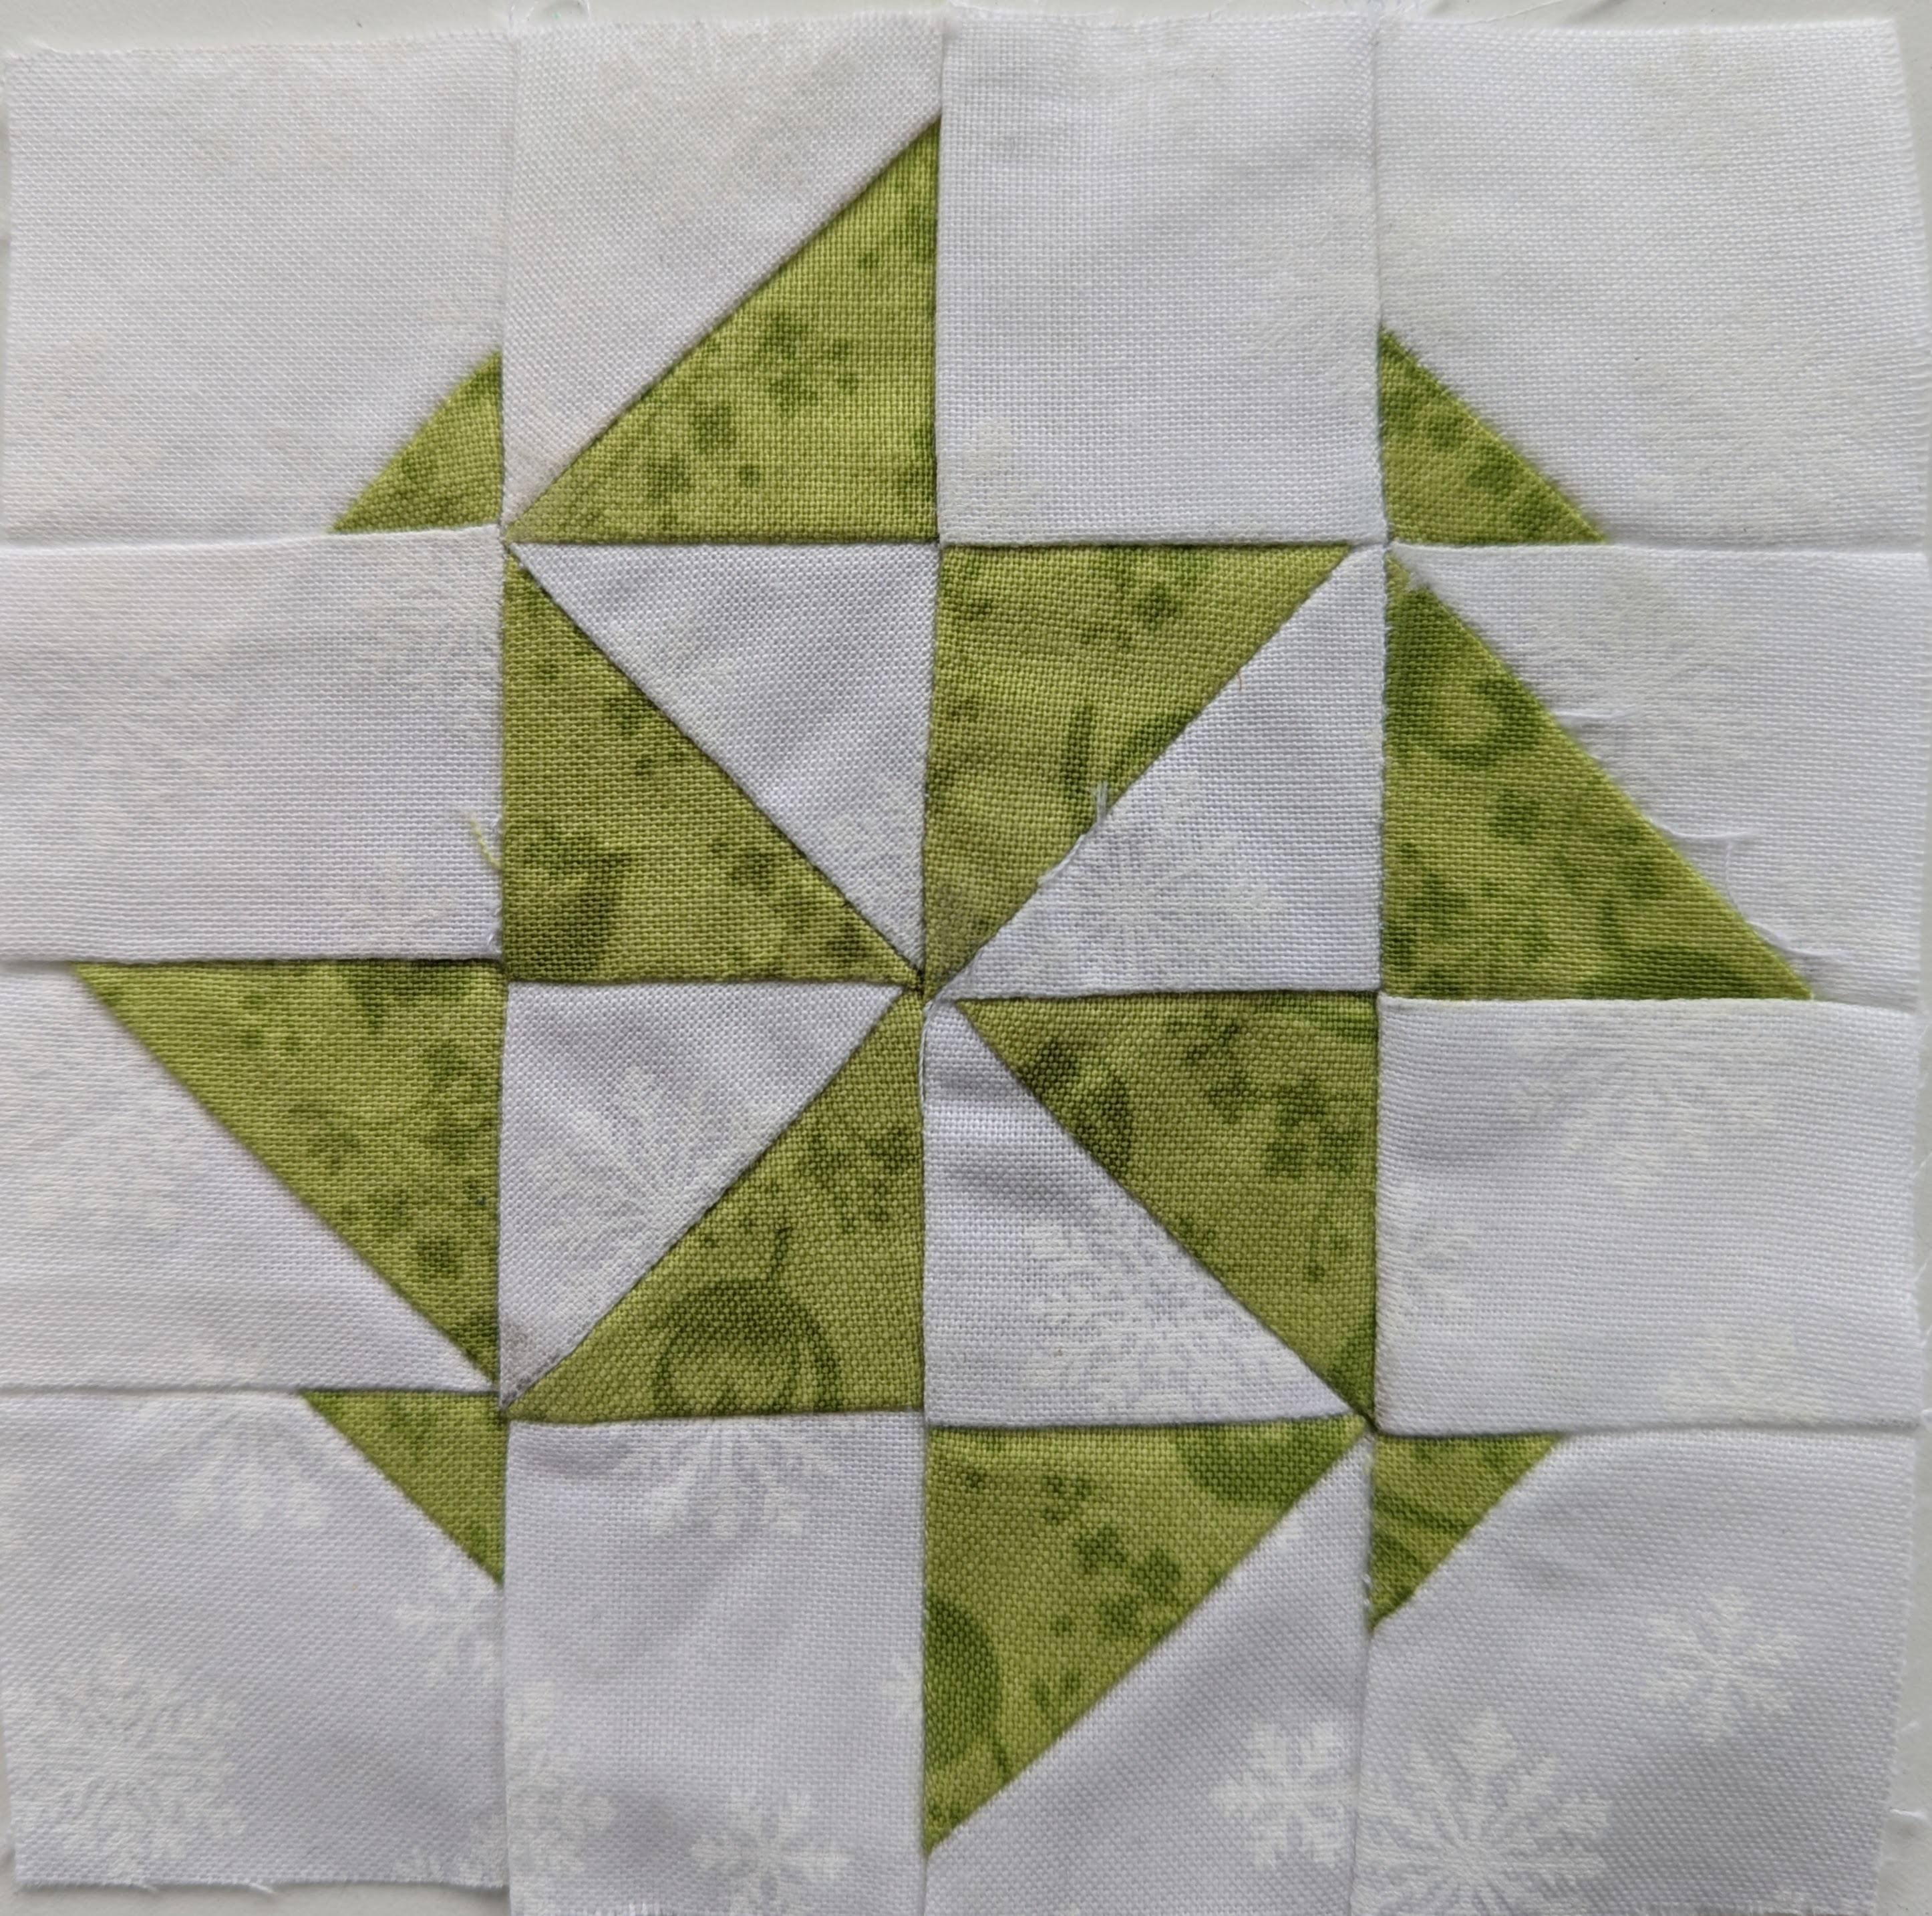
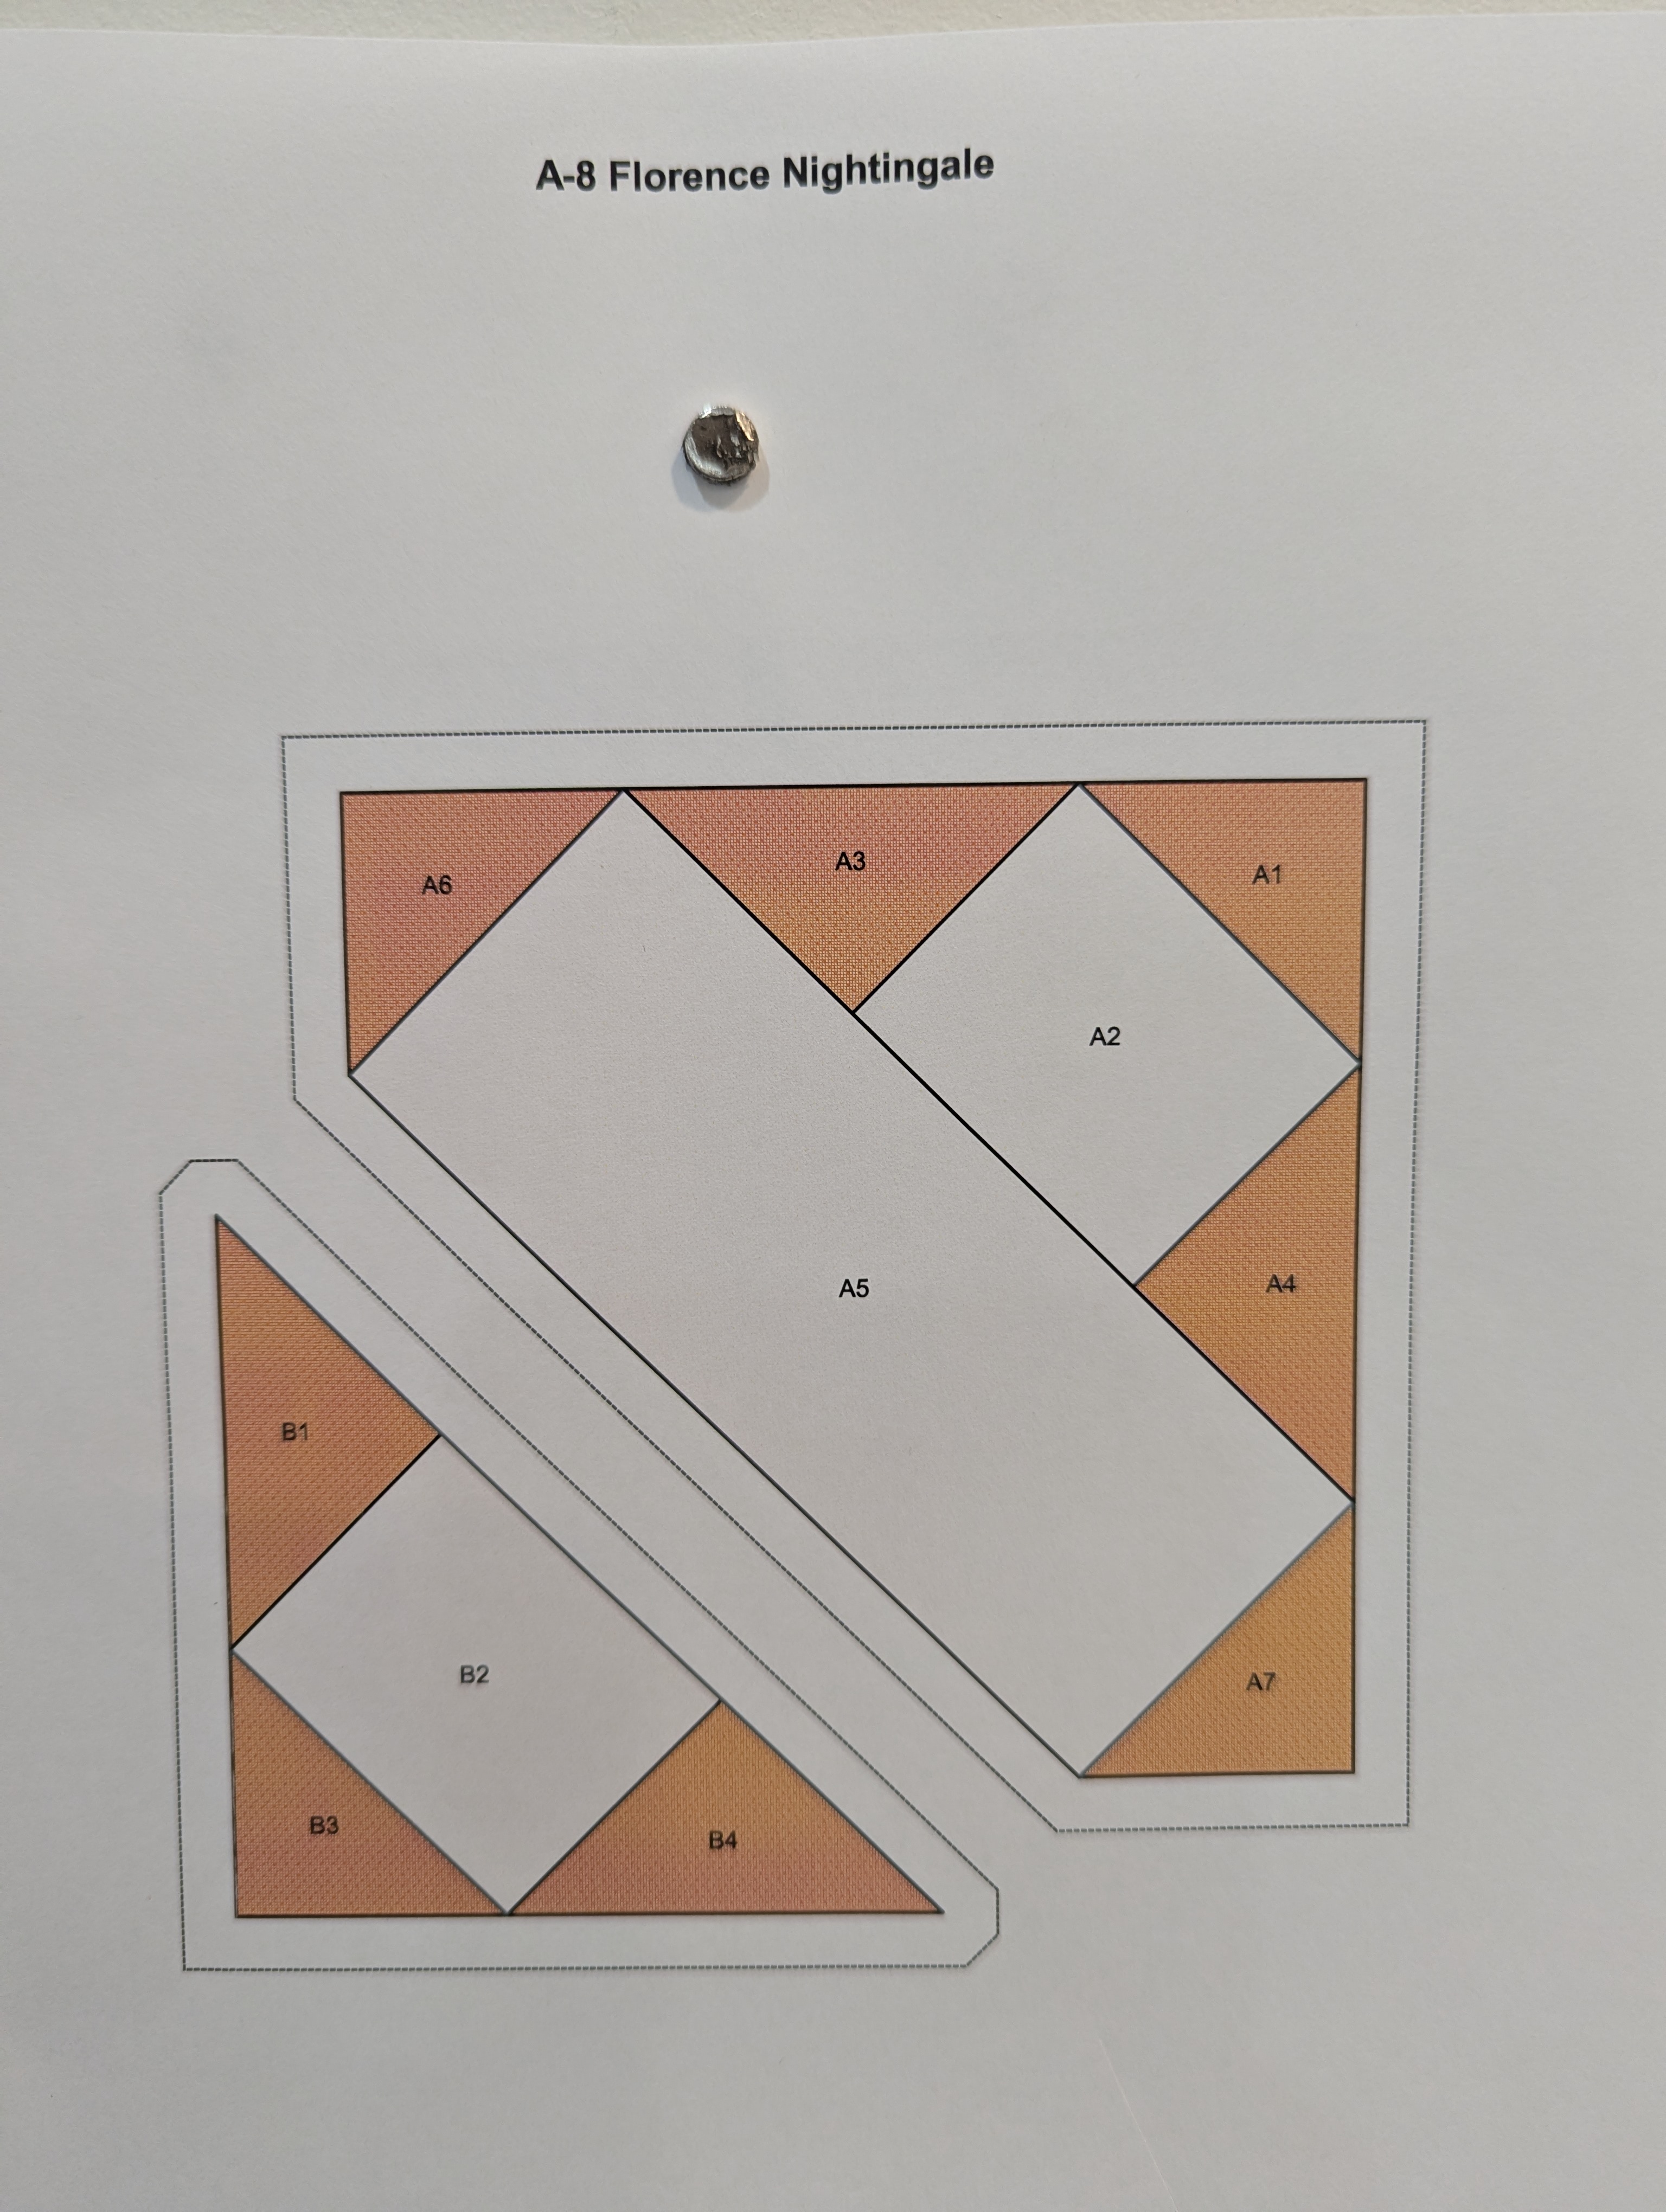
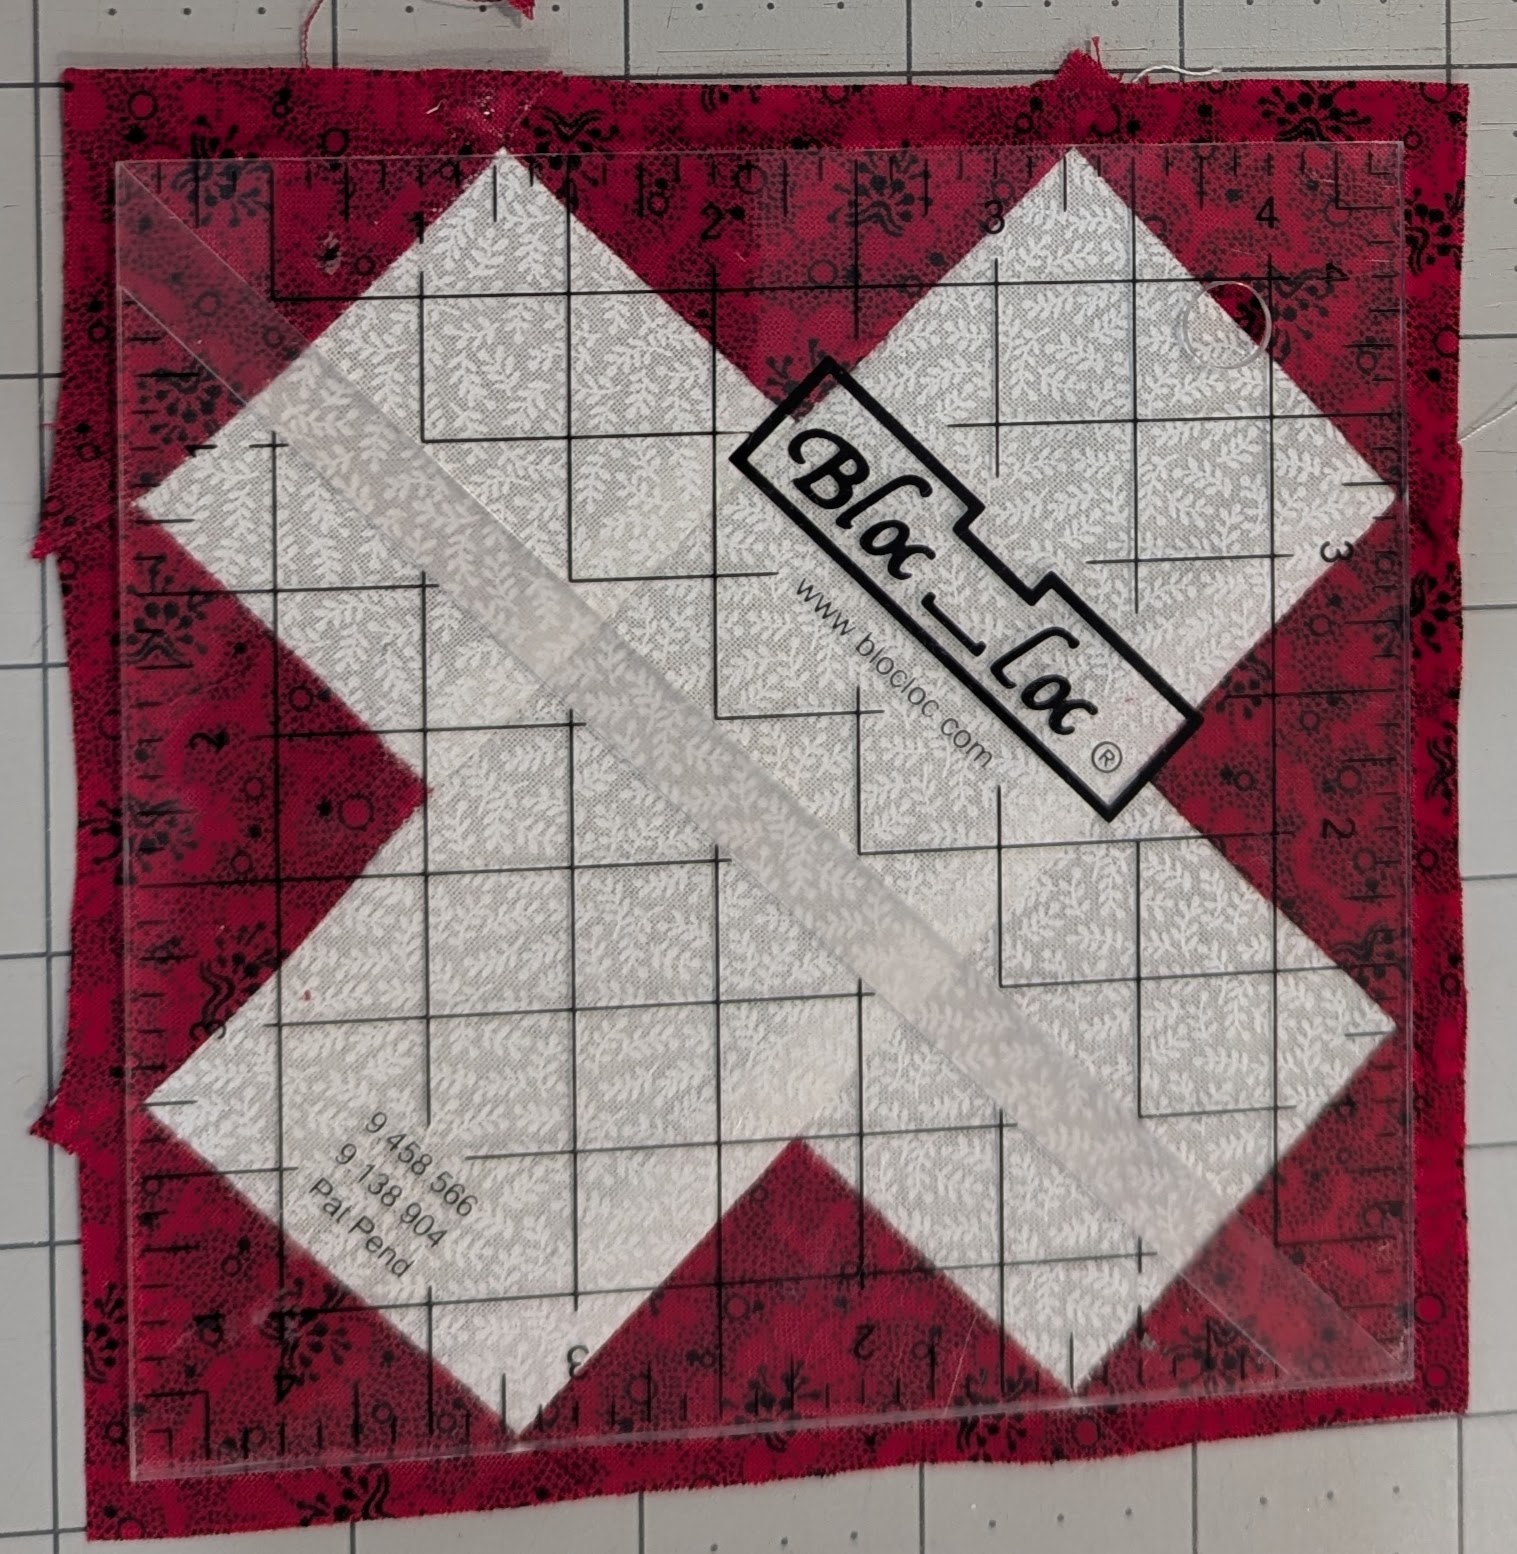
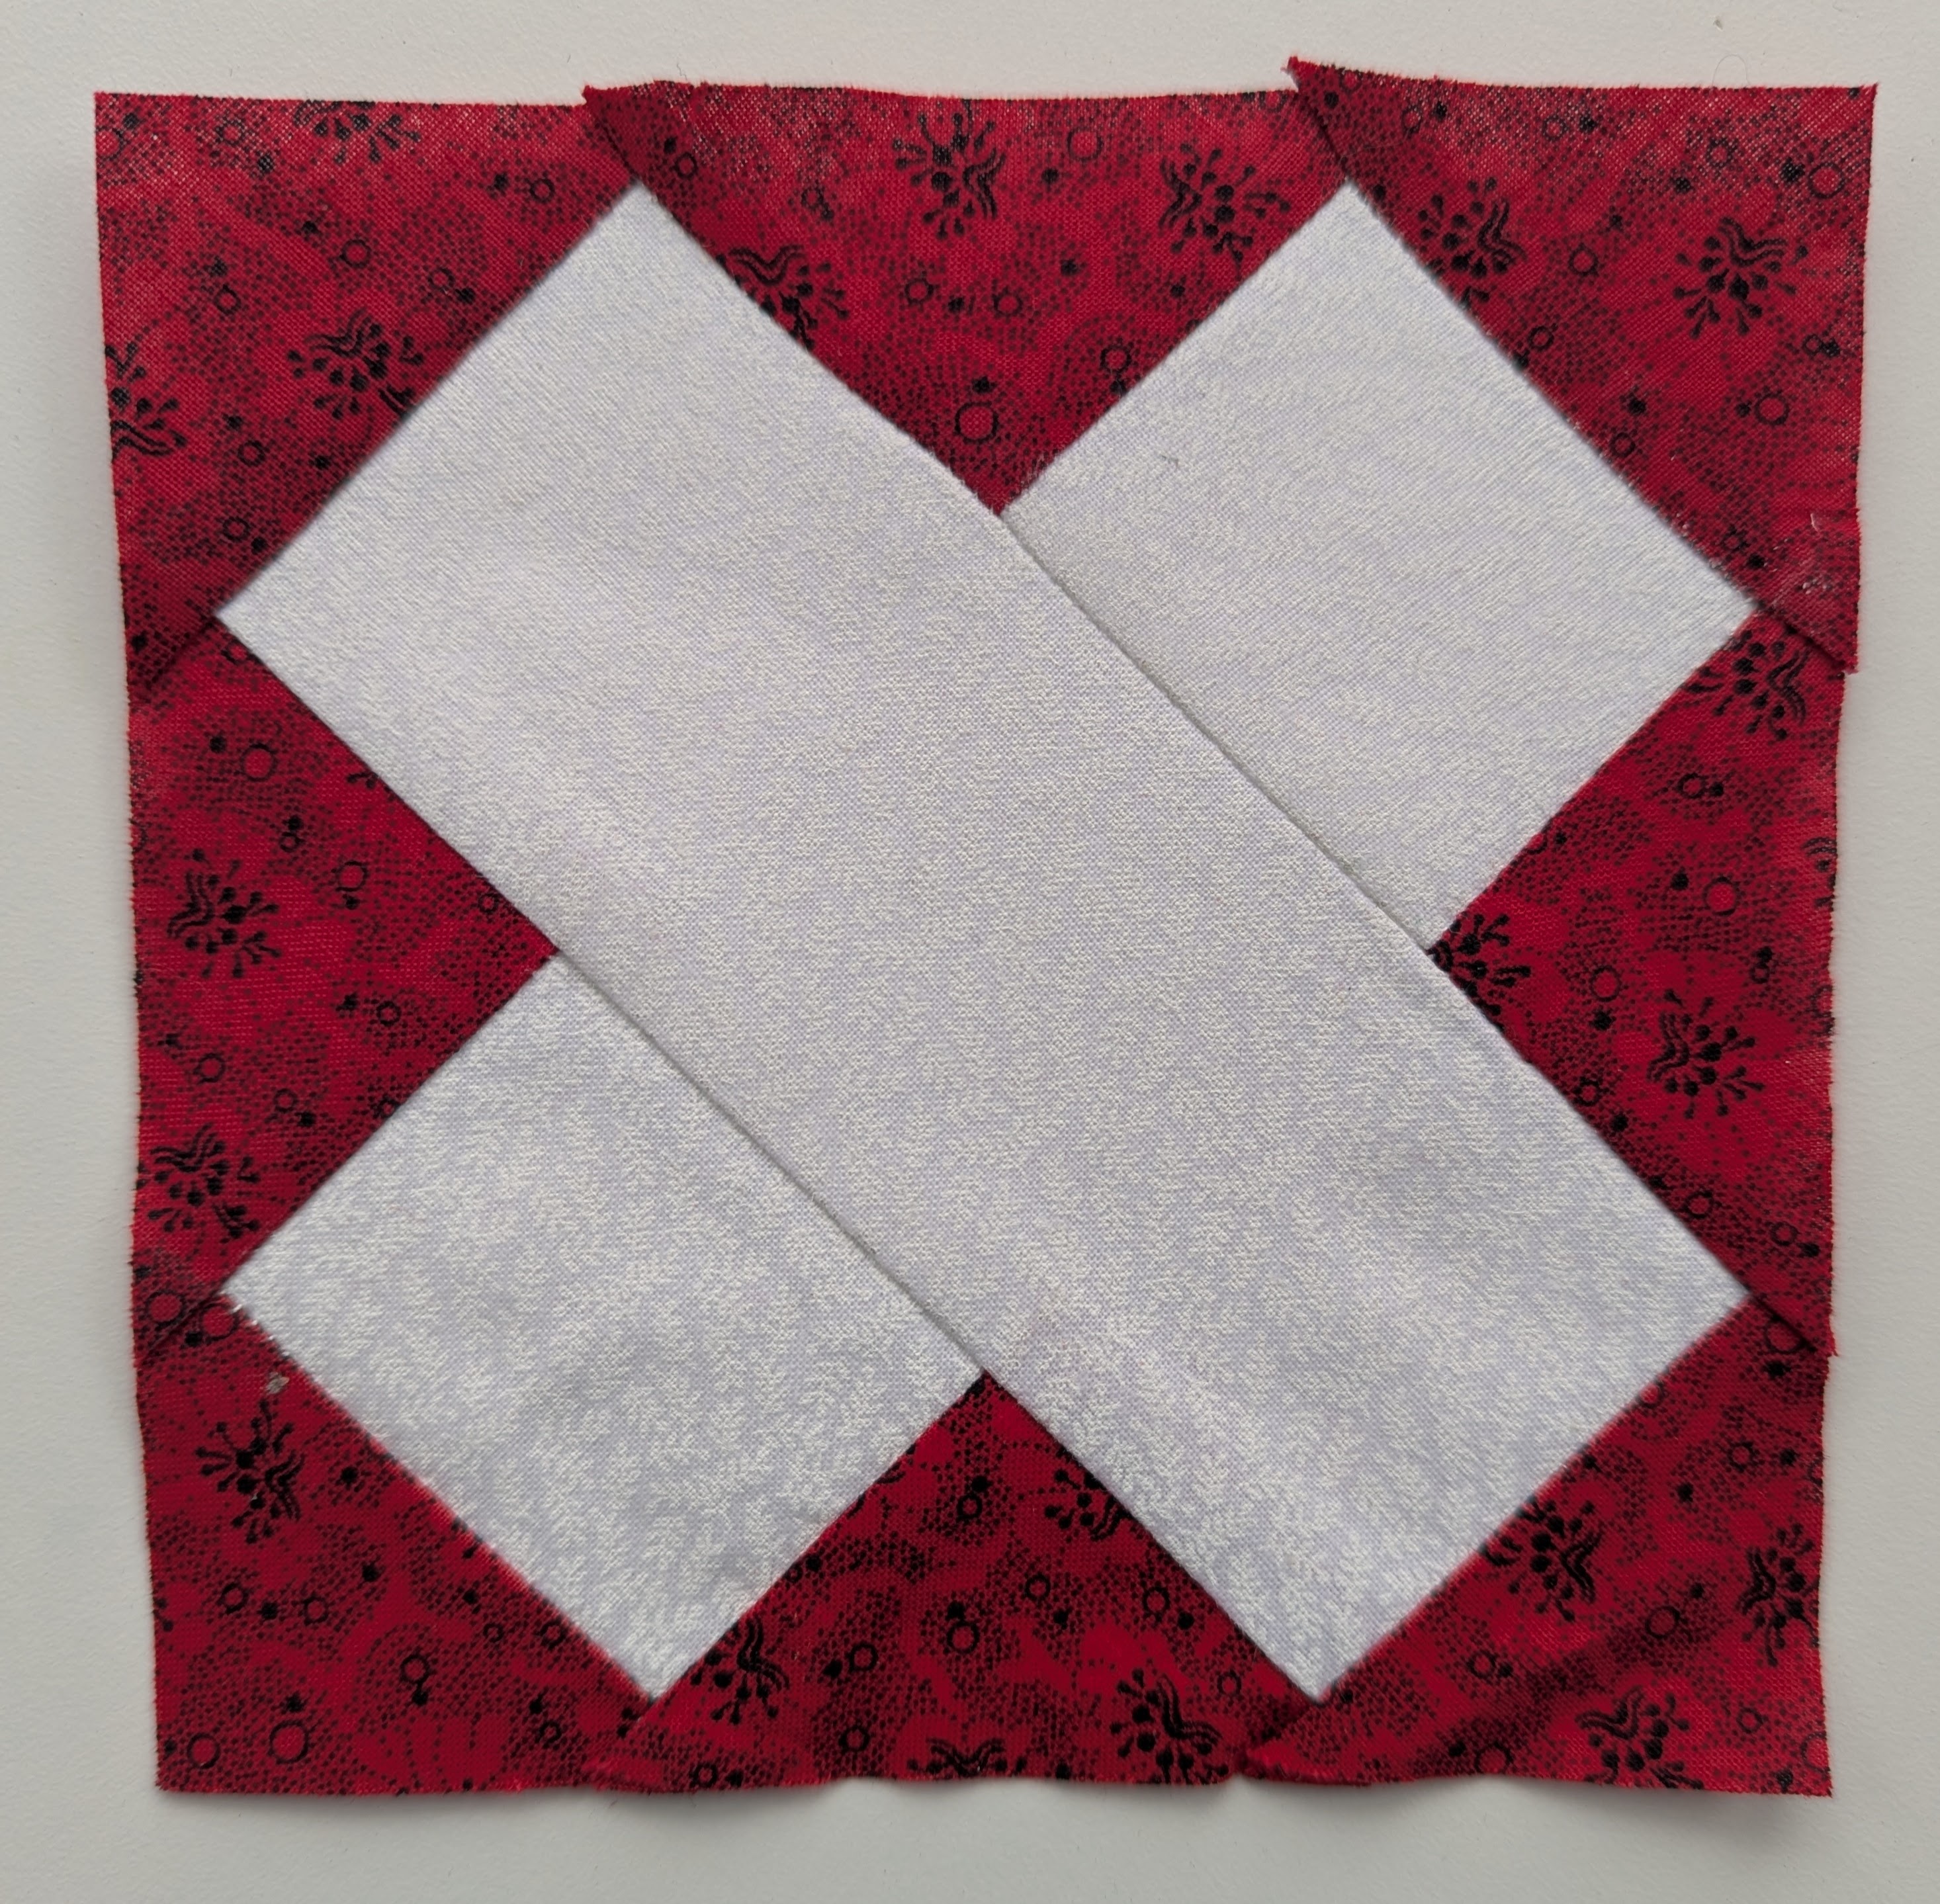
This traditional block features Y-seams, the bane of many quilters. I watched a few YouTube videos, but they didn’t really add anything that I hadn’t already tried.