
Tomorrow I am driving south to Fergus Ontario, to talk to fellow quilters about entering competitions and having their quilts judged.
This is a topic that is not very popular among most guild members. They are happy to share their work, but really don’t want to be judged.
However, if we want to promote our art, we need to have it seen. And in Ontario, the easiest way to reach non-quilters it at our annual Fall Fairs. There are “Homecraft” exhibits at these fairs, where the public can view every type of craft practiced in Ontario homes. Among them are quilts, and they create the most beautiful displays.
As well, our quilts can qualify to have their quilts proceed to District competition, and possibly to Provincial competition at the annual Ontario Association of Agricultural Societies Convention in February.
Here’s a link to the Fair Book for Fergus Fall Fair 2025 (the 2026 book is still being edited): Fergus Fall Fair Book
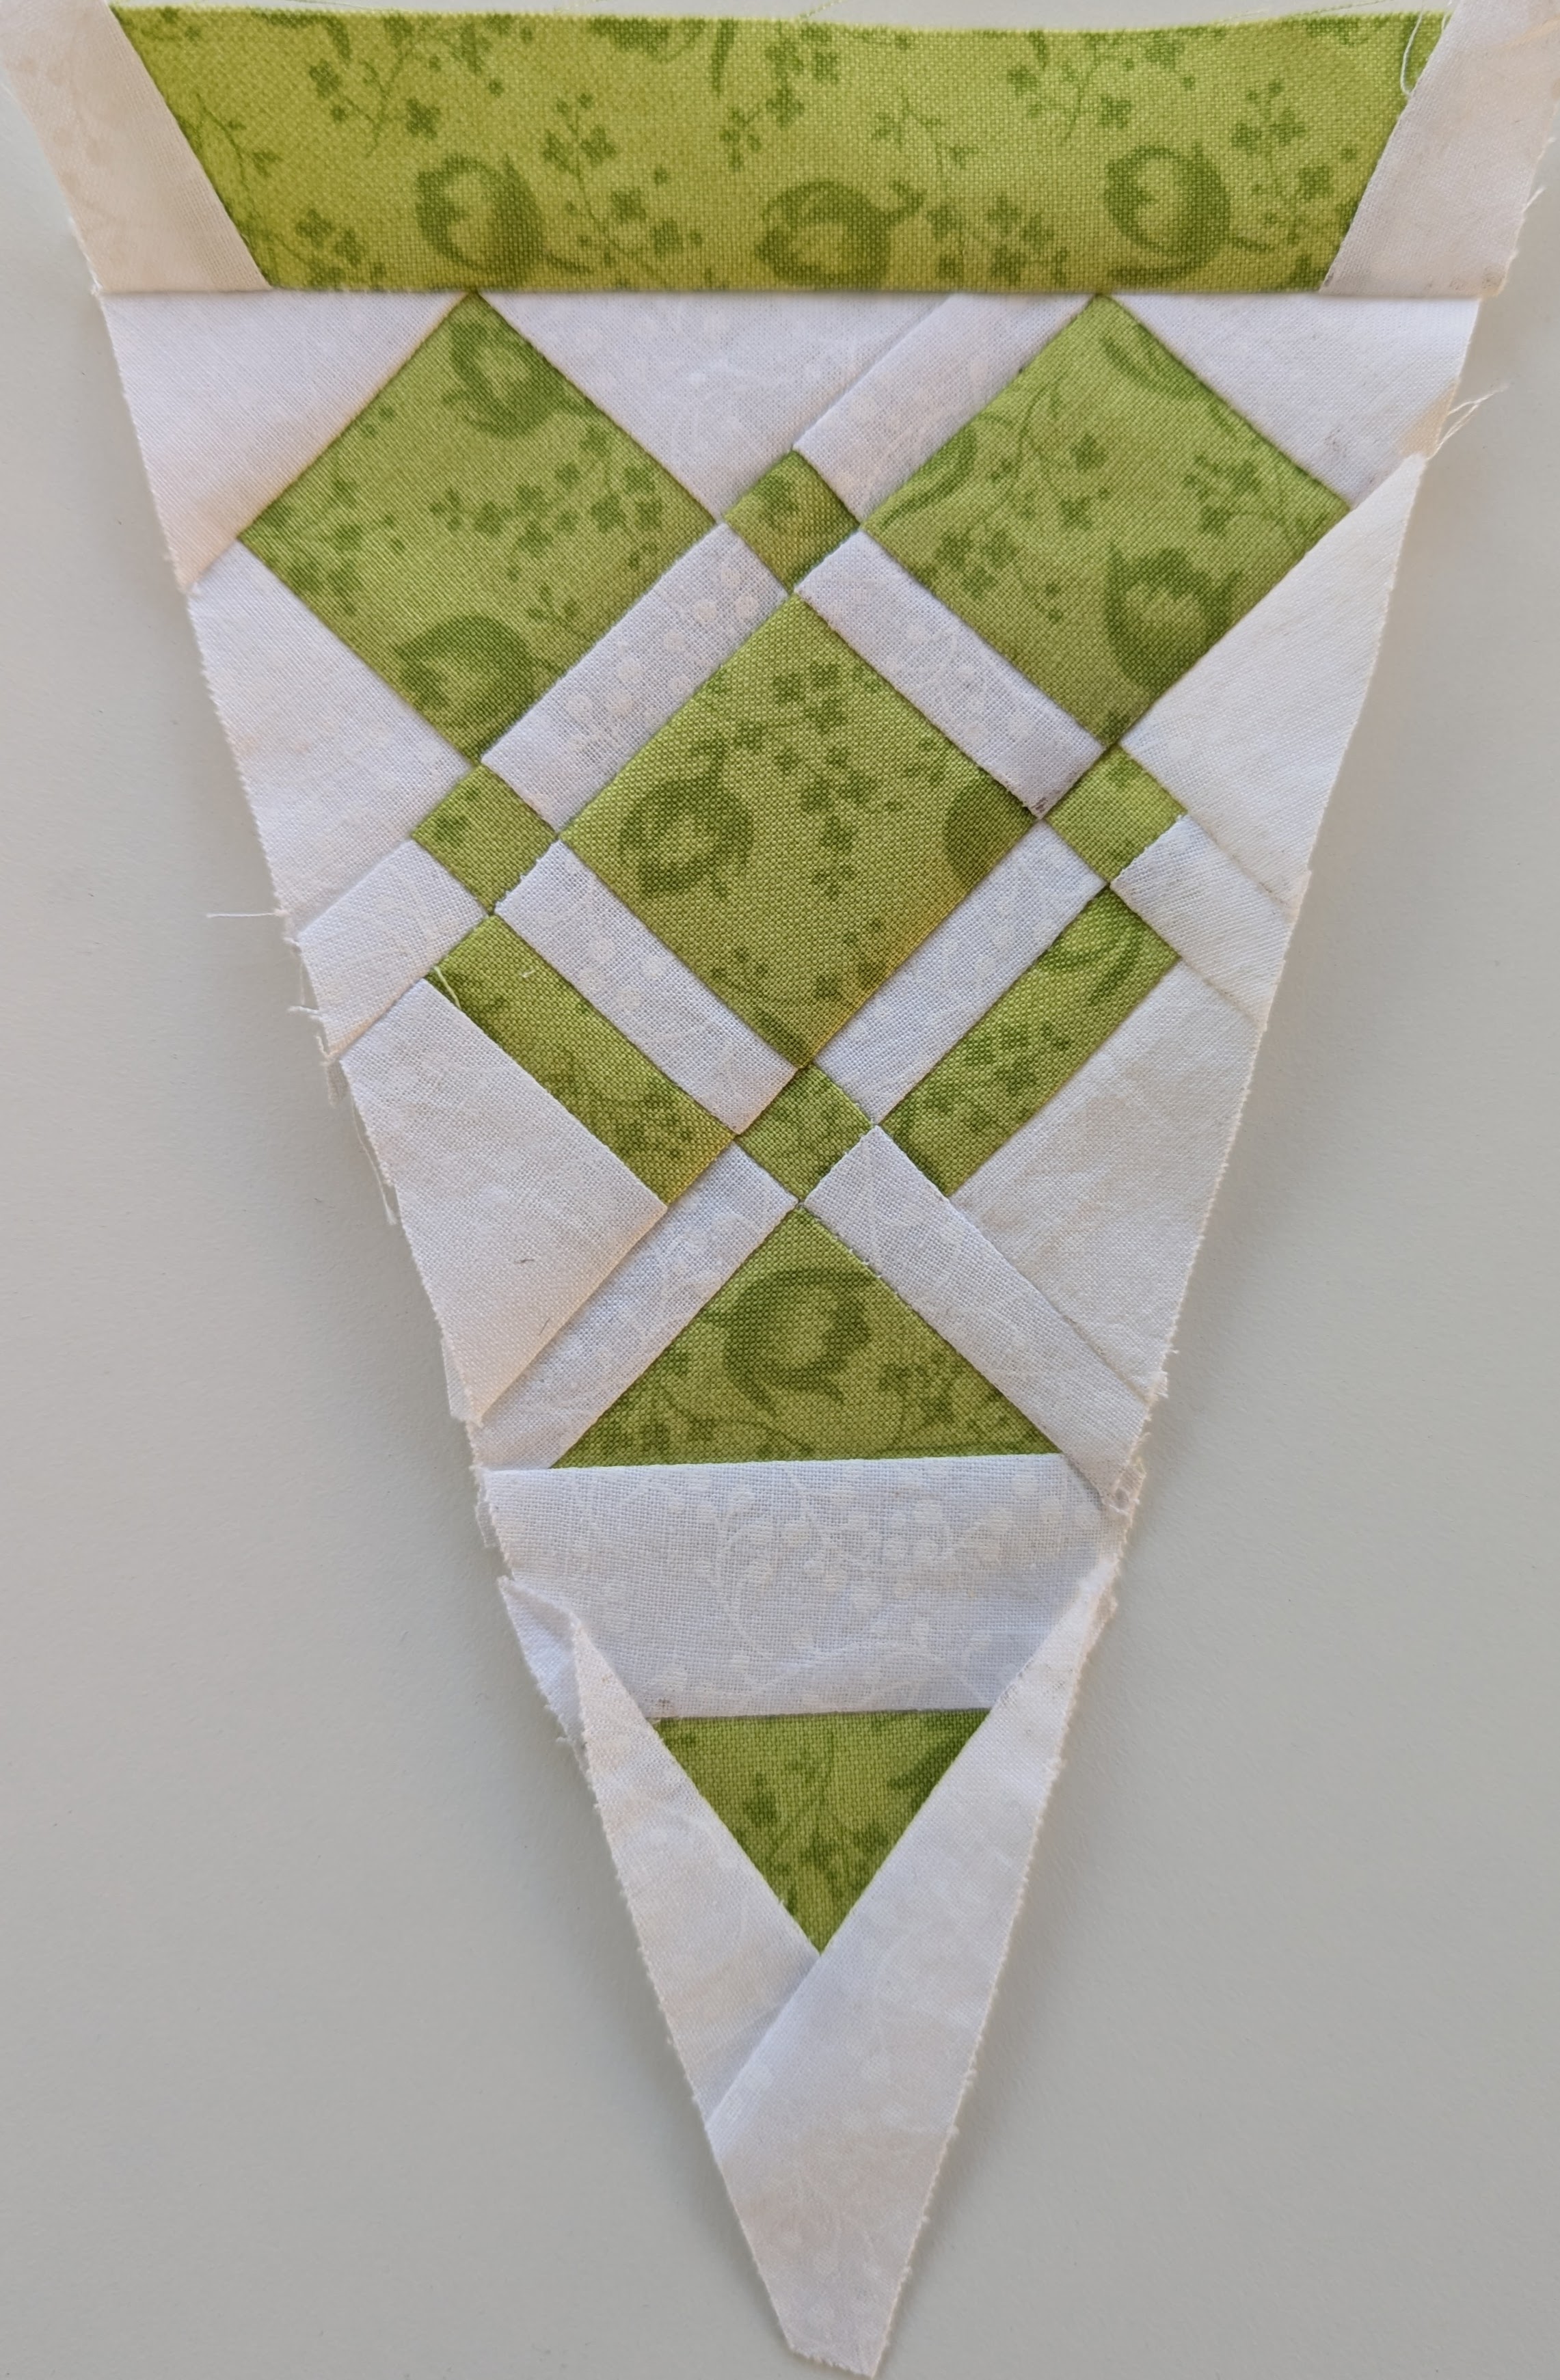
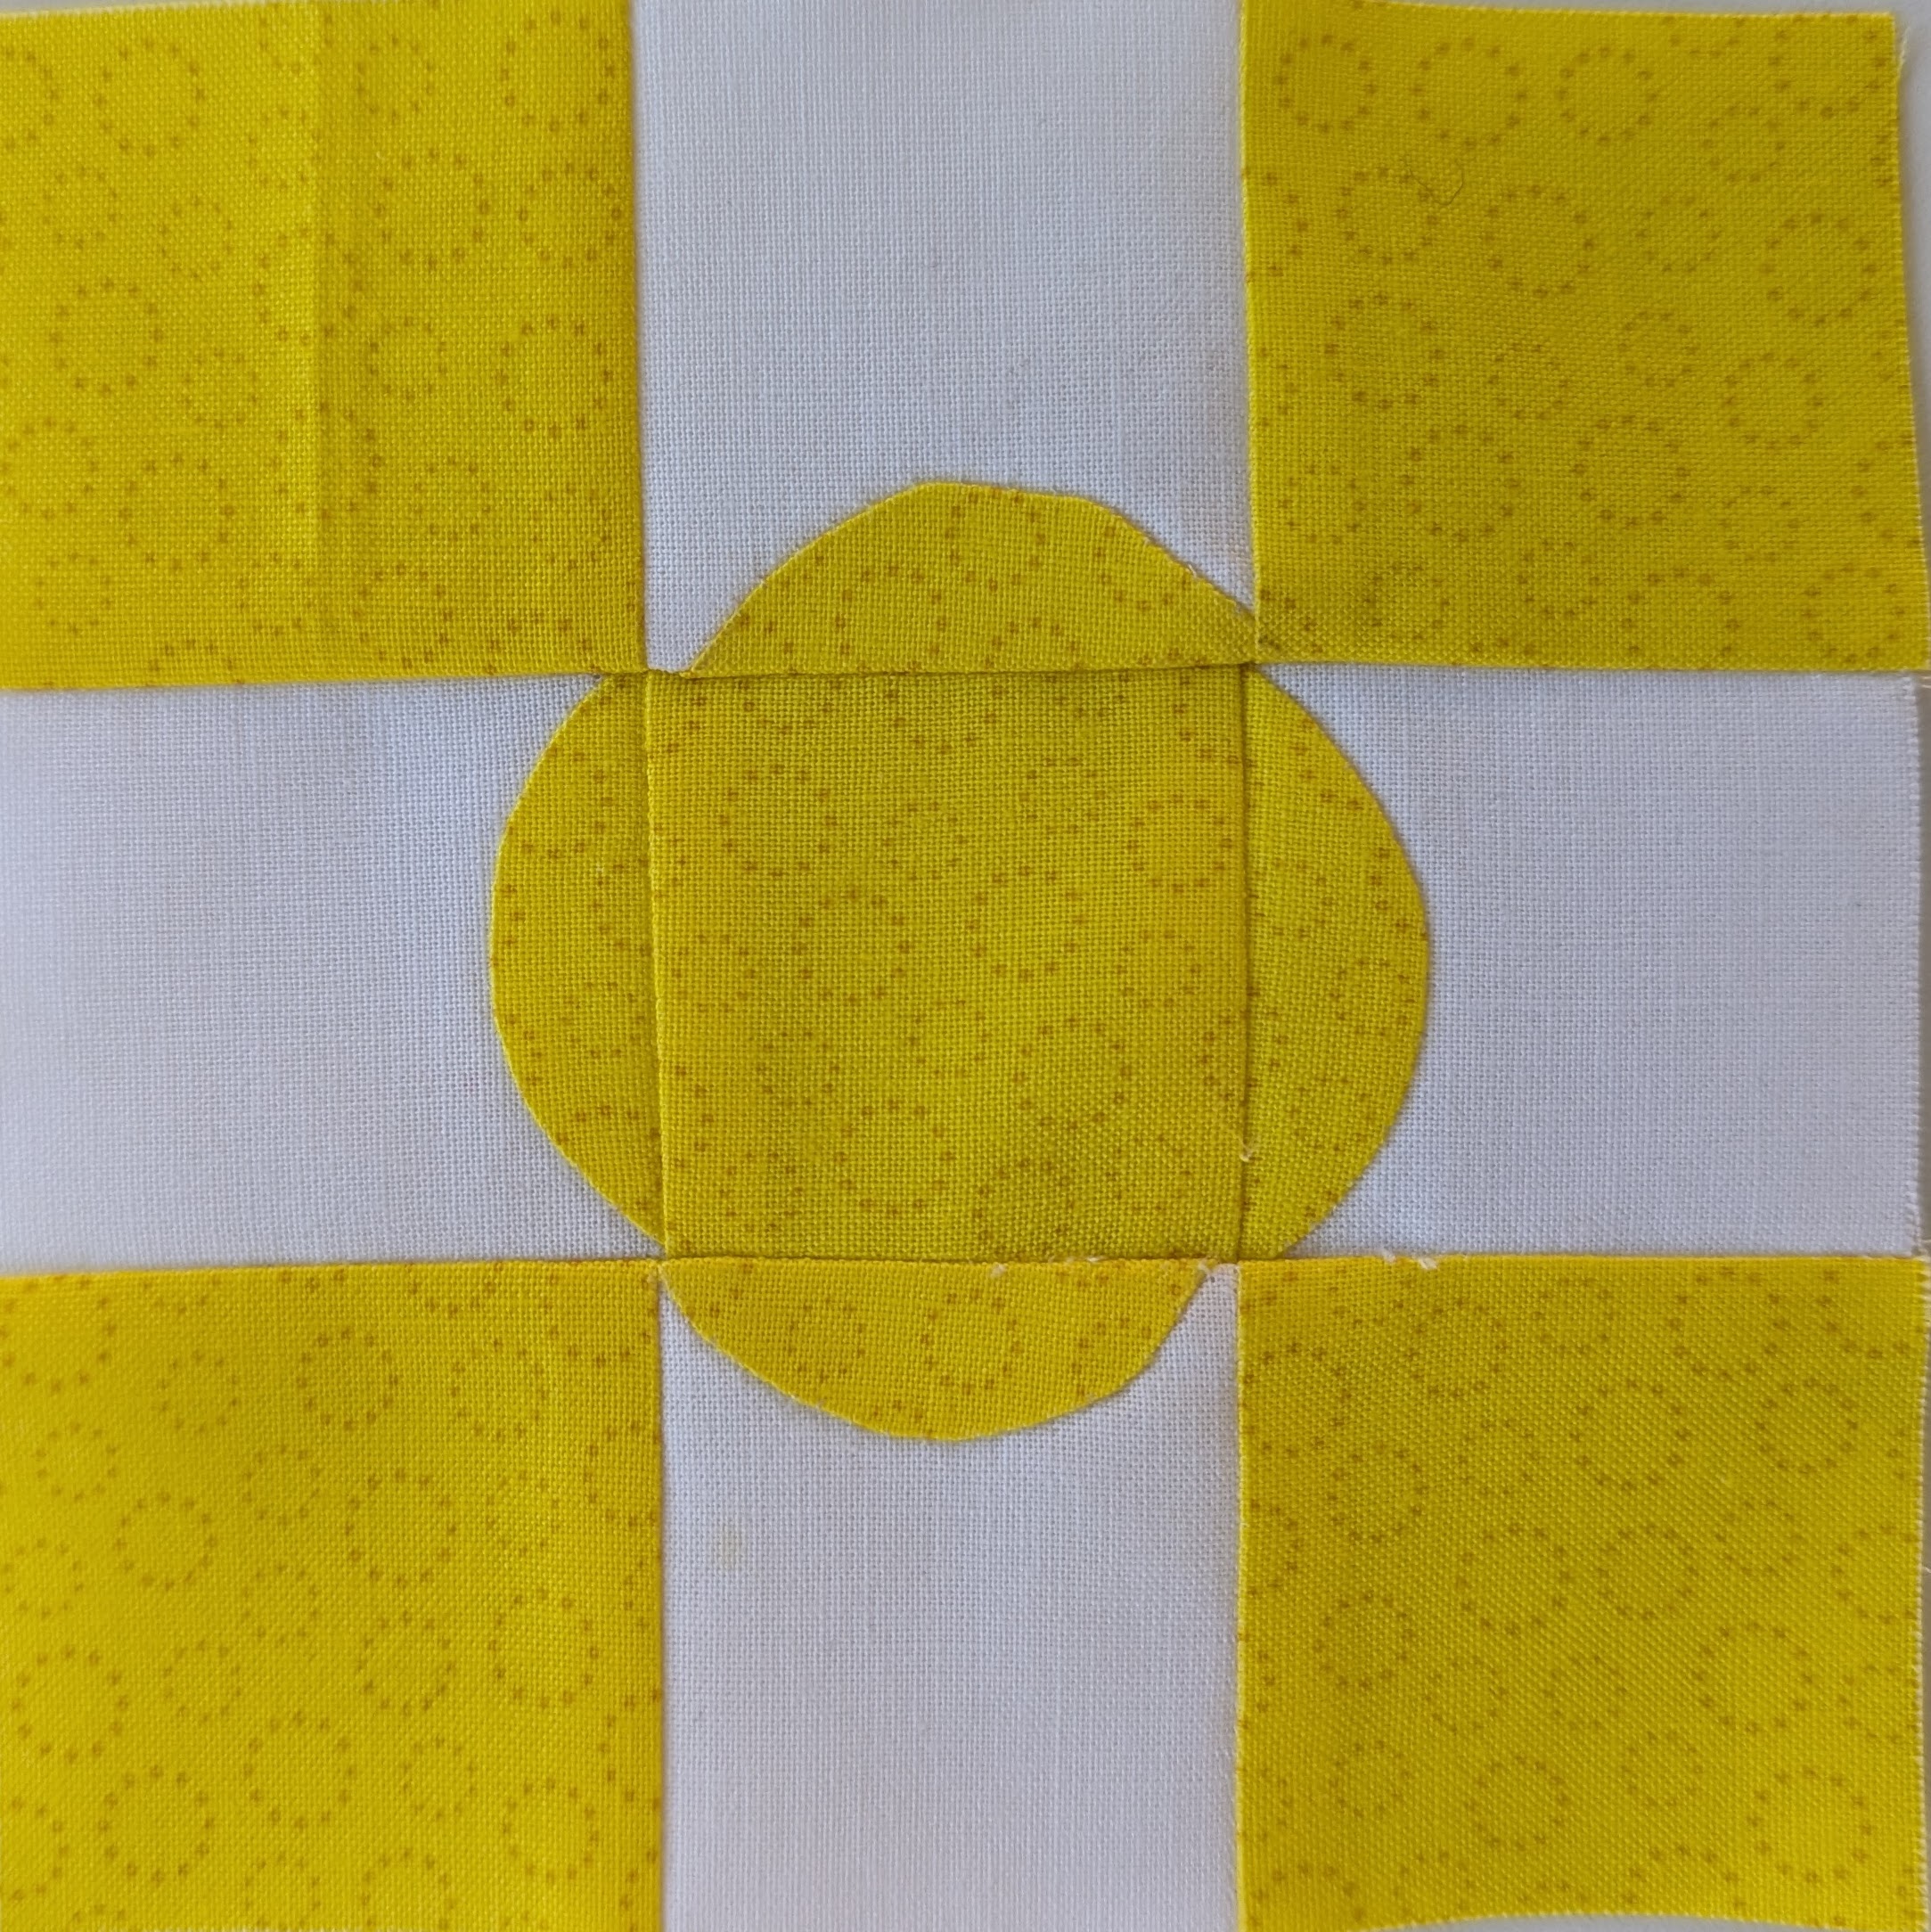
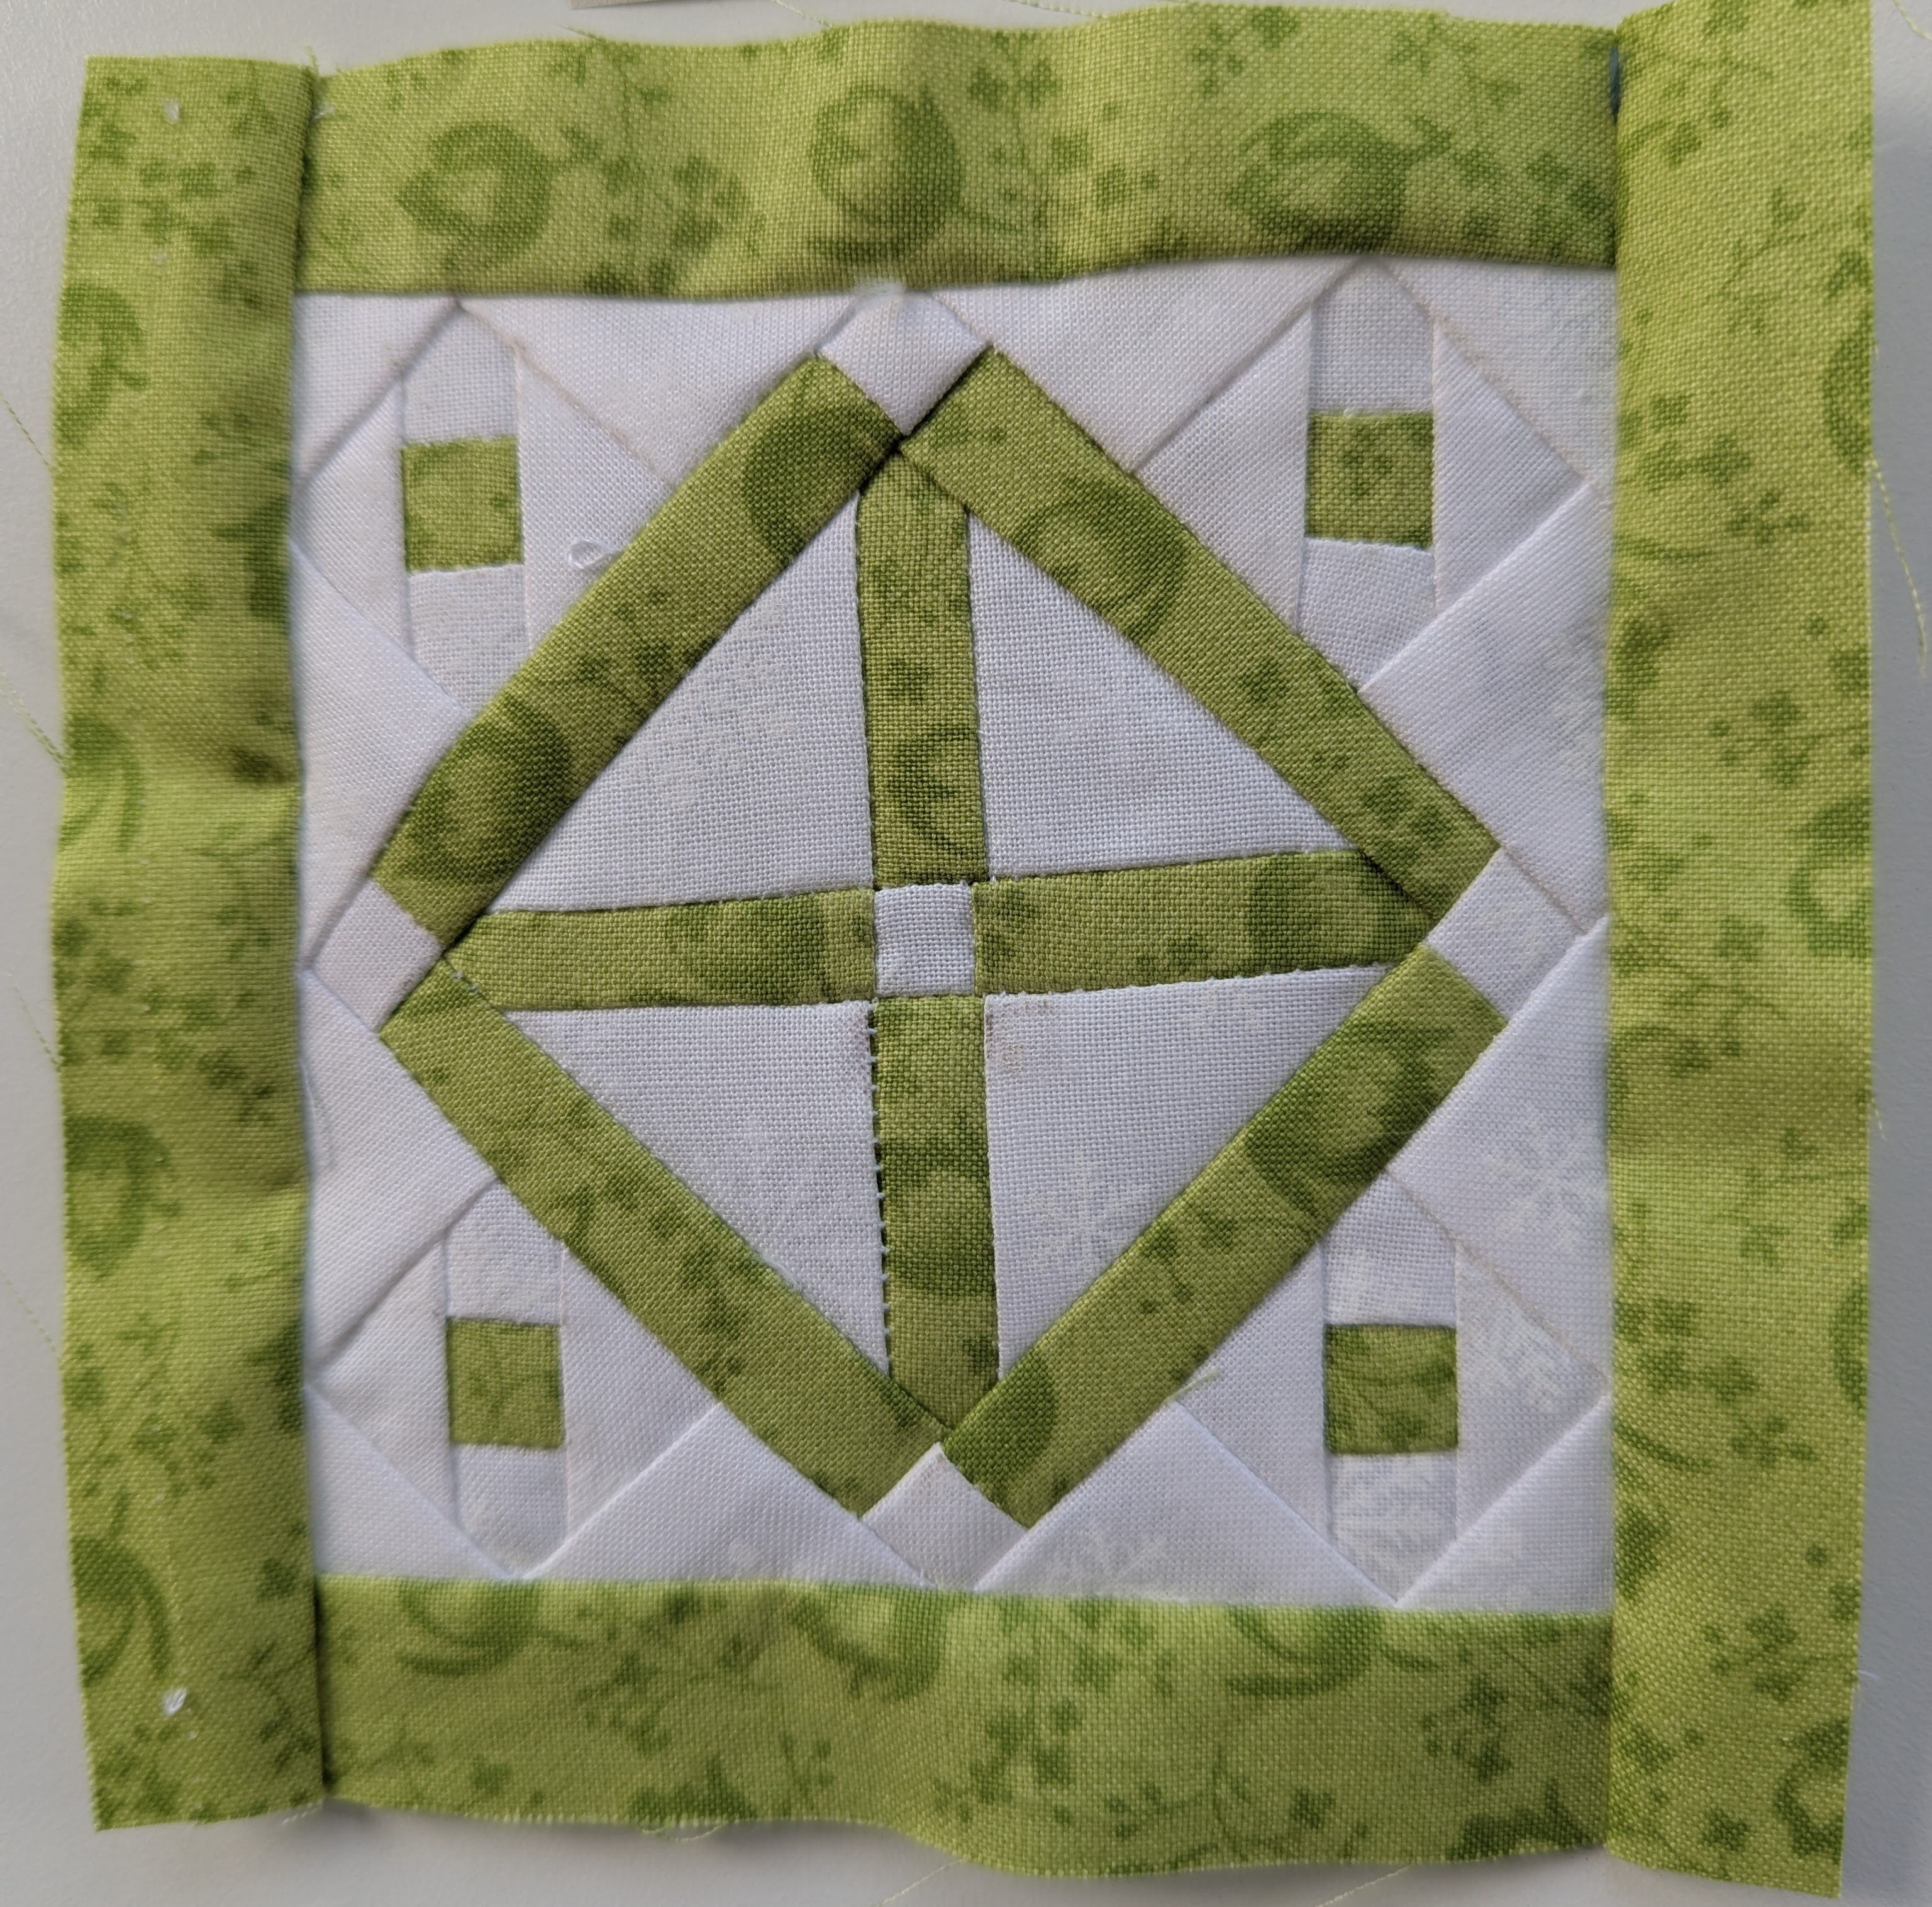
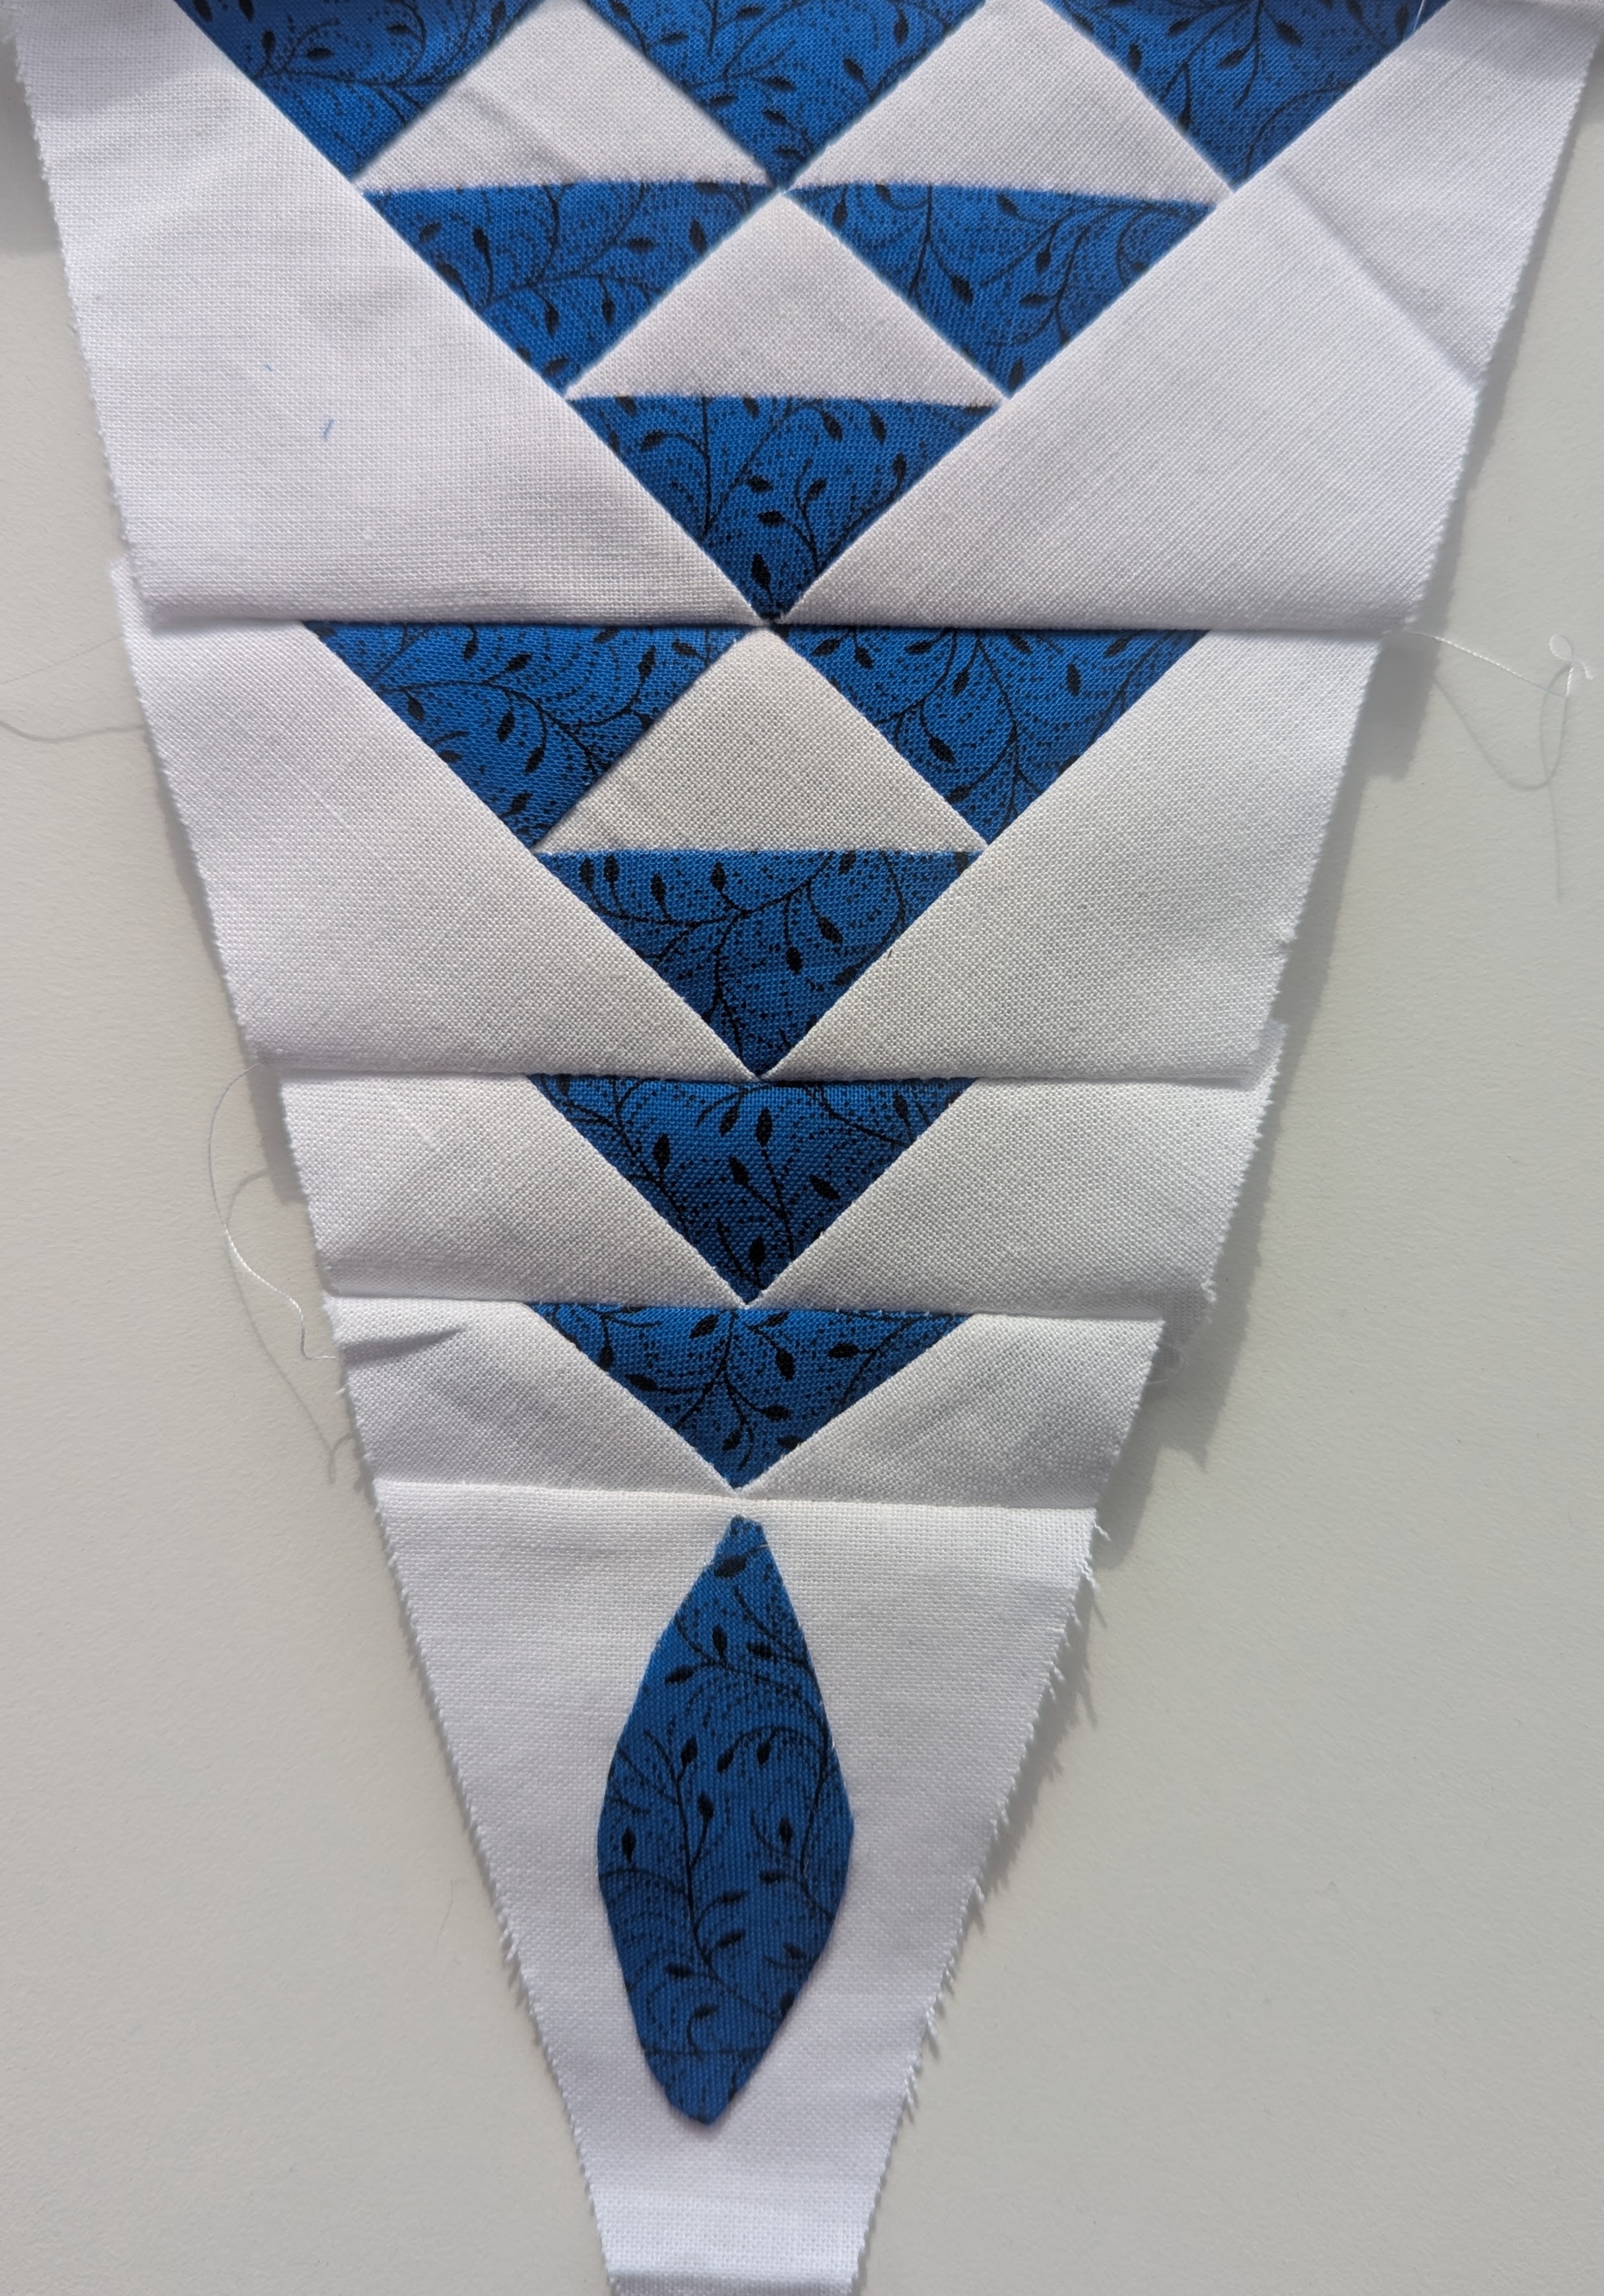
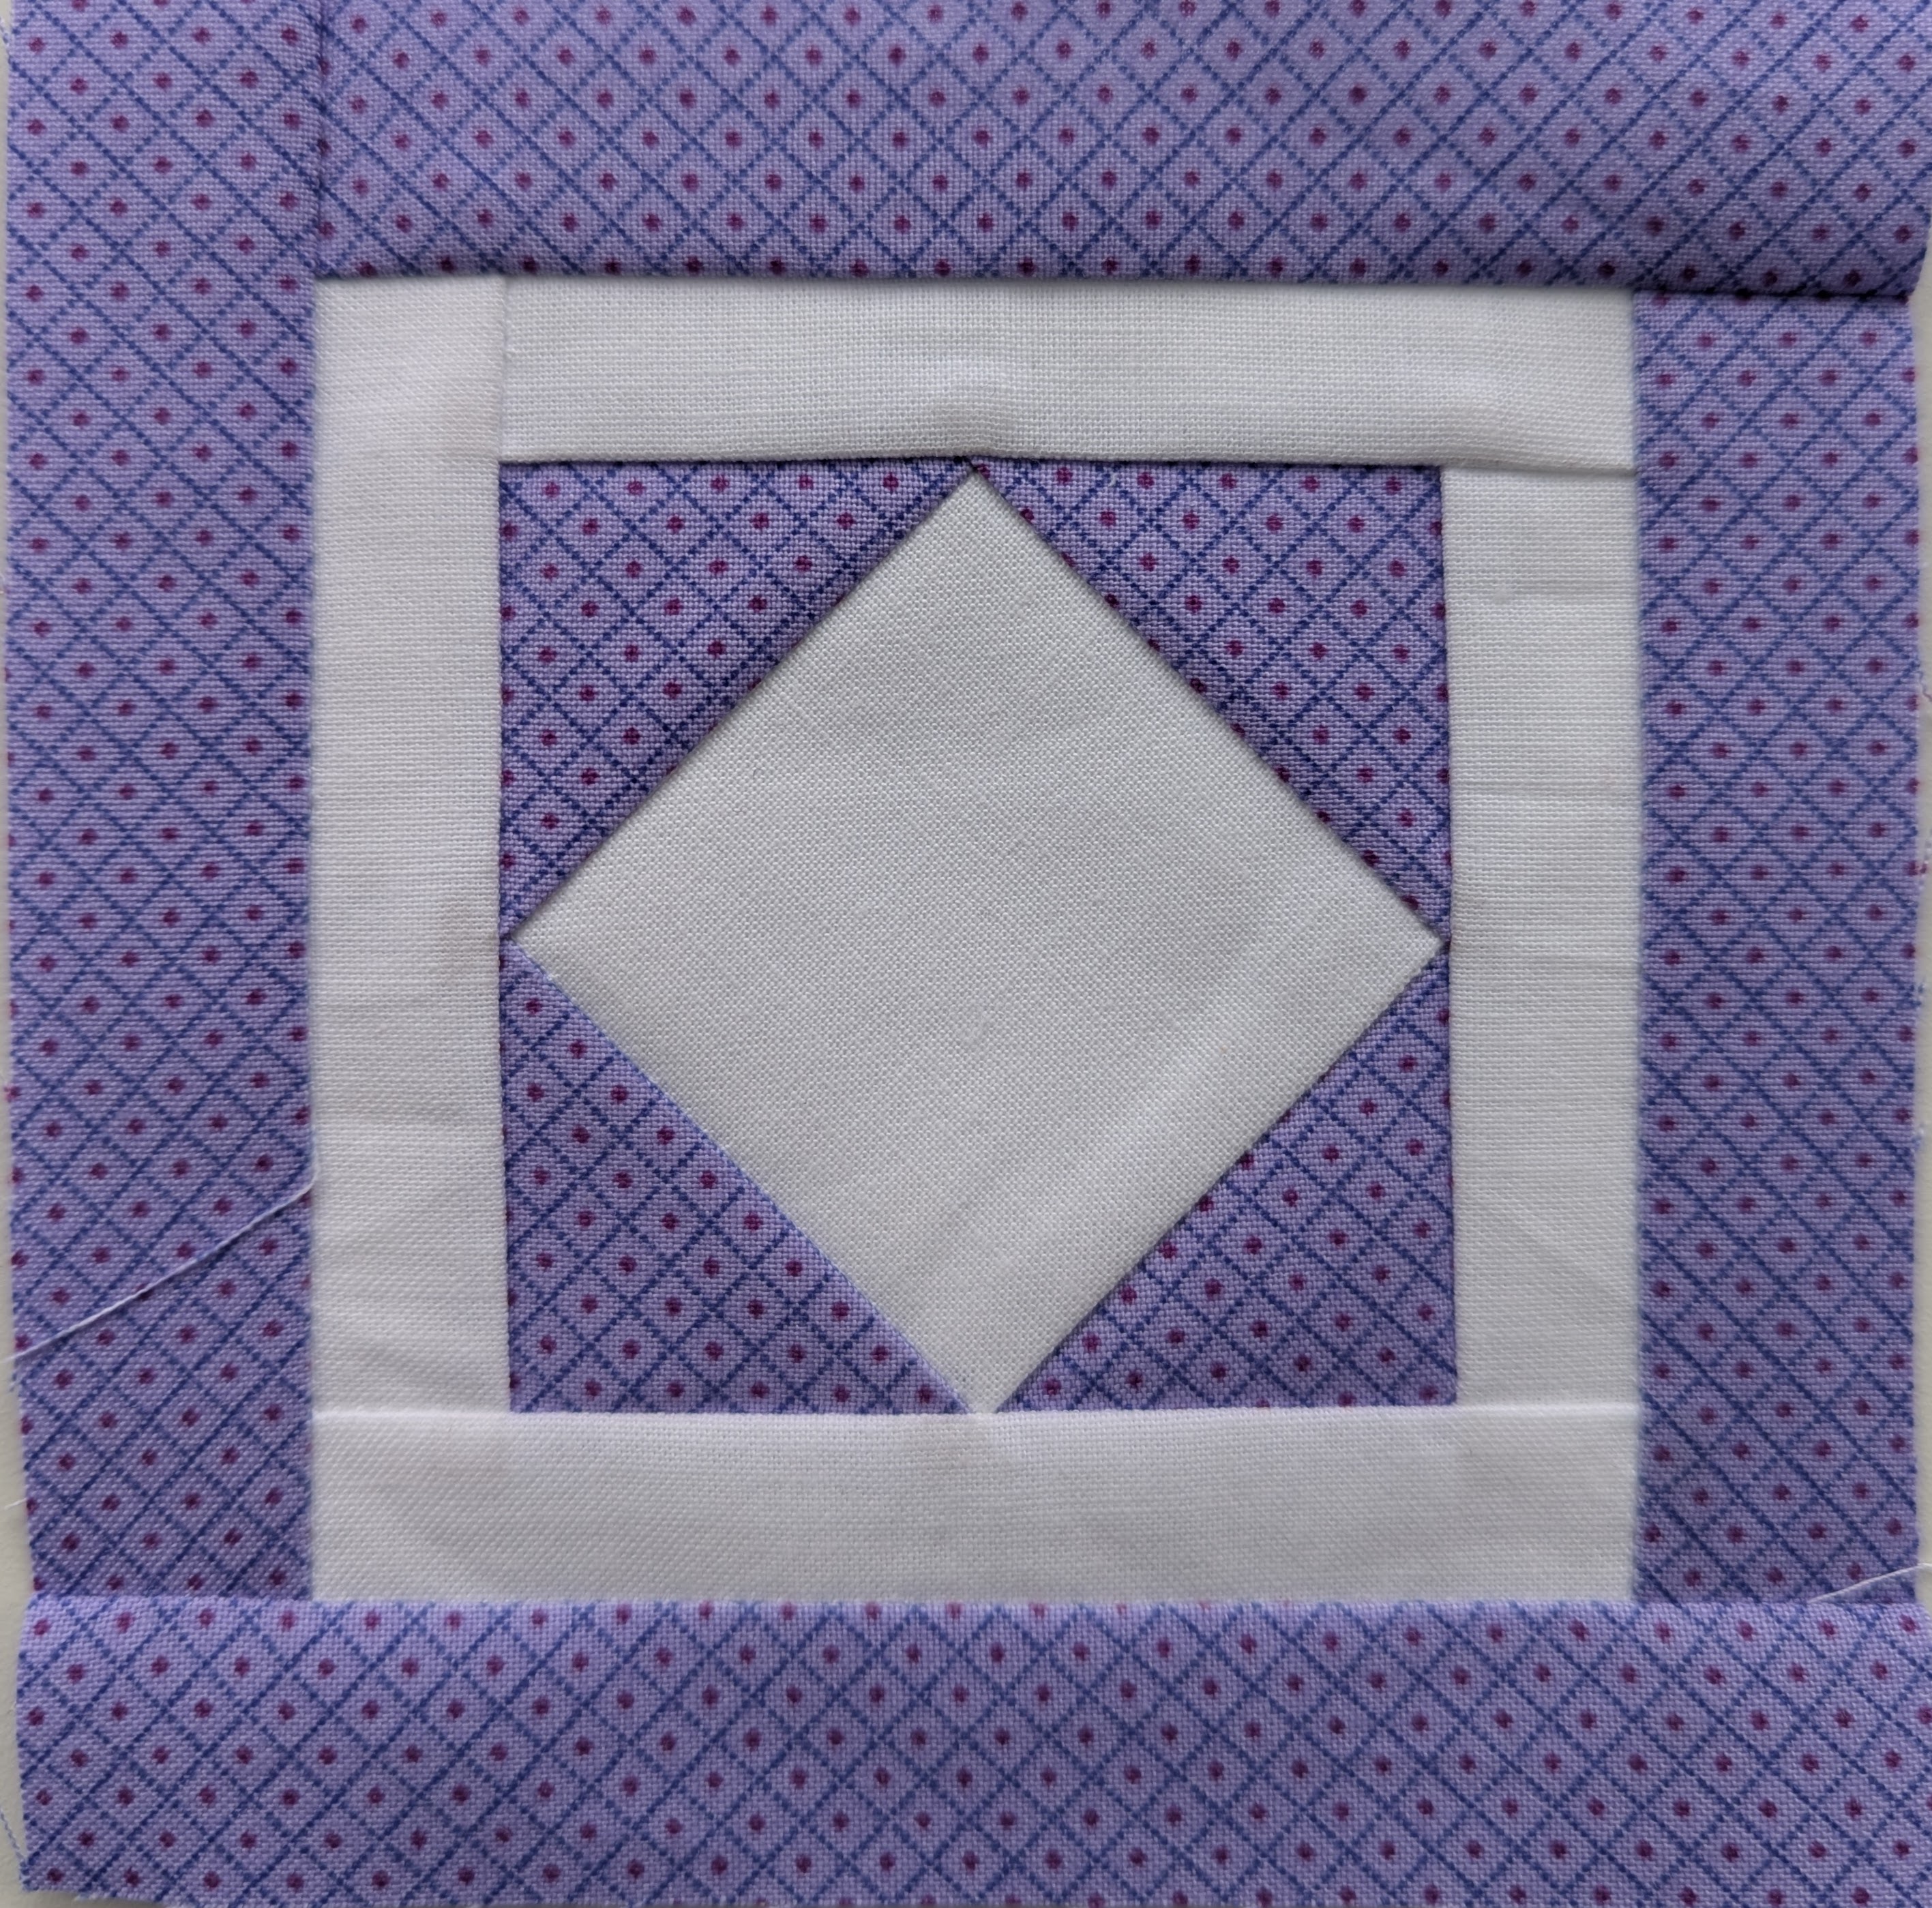
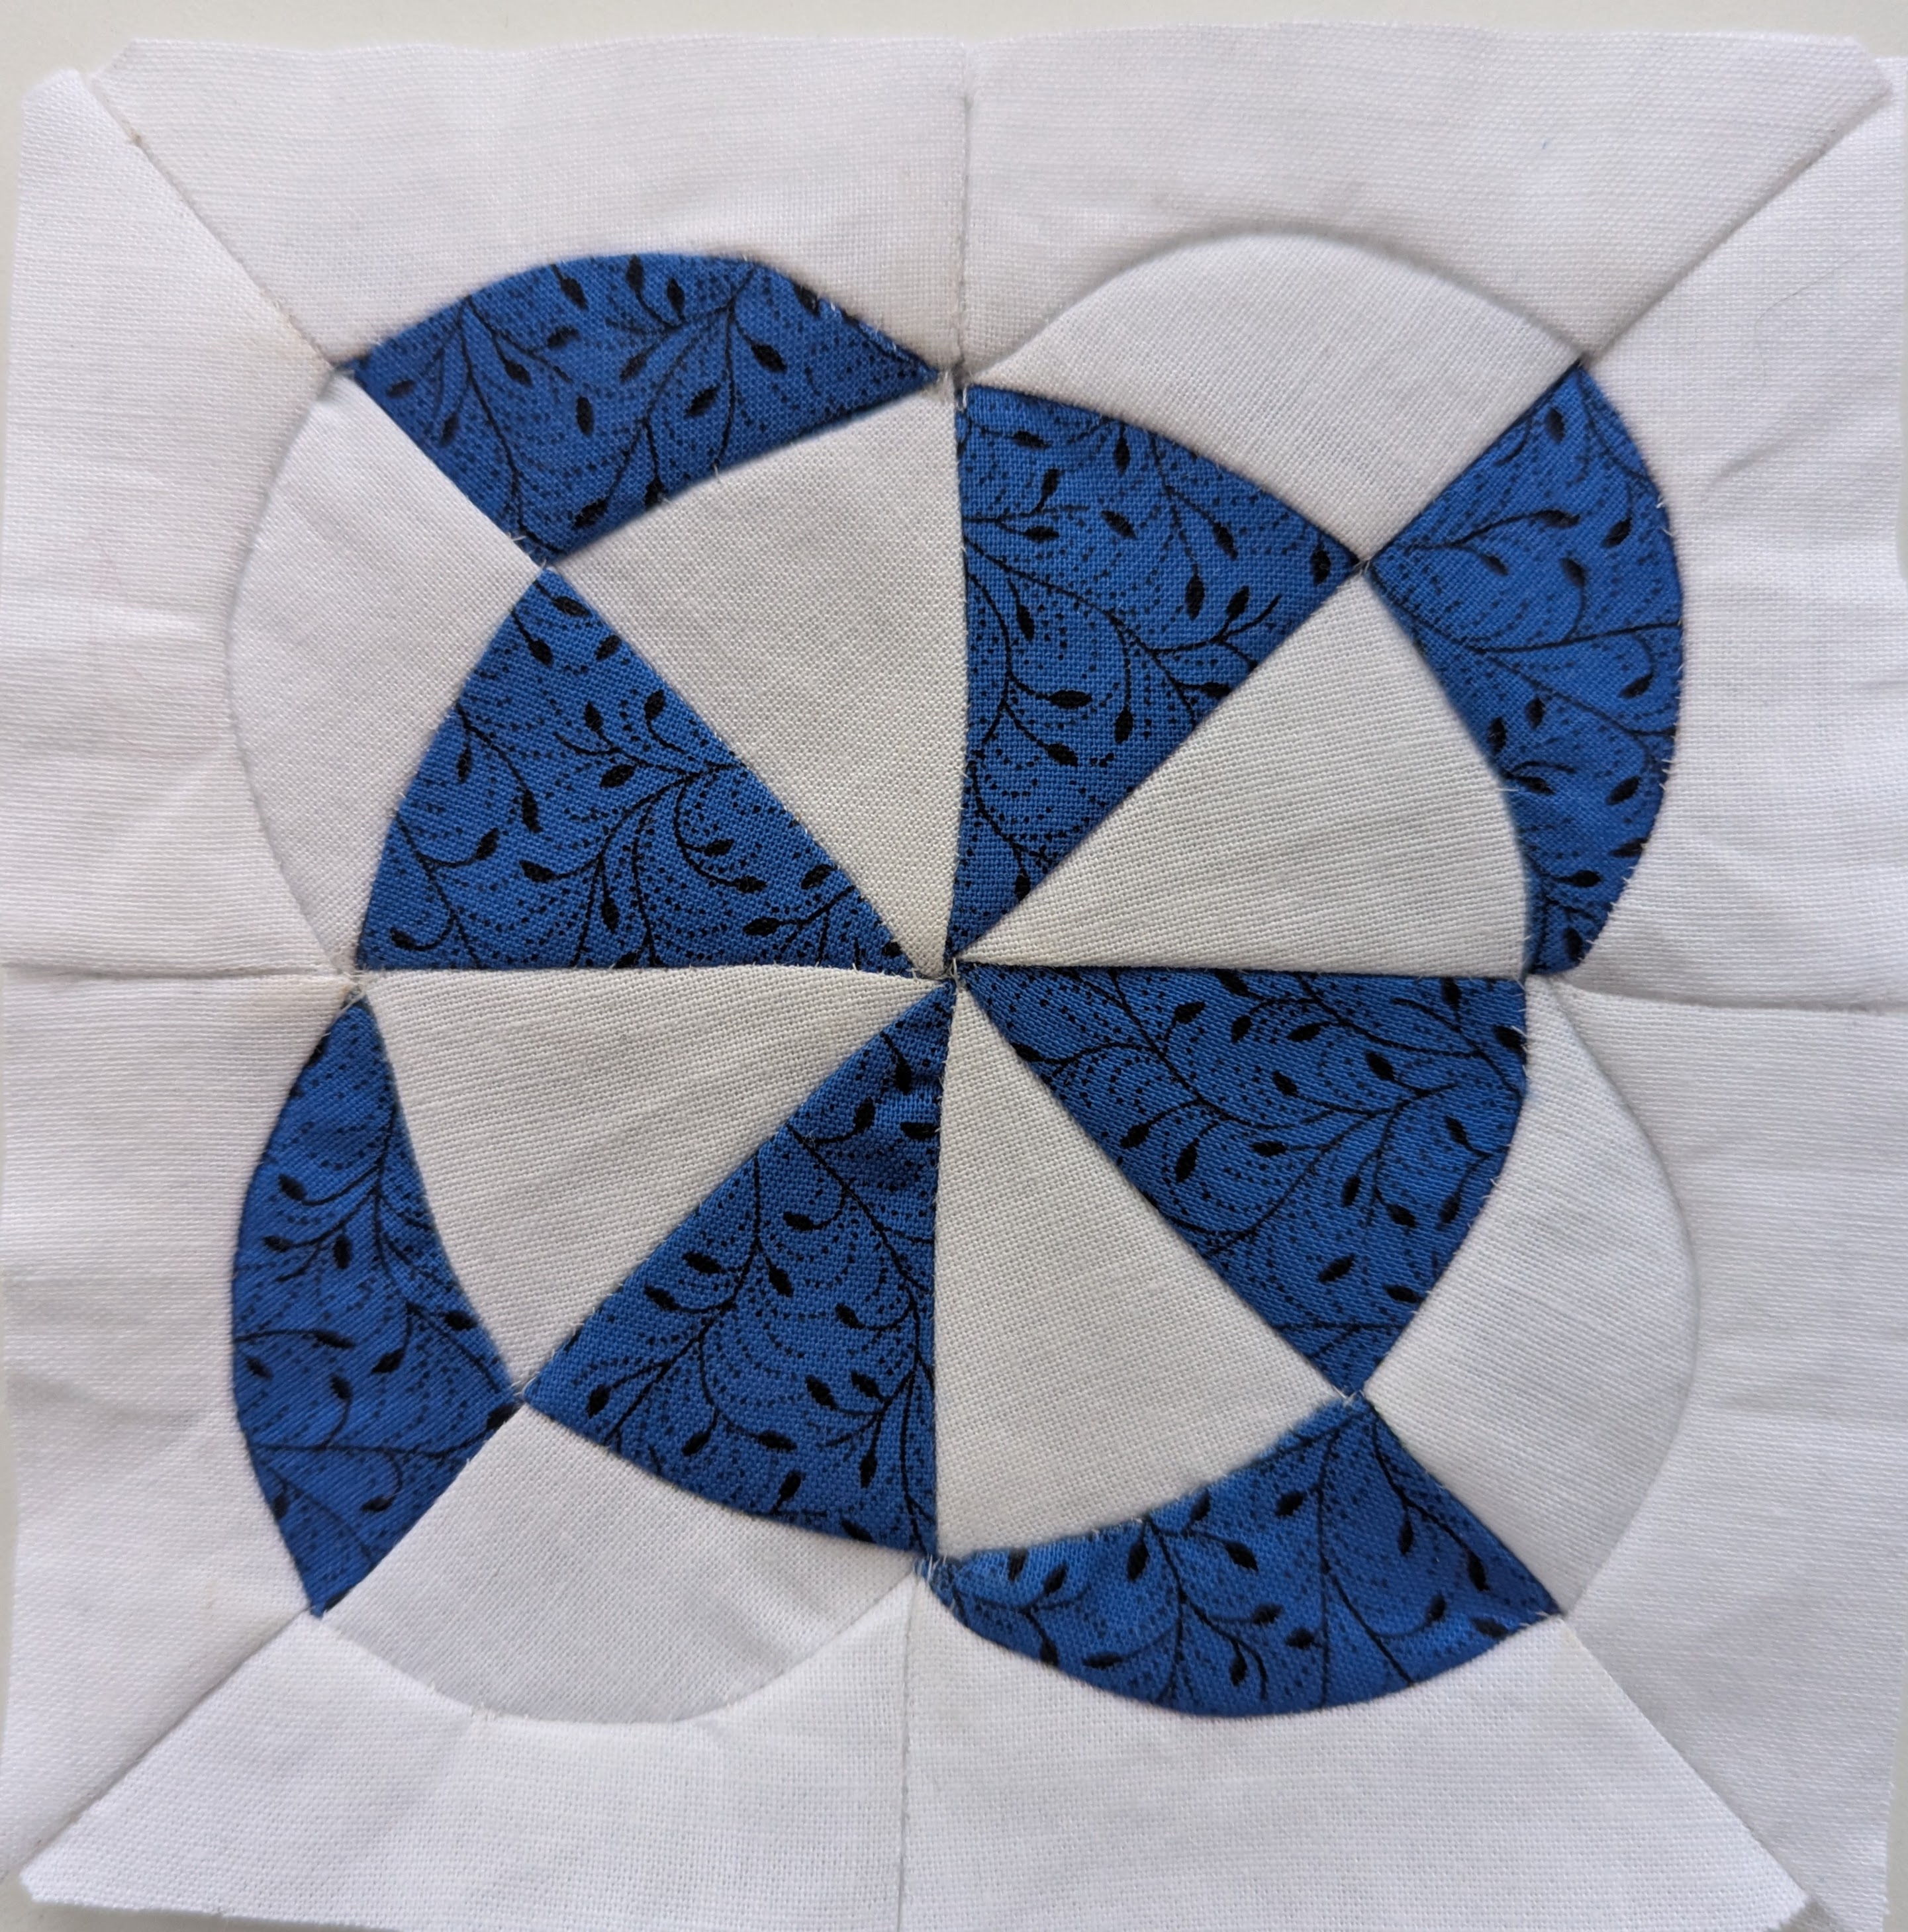
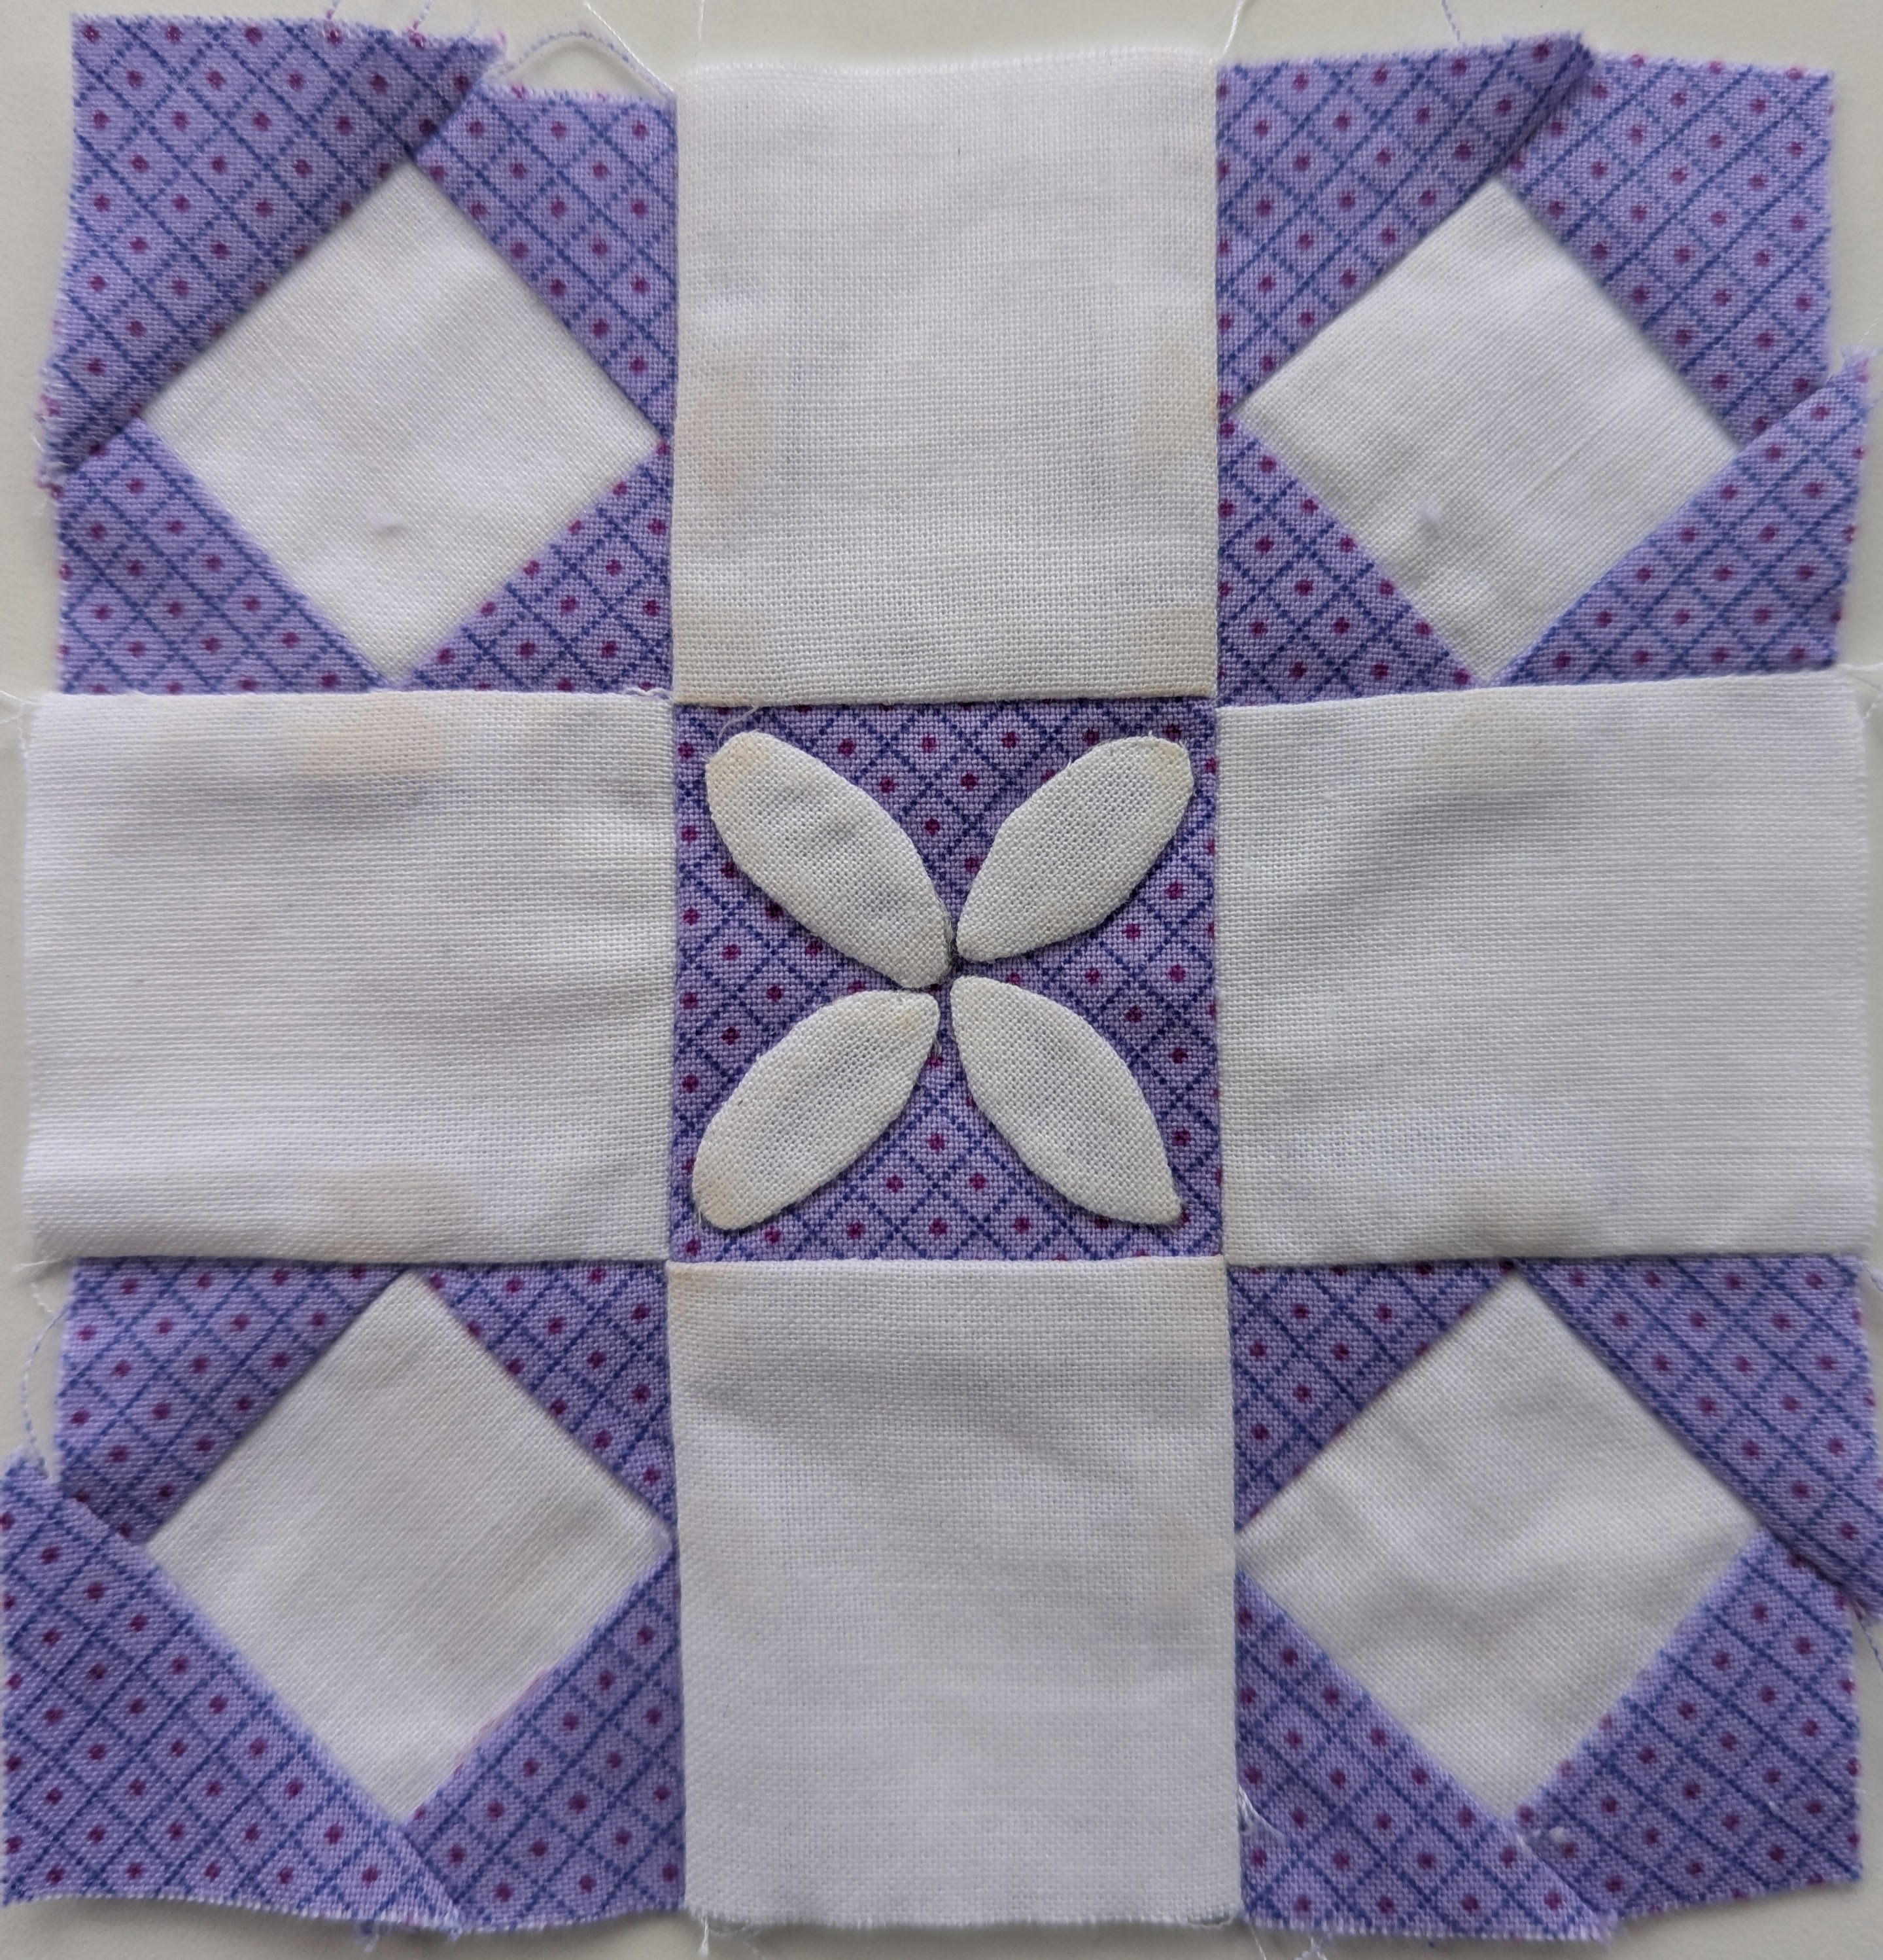
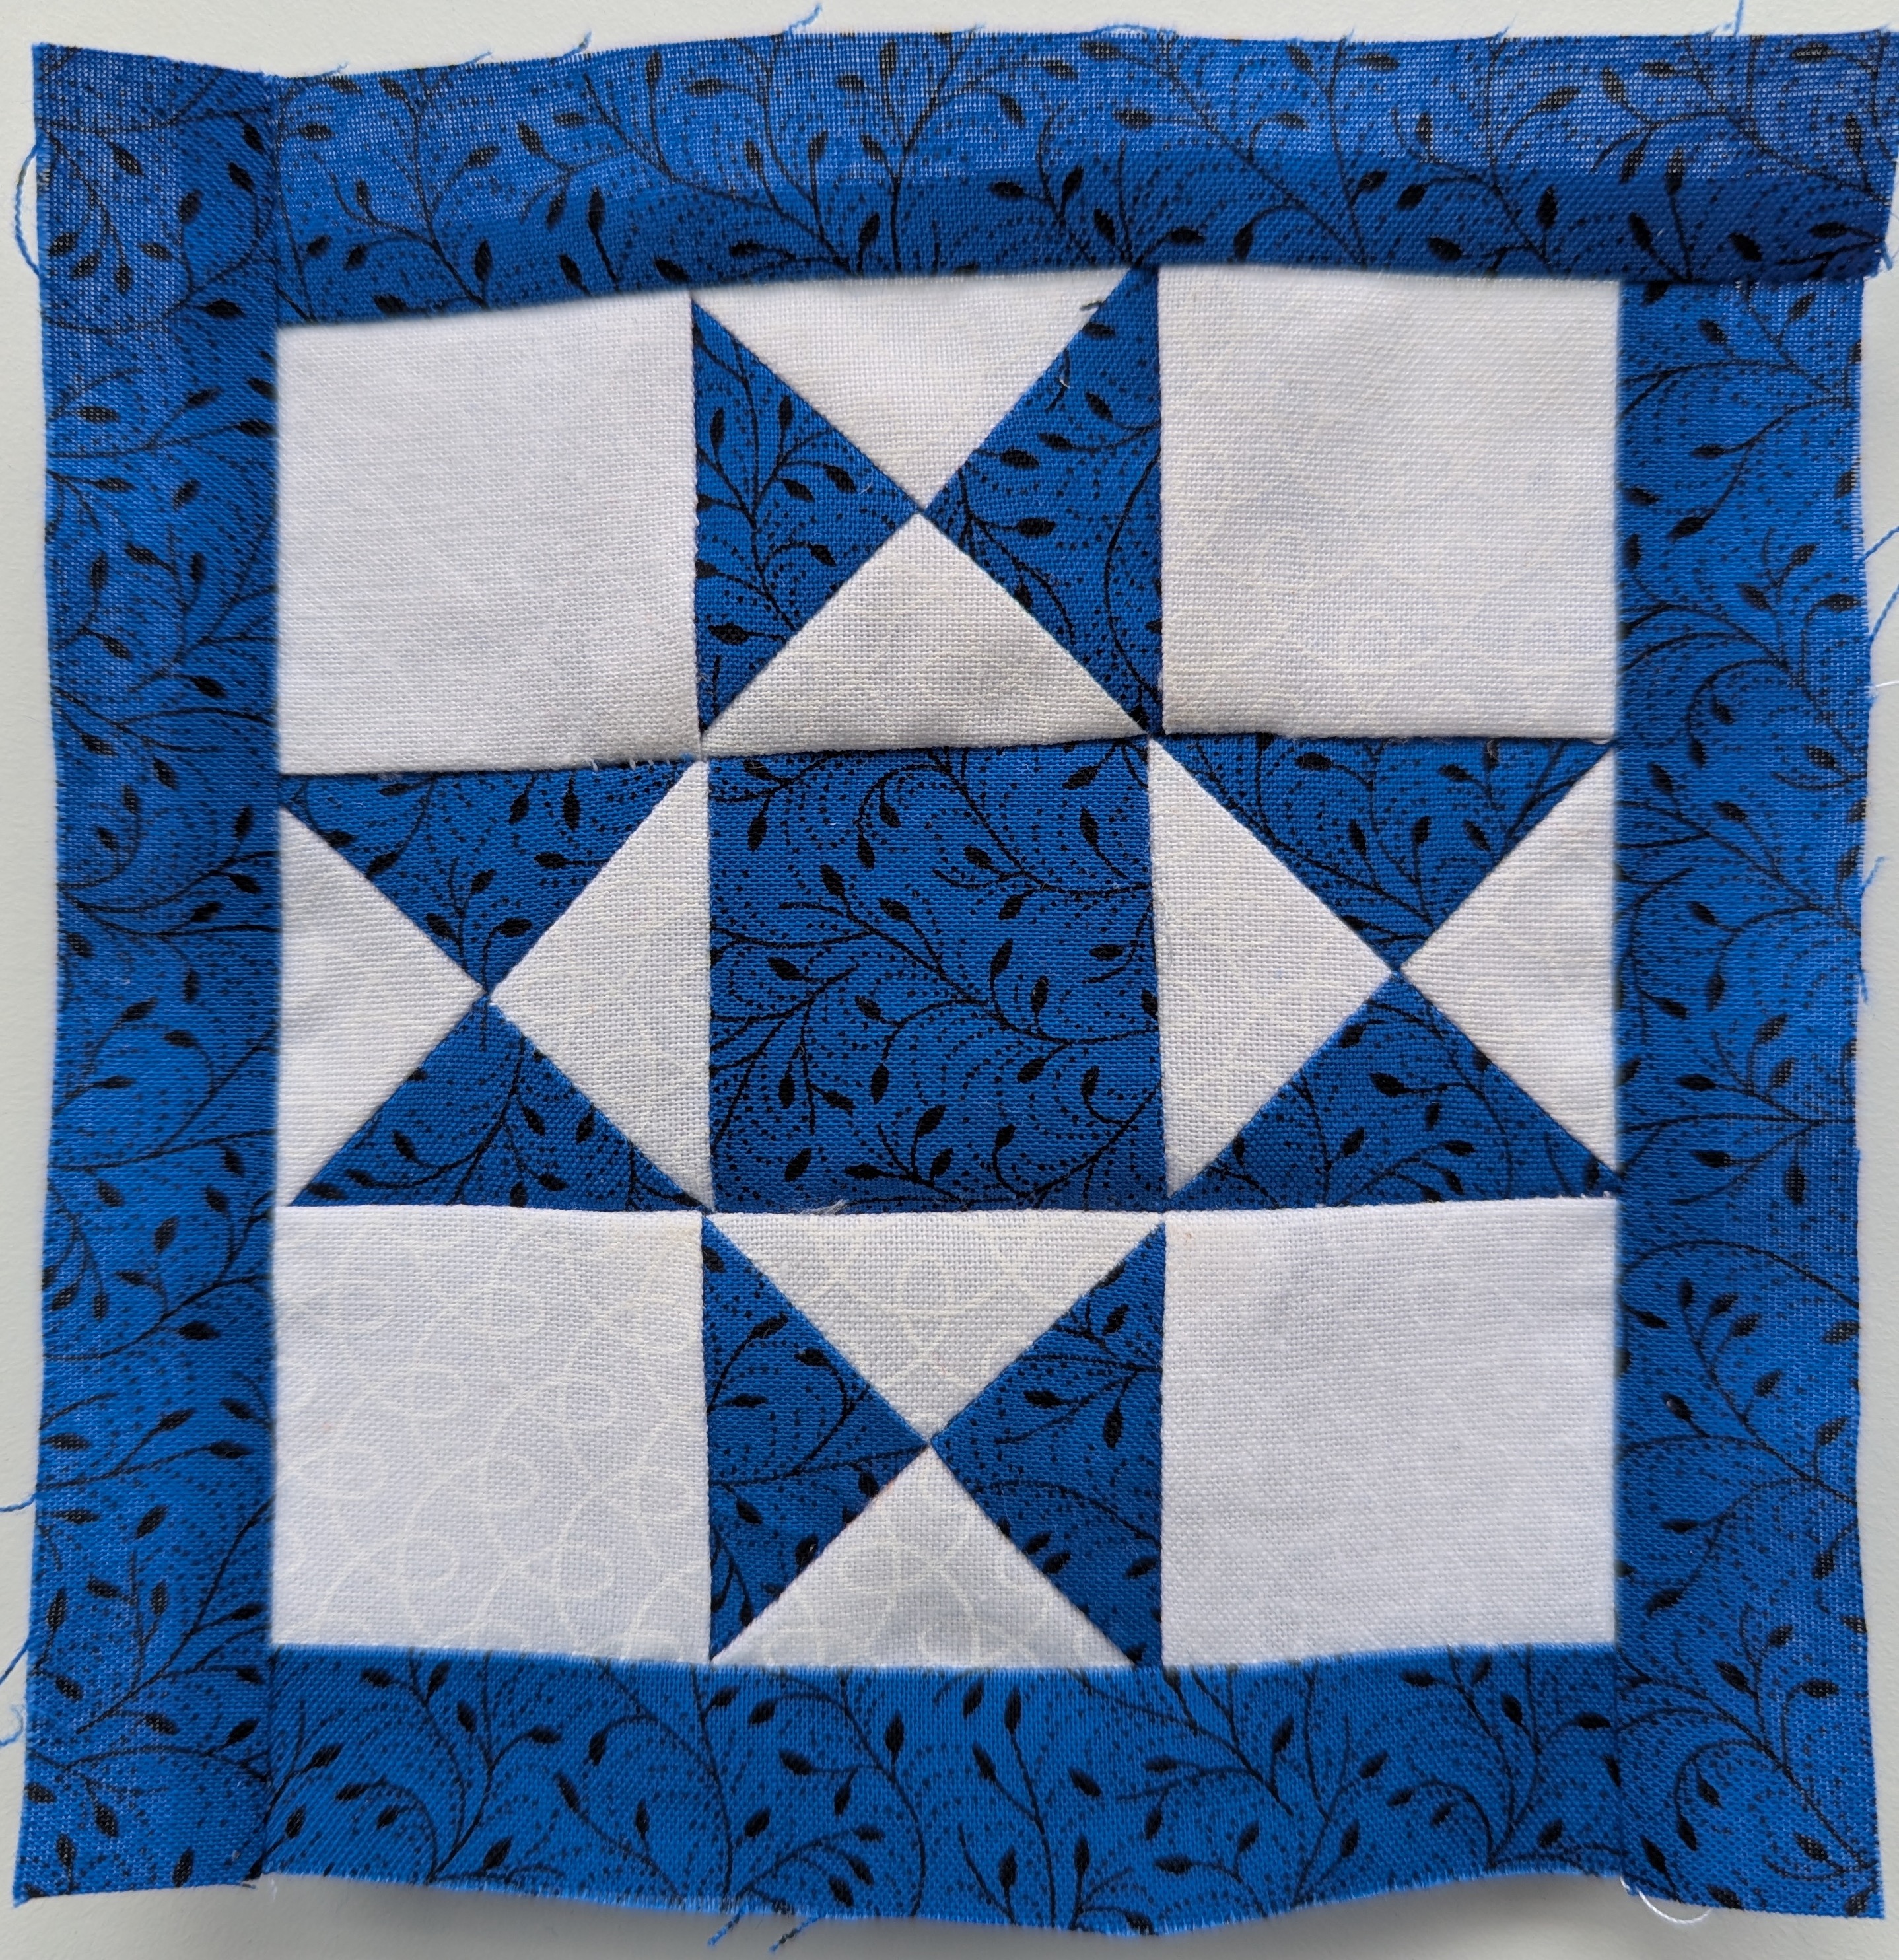
At the end of my Judging Standards Presentation, I will share some of my work, and invite the audience to decide where it might fit in the competition. I’ll also invite them to consider how they would “judge” each piece, using the following criteria:
General Appearance and Design (25%)
- Attracts attention (outstanding colour, design, etc.)
- Neat, clean, no chalk, pencil marks or blood stains
- Must be smoke-free
- No rippling edges
- No basting threads or knots showing on front or back
- Backing smooth and free from wrinkles and must complement the top
- Design of quilting suitable to design of quilt
- Scale and proportion of pieces and shapes relate to each other and to size of quilt
- One focal point, or eye travels around
- Pleasing proportion of border to rest of quilt
- Scallops, picots, or additional features complement design of quilt and quilting
Colour and Materials (20%)
- Attractive combinations
- Top and back harmonize – back may be pieced
- Prints and solids used in pleasing relationships
- Any interesting combination of light and dark, large and small print
- Fabrics are of good, uniform quality, colour fast and durable. Selvage must be cut off.
- Thread is durable, and of a suitable colour
- Filling is smooth and evenly distributed, of a suitable weight for article, and should launder well.
Quilting (30%)
- Single thread used
- Stitches uniform and evenly spaced on both front and back
- If pieced or appliqued, more quilting than stitching in the ditch needed to give texture
- Quilting should be adequate to the design and materials
Turning Guild Quilters into Fair Exhibitors
All work submitted to our Fall Fairs must be solely the work of the exhibitor, unless otherwise stated in the rules. While quilts which are “sent out” to be quilted may sometimes be permitted, they cannot move on to District or Provincial competition. And so some Fair boards choose to simplify their rules, and ban all quilts done by more than one person.
This means that, generally, members of quilt guilds have not been exhibitors.
Let’s see if I can change that!