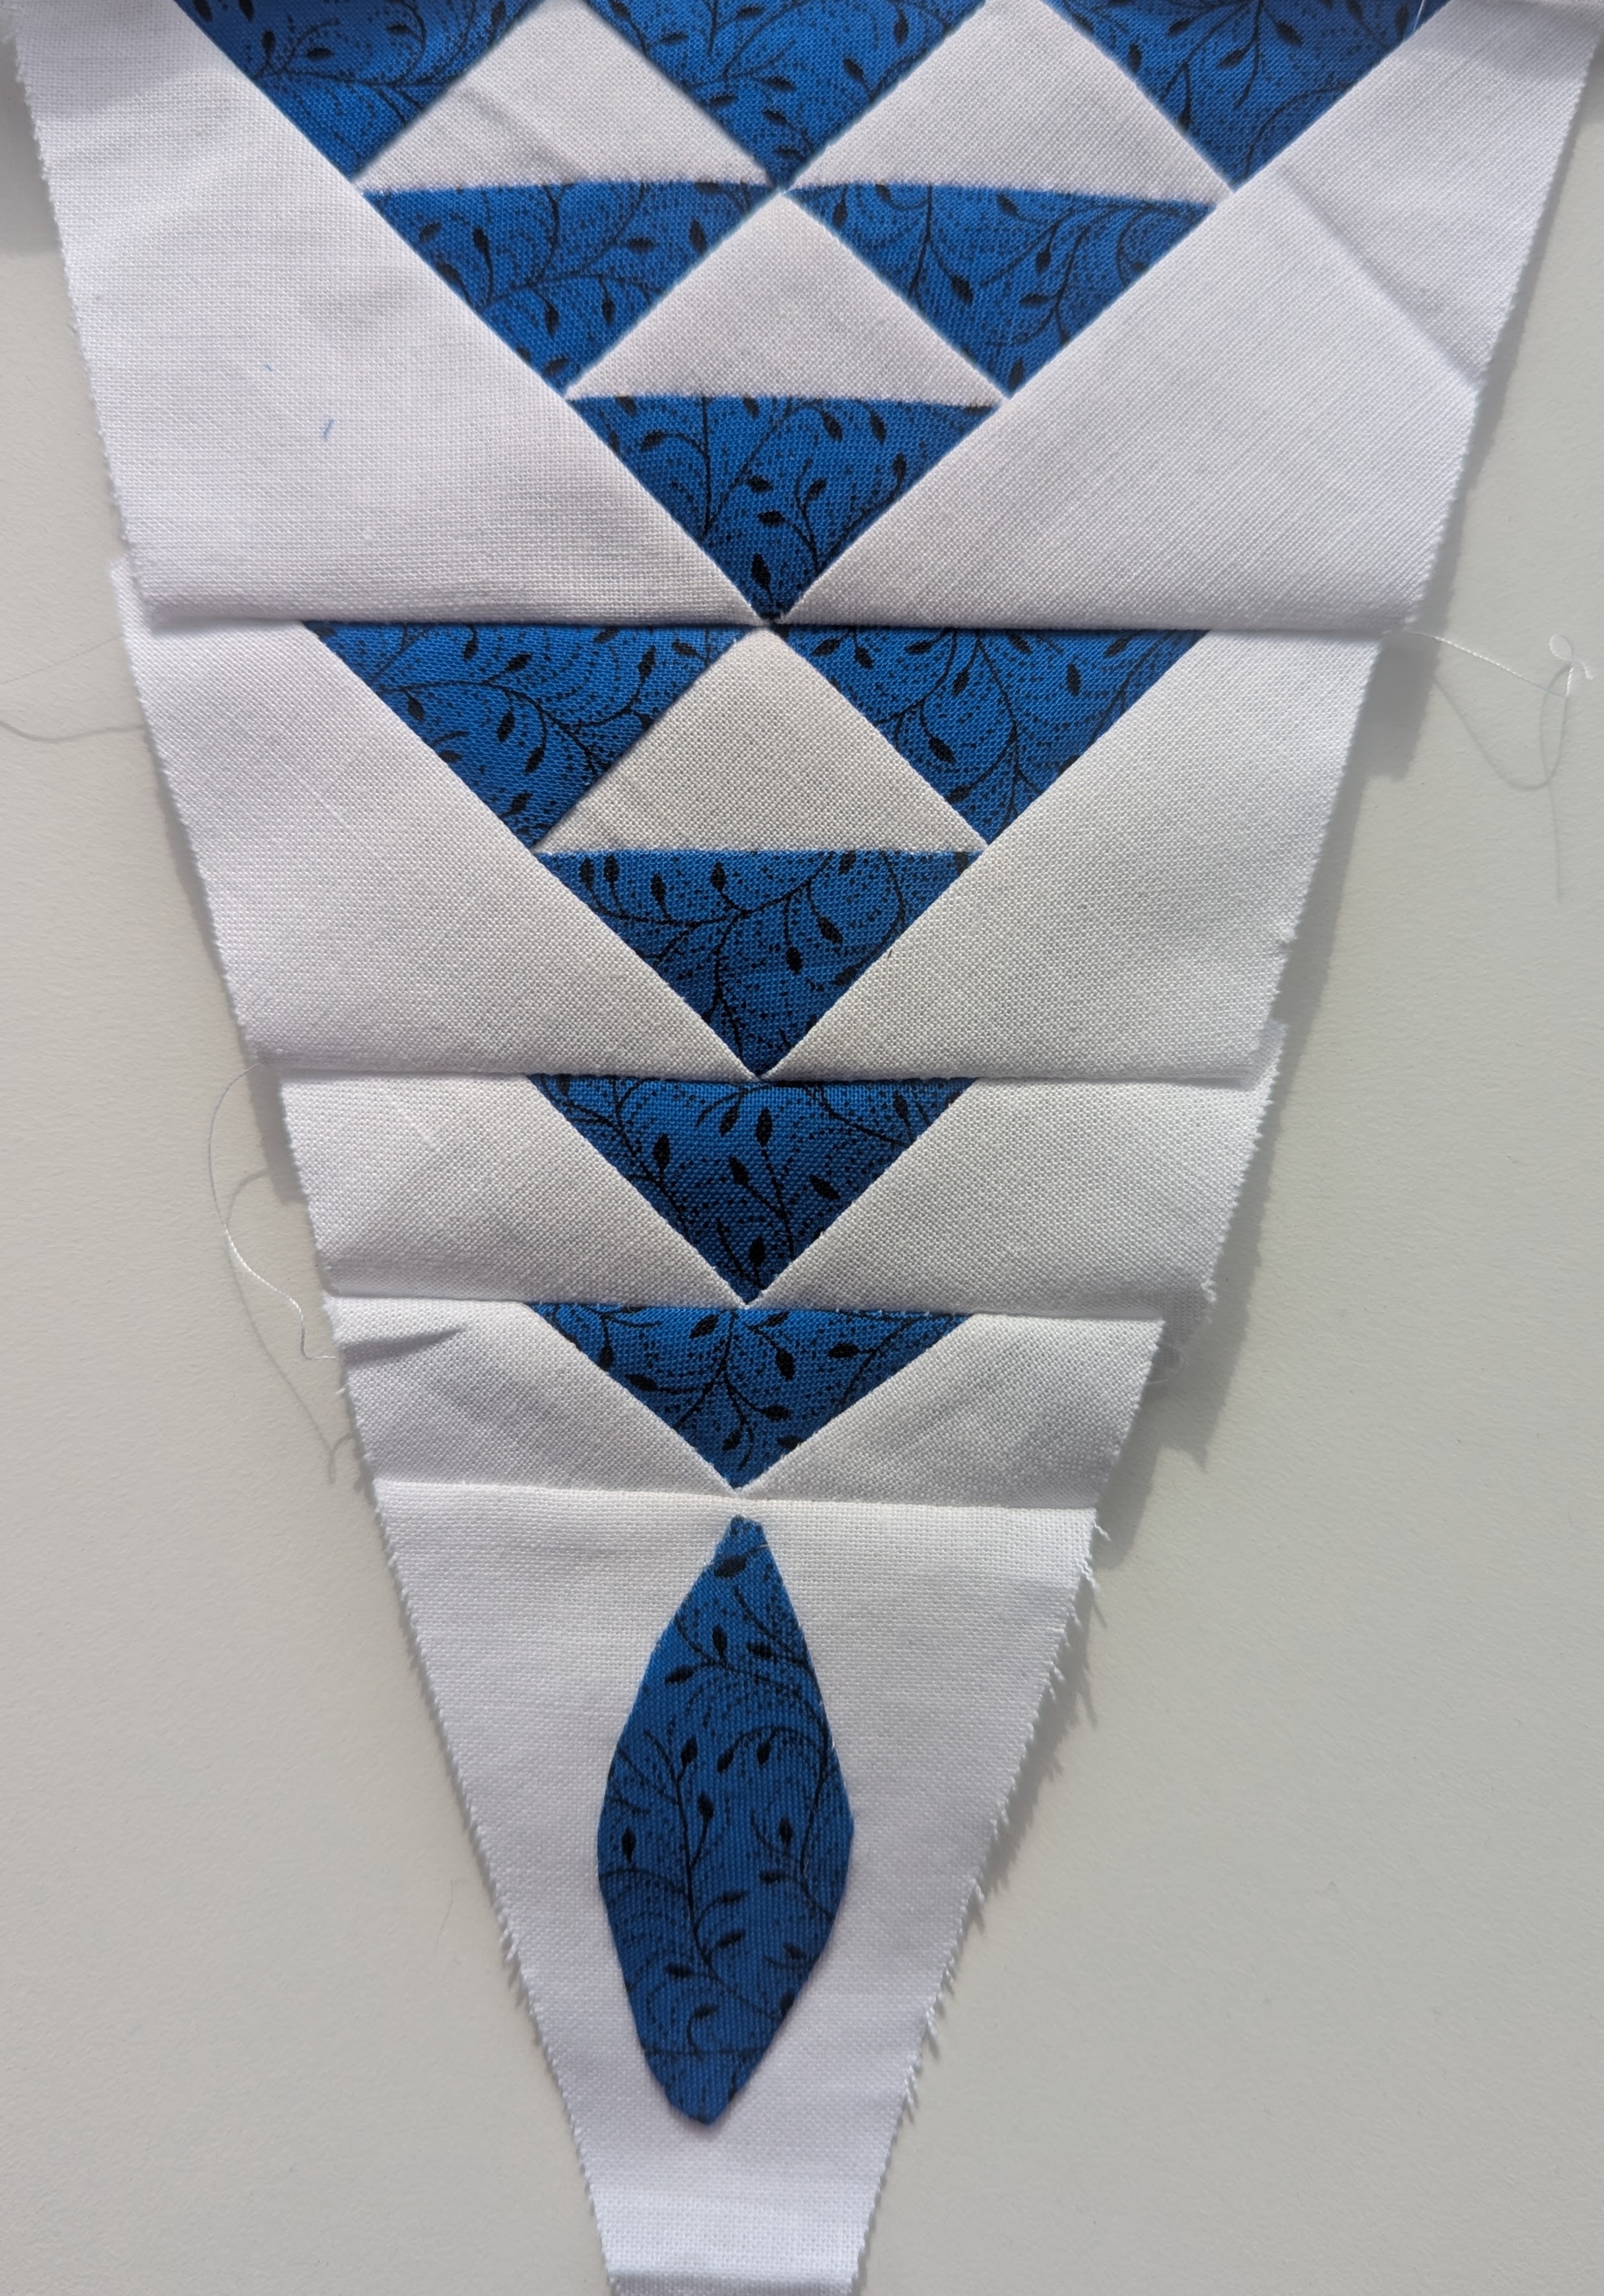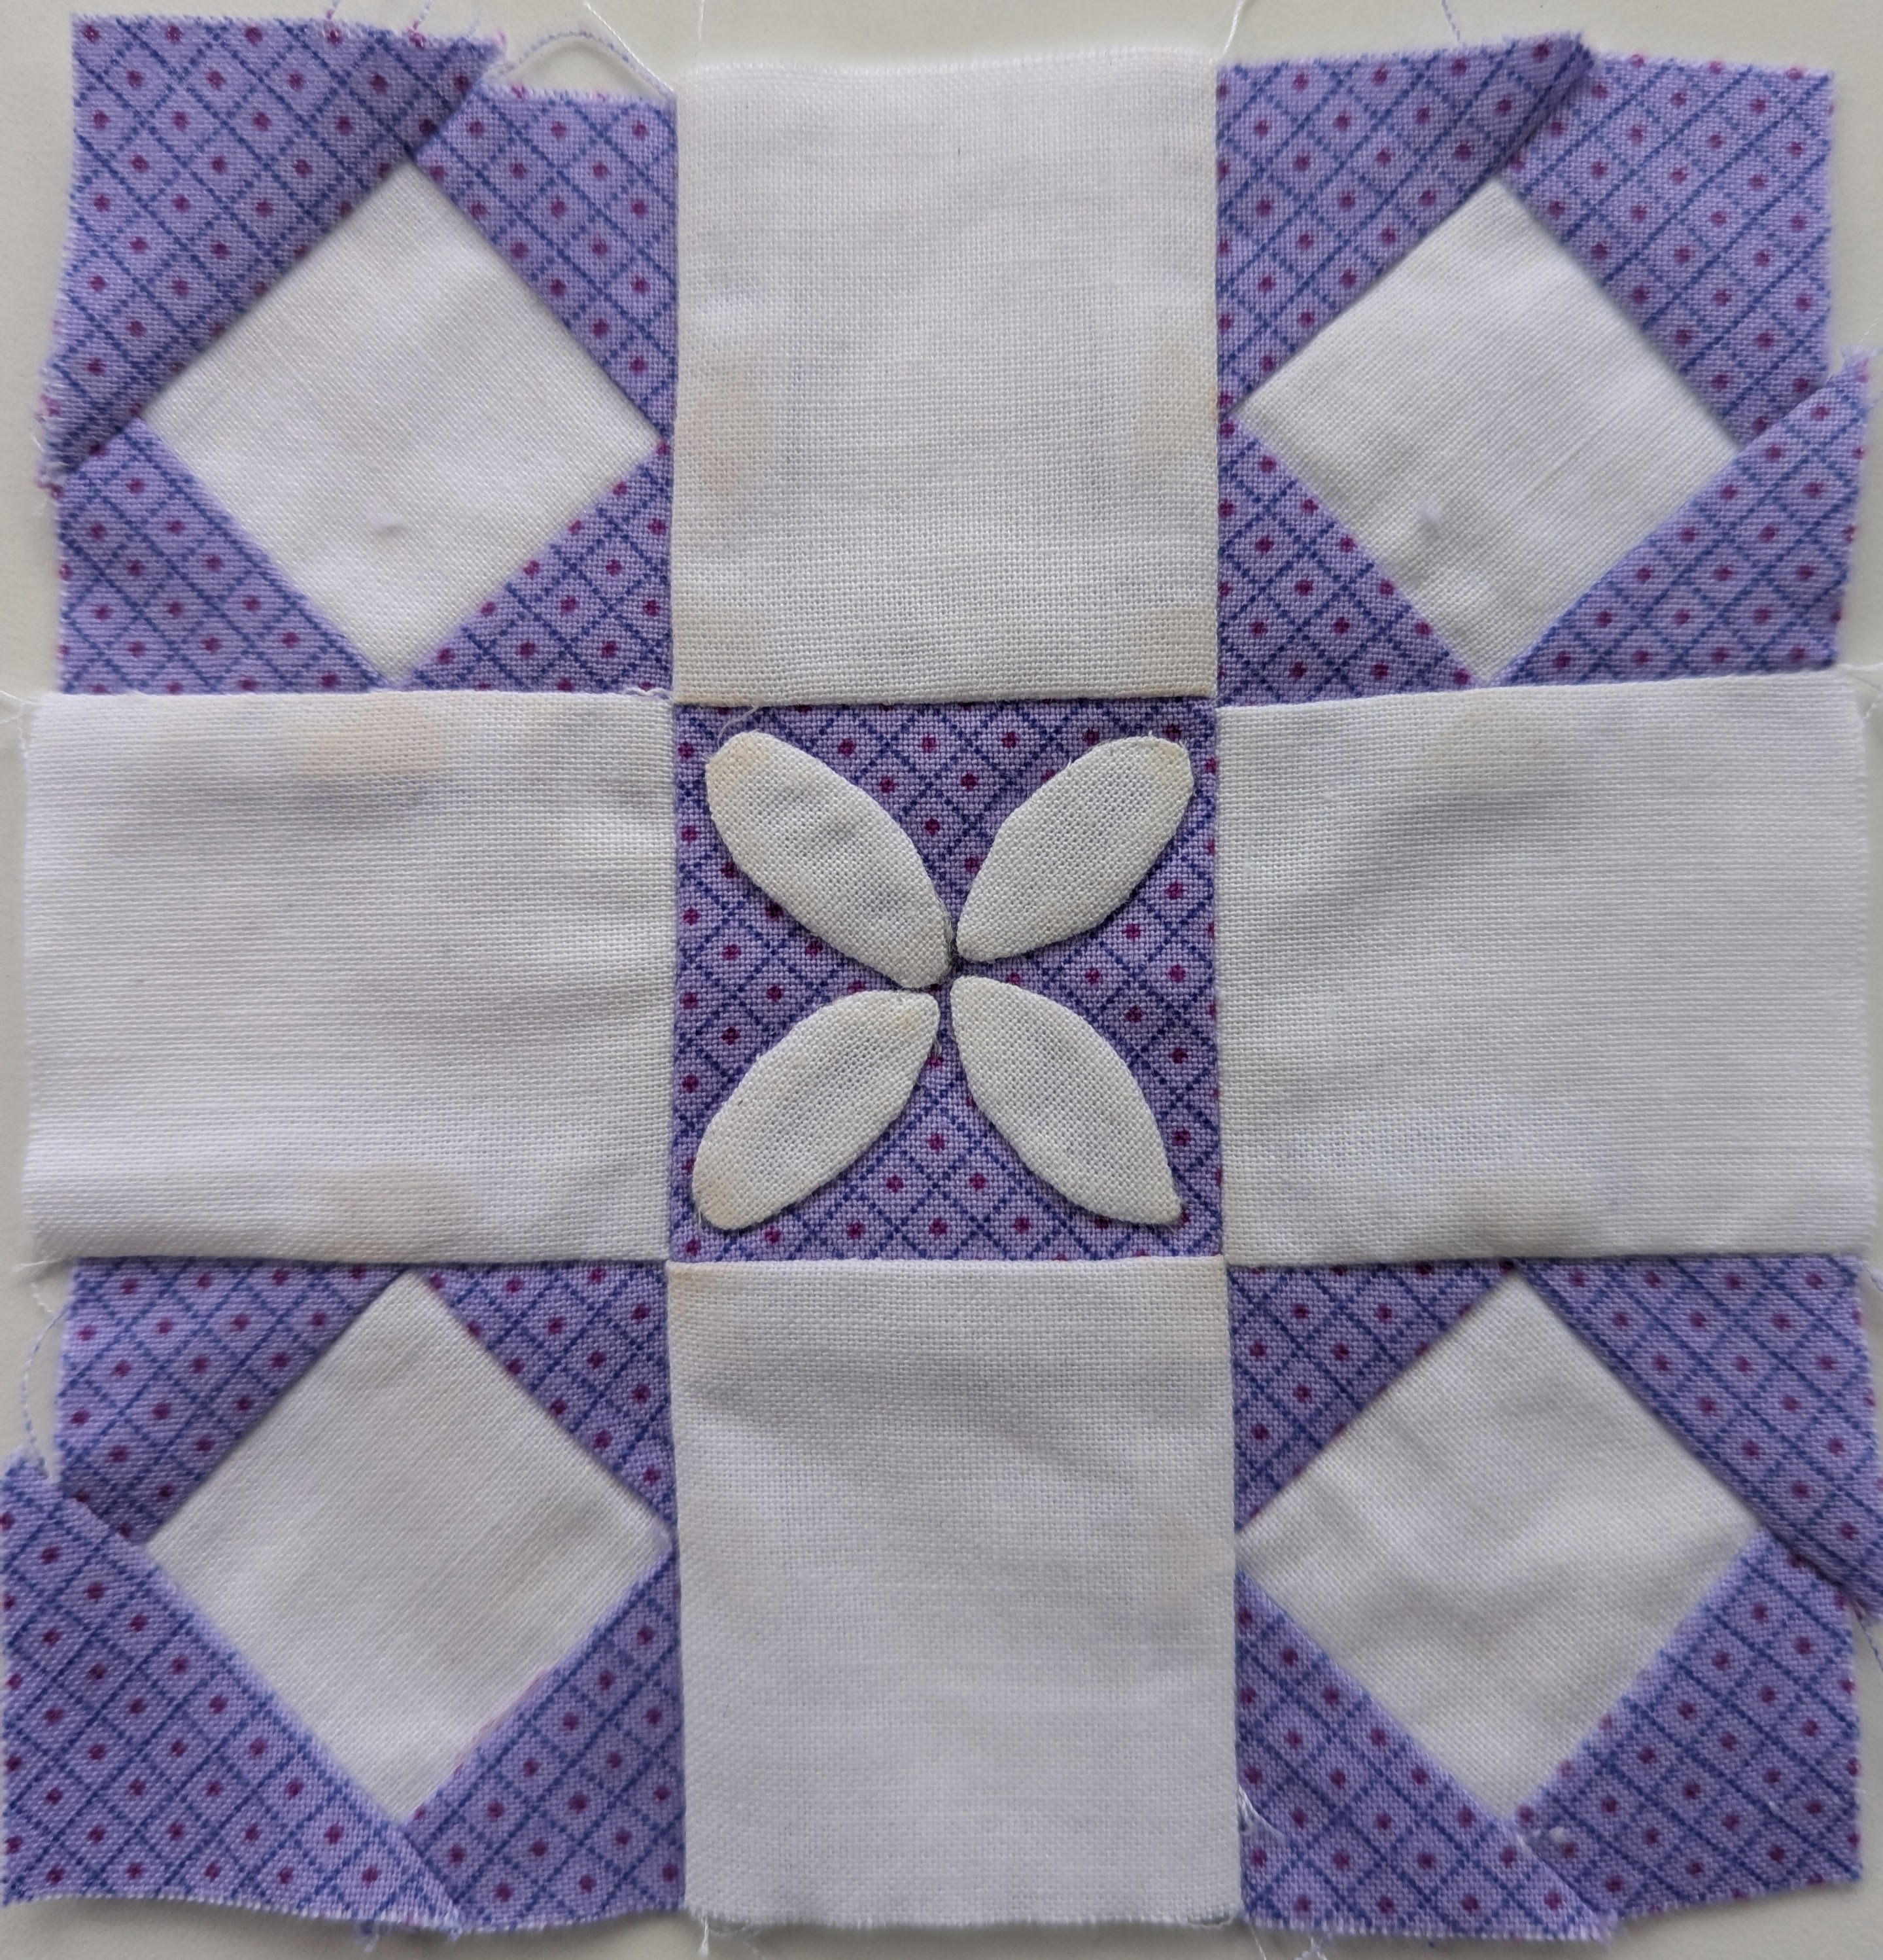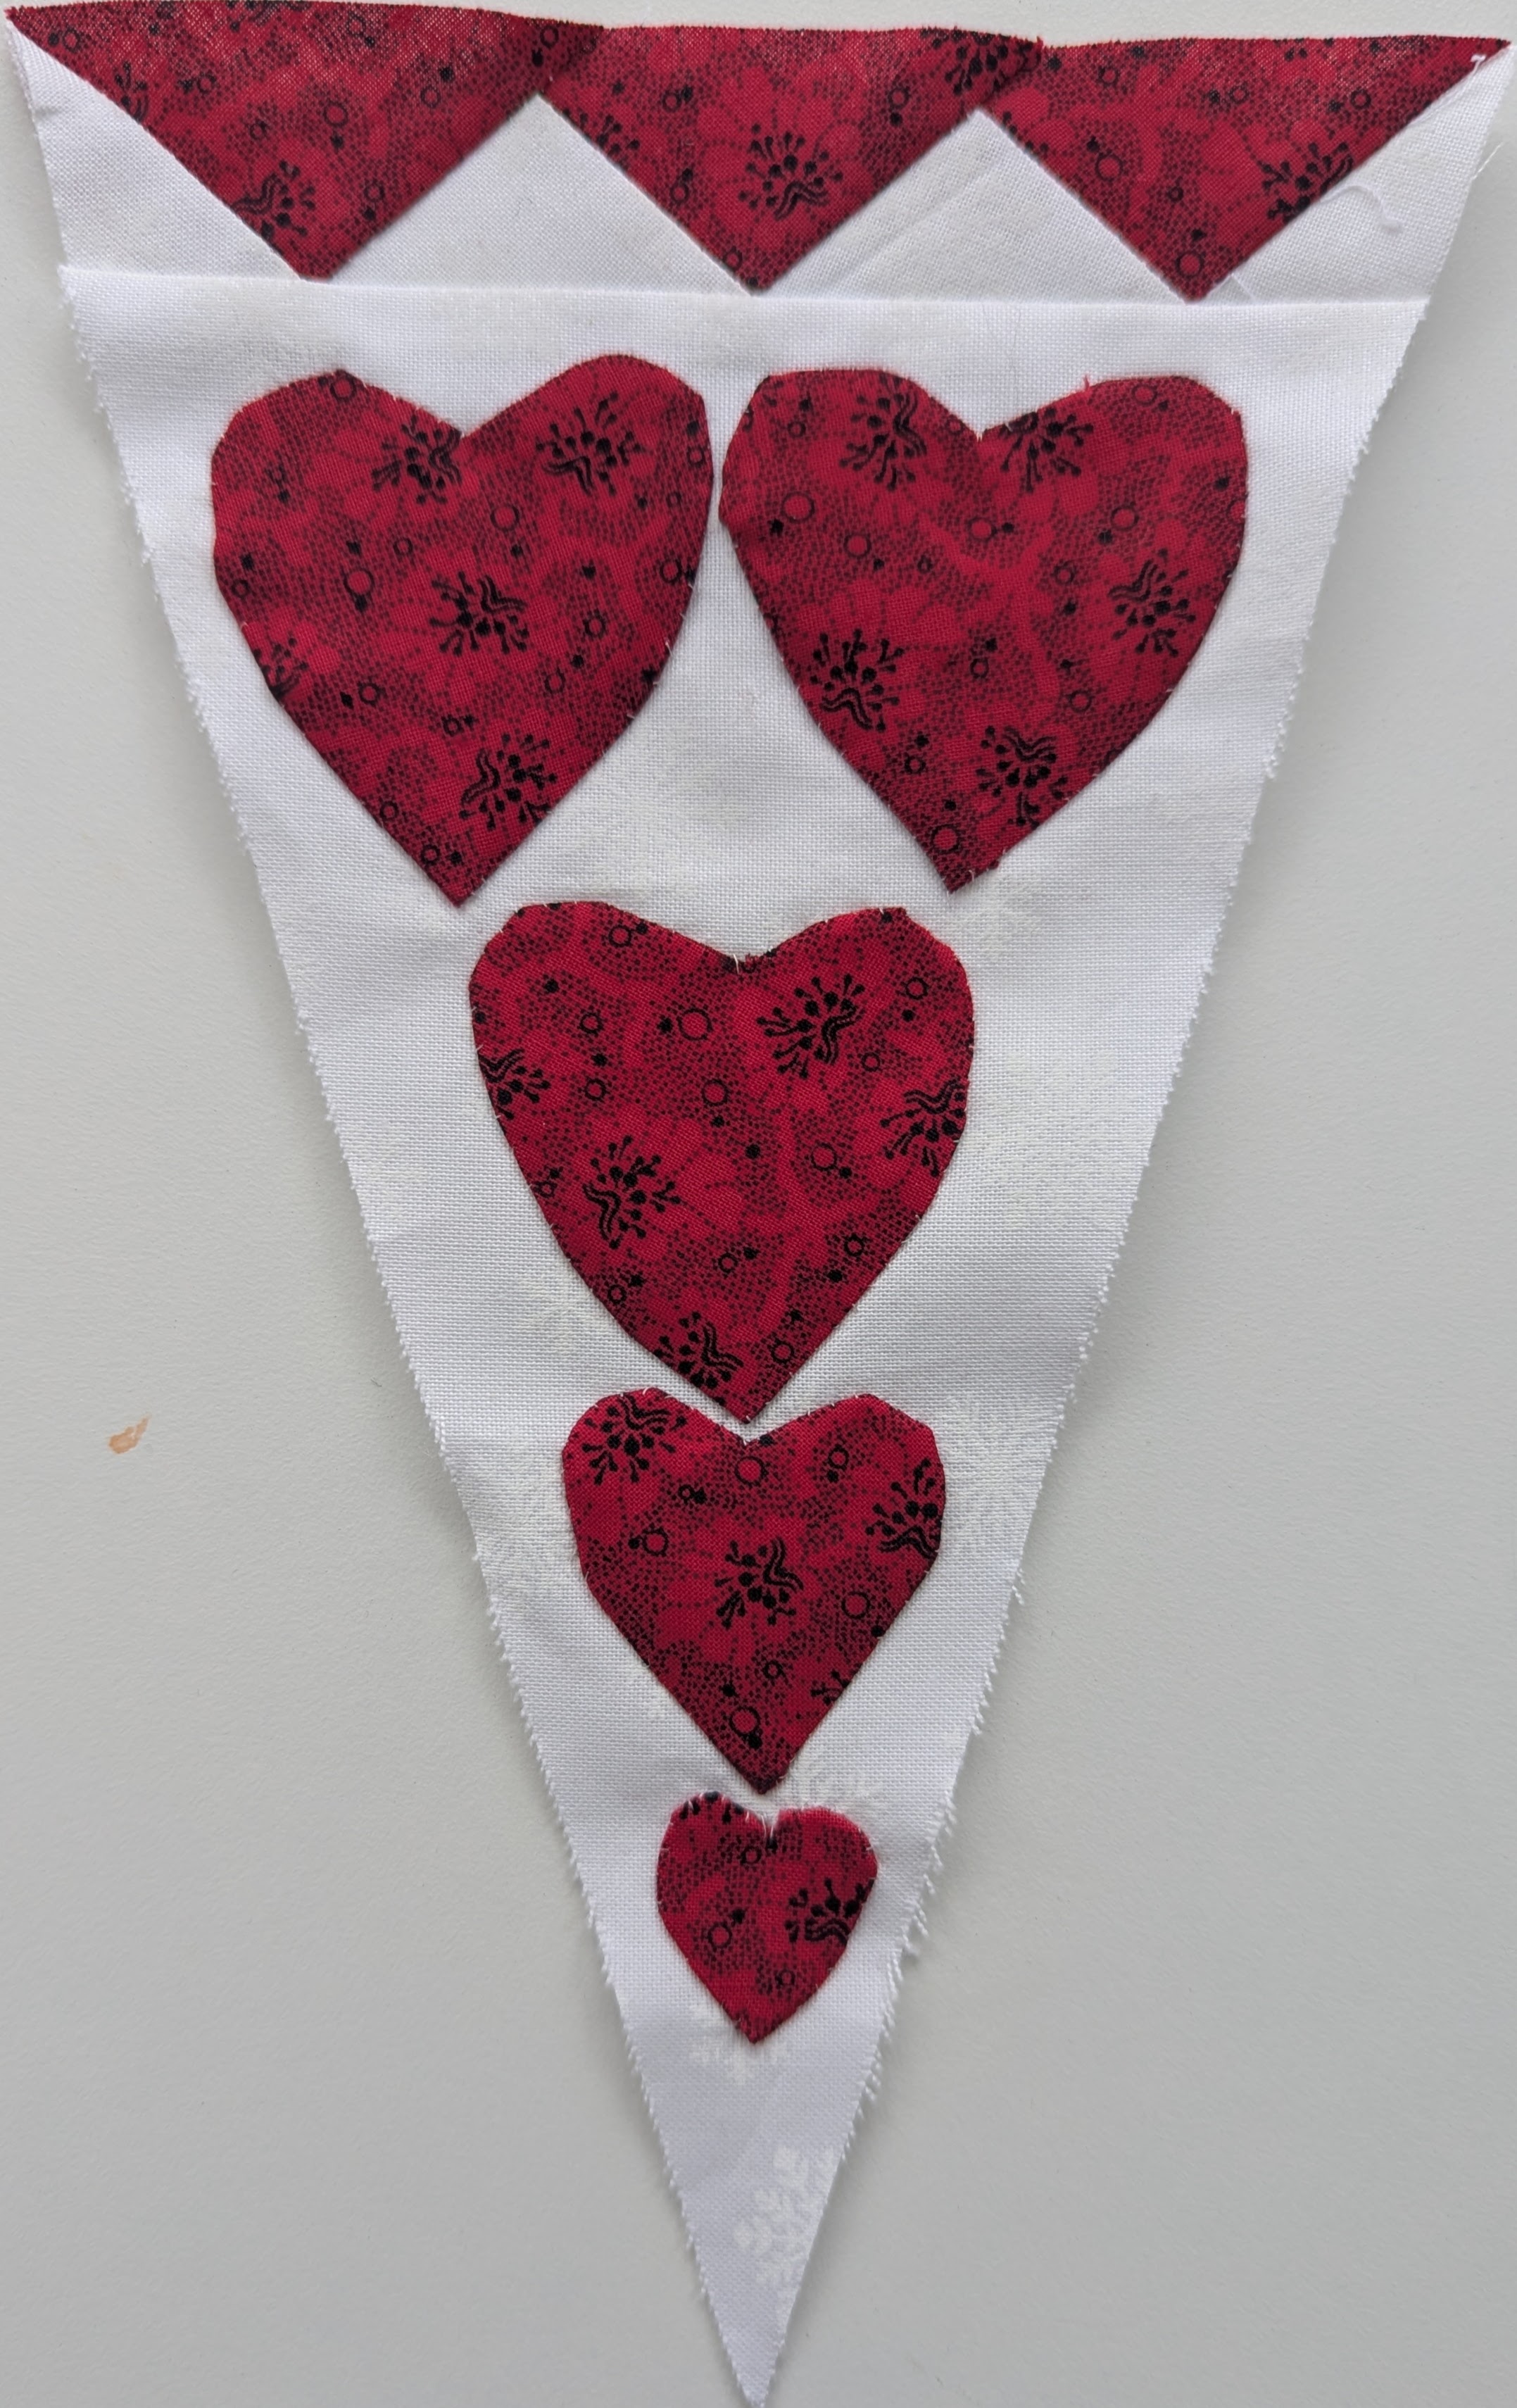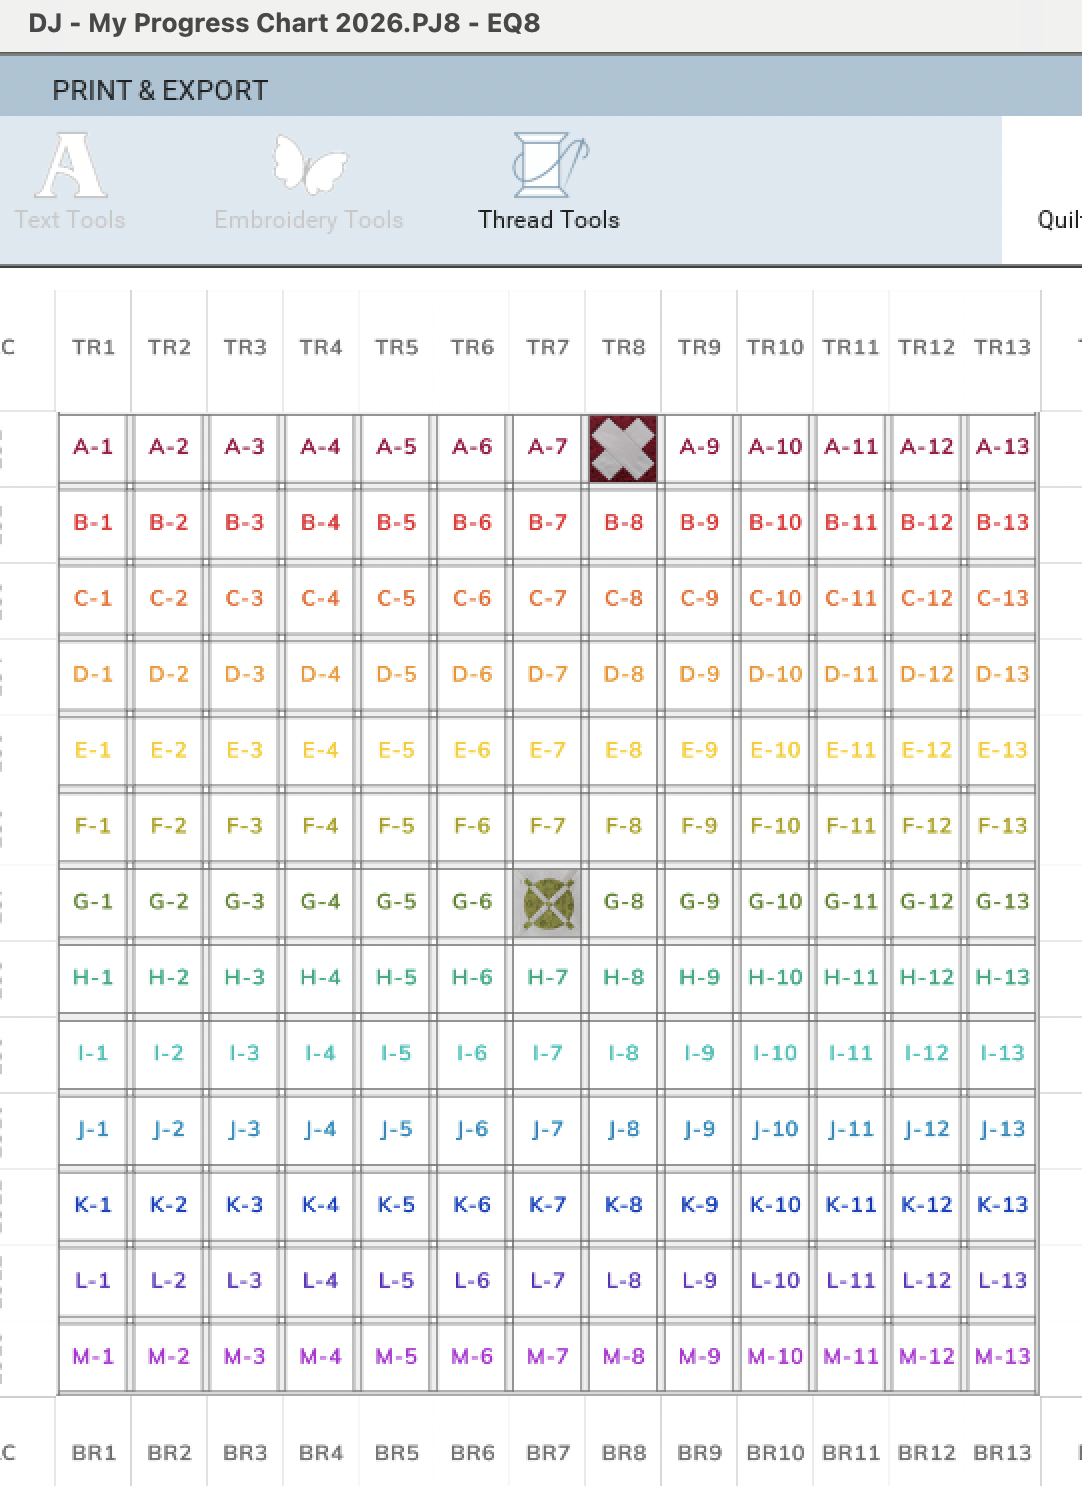

I am trying to catch up, after a couple of weeks away from the sewing machine. G-13 is one of the blocks from the Dear Jane Stitch Along on Facebook, and BR-11 looked like another fun FPP.
Successes:
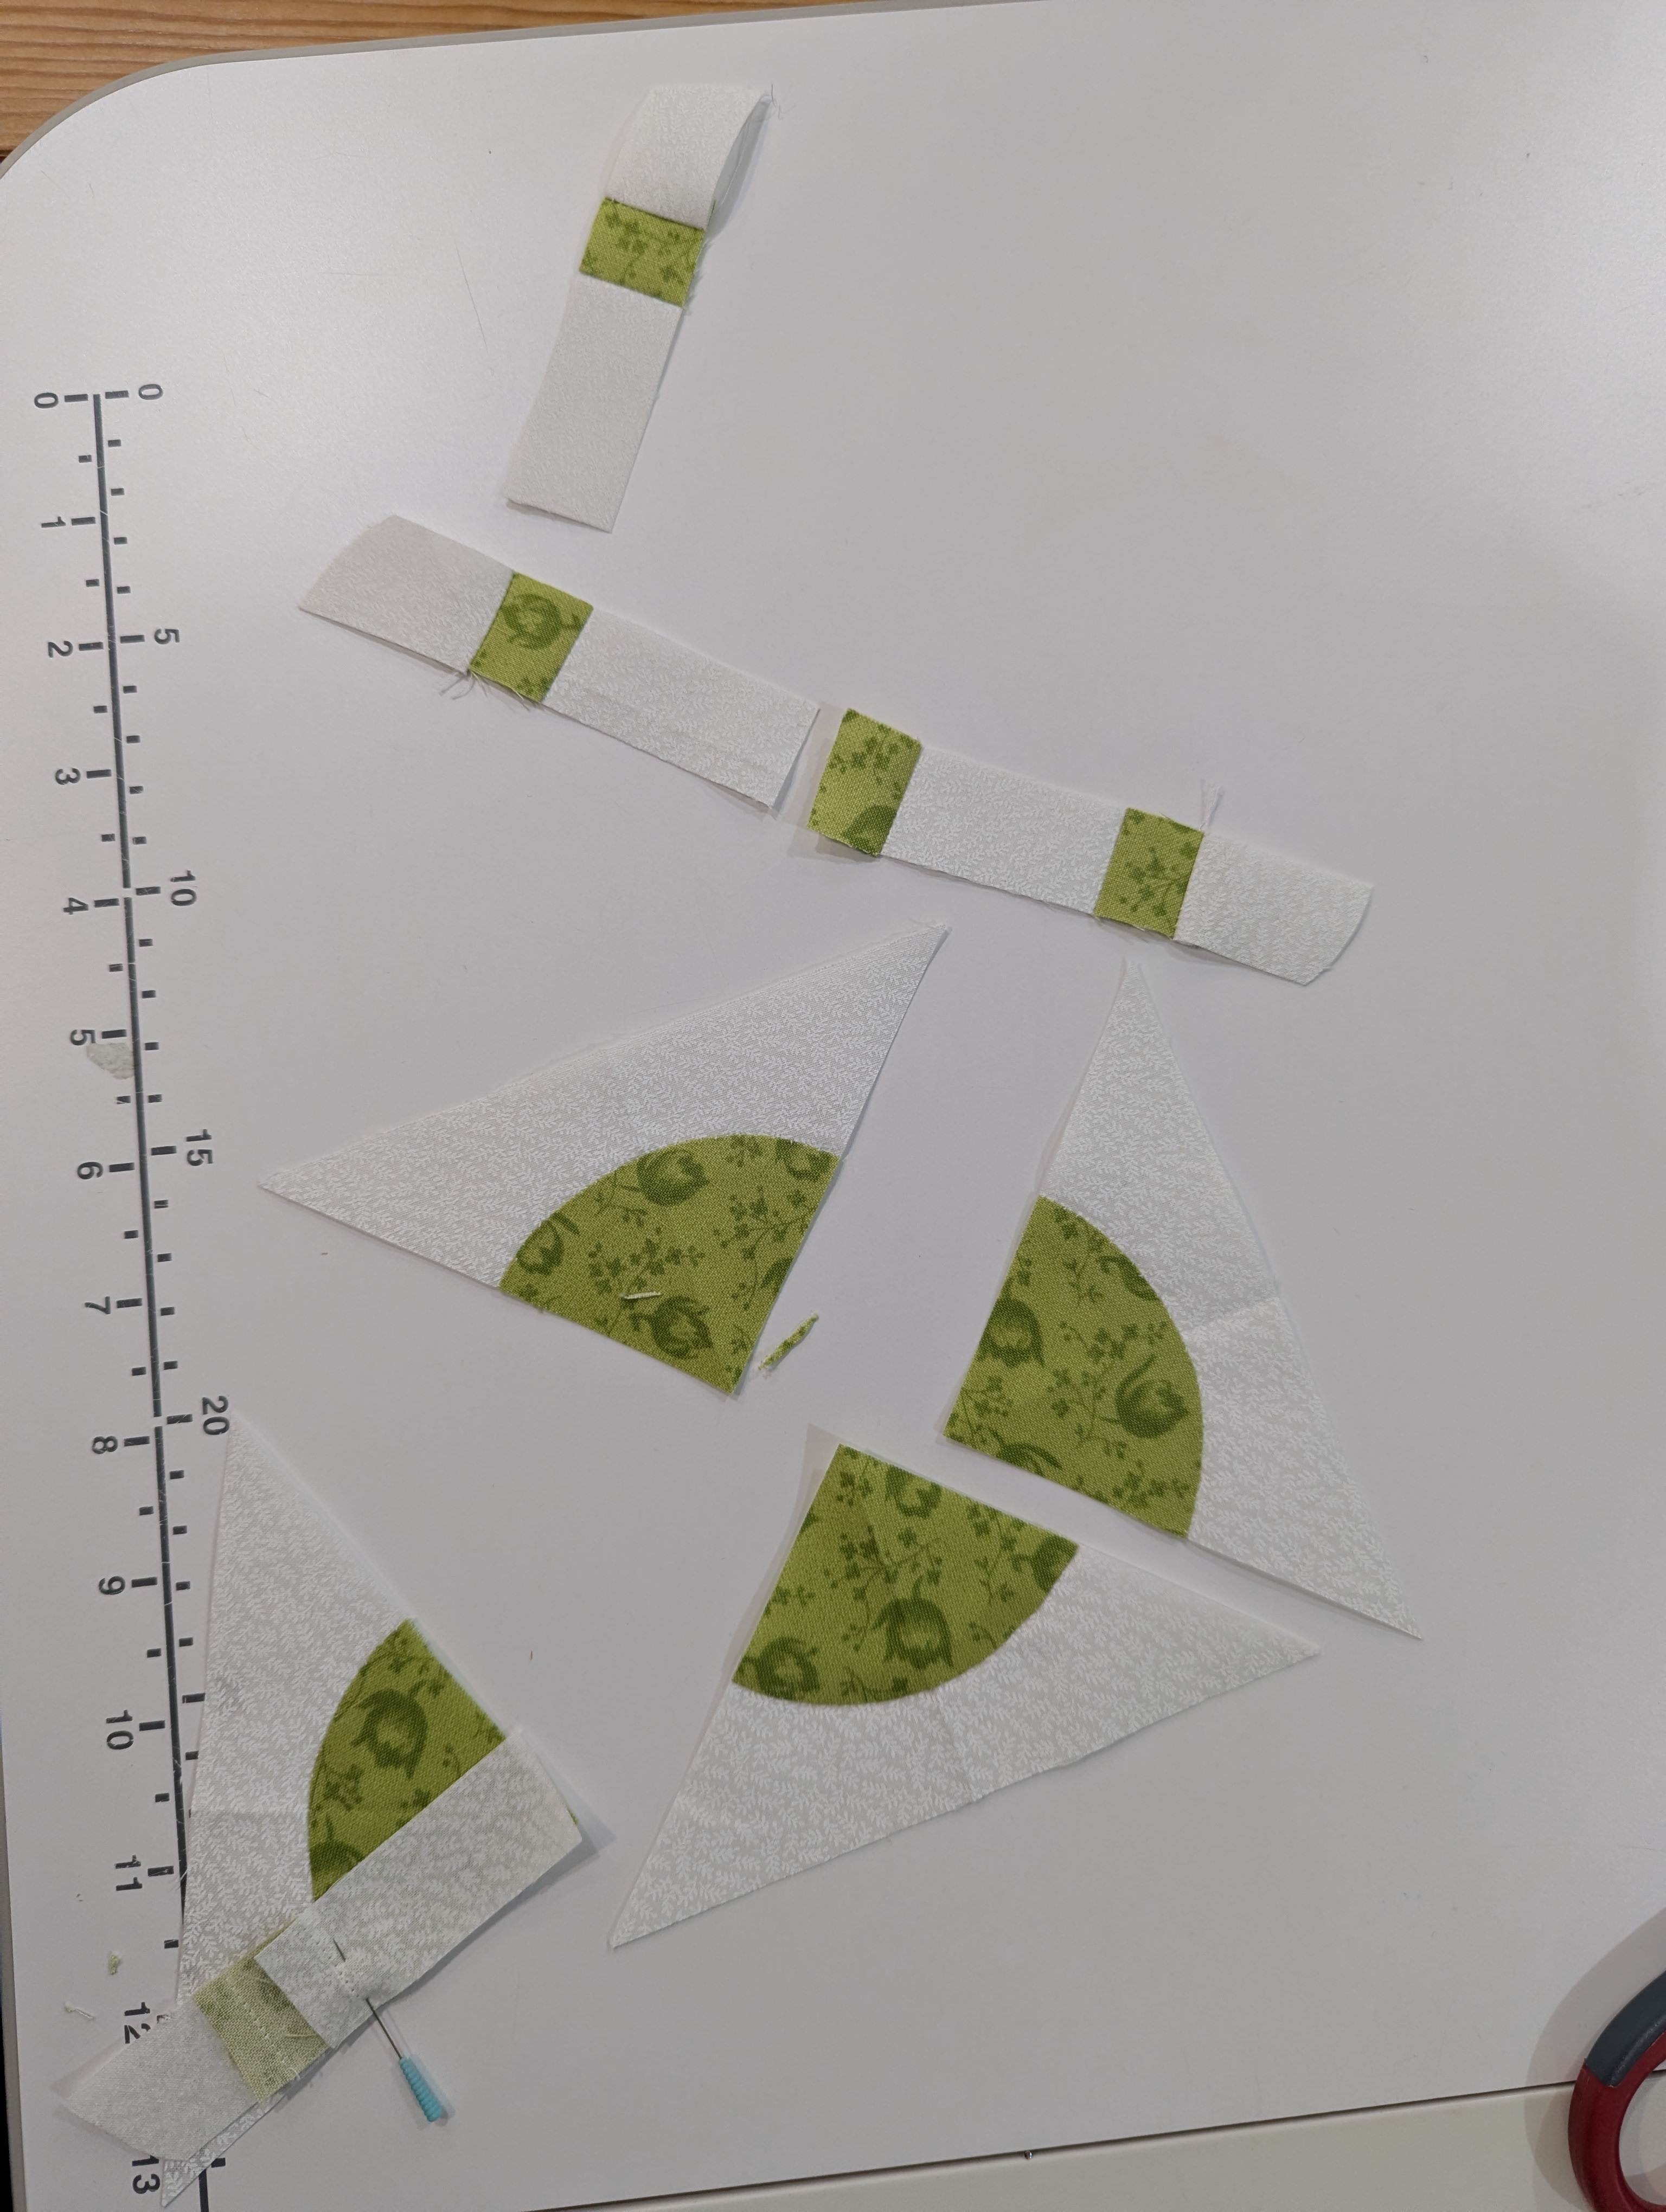
- Tartan came together well, despite having seven FPP blocks to join together.
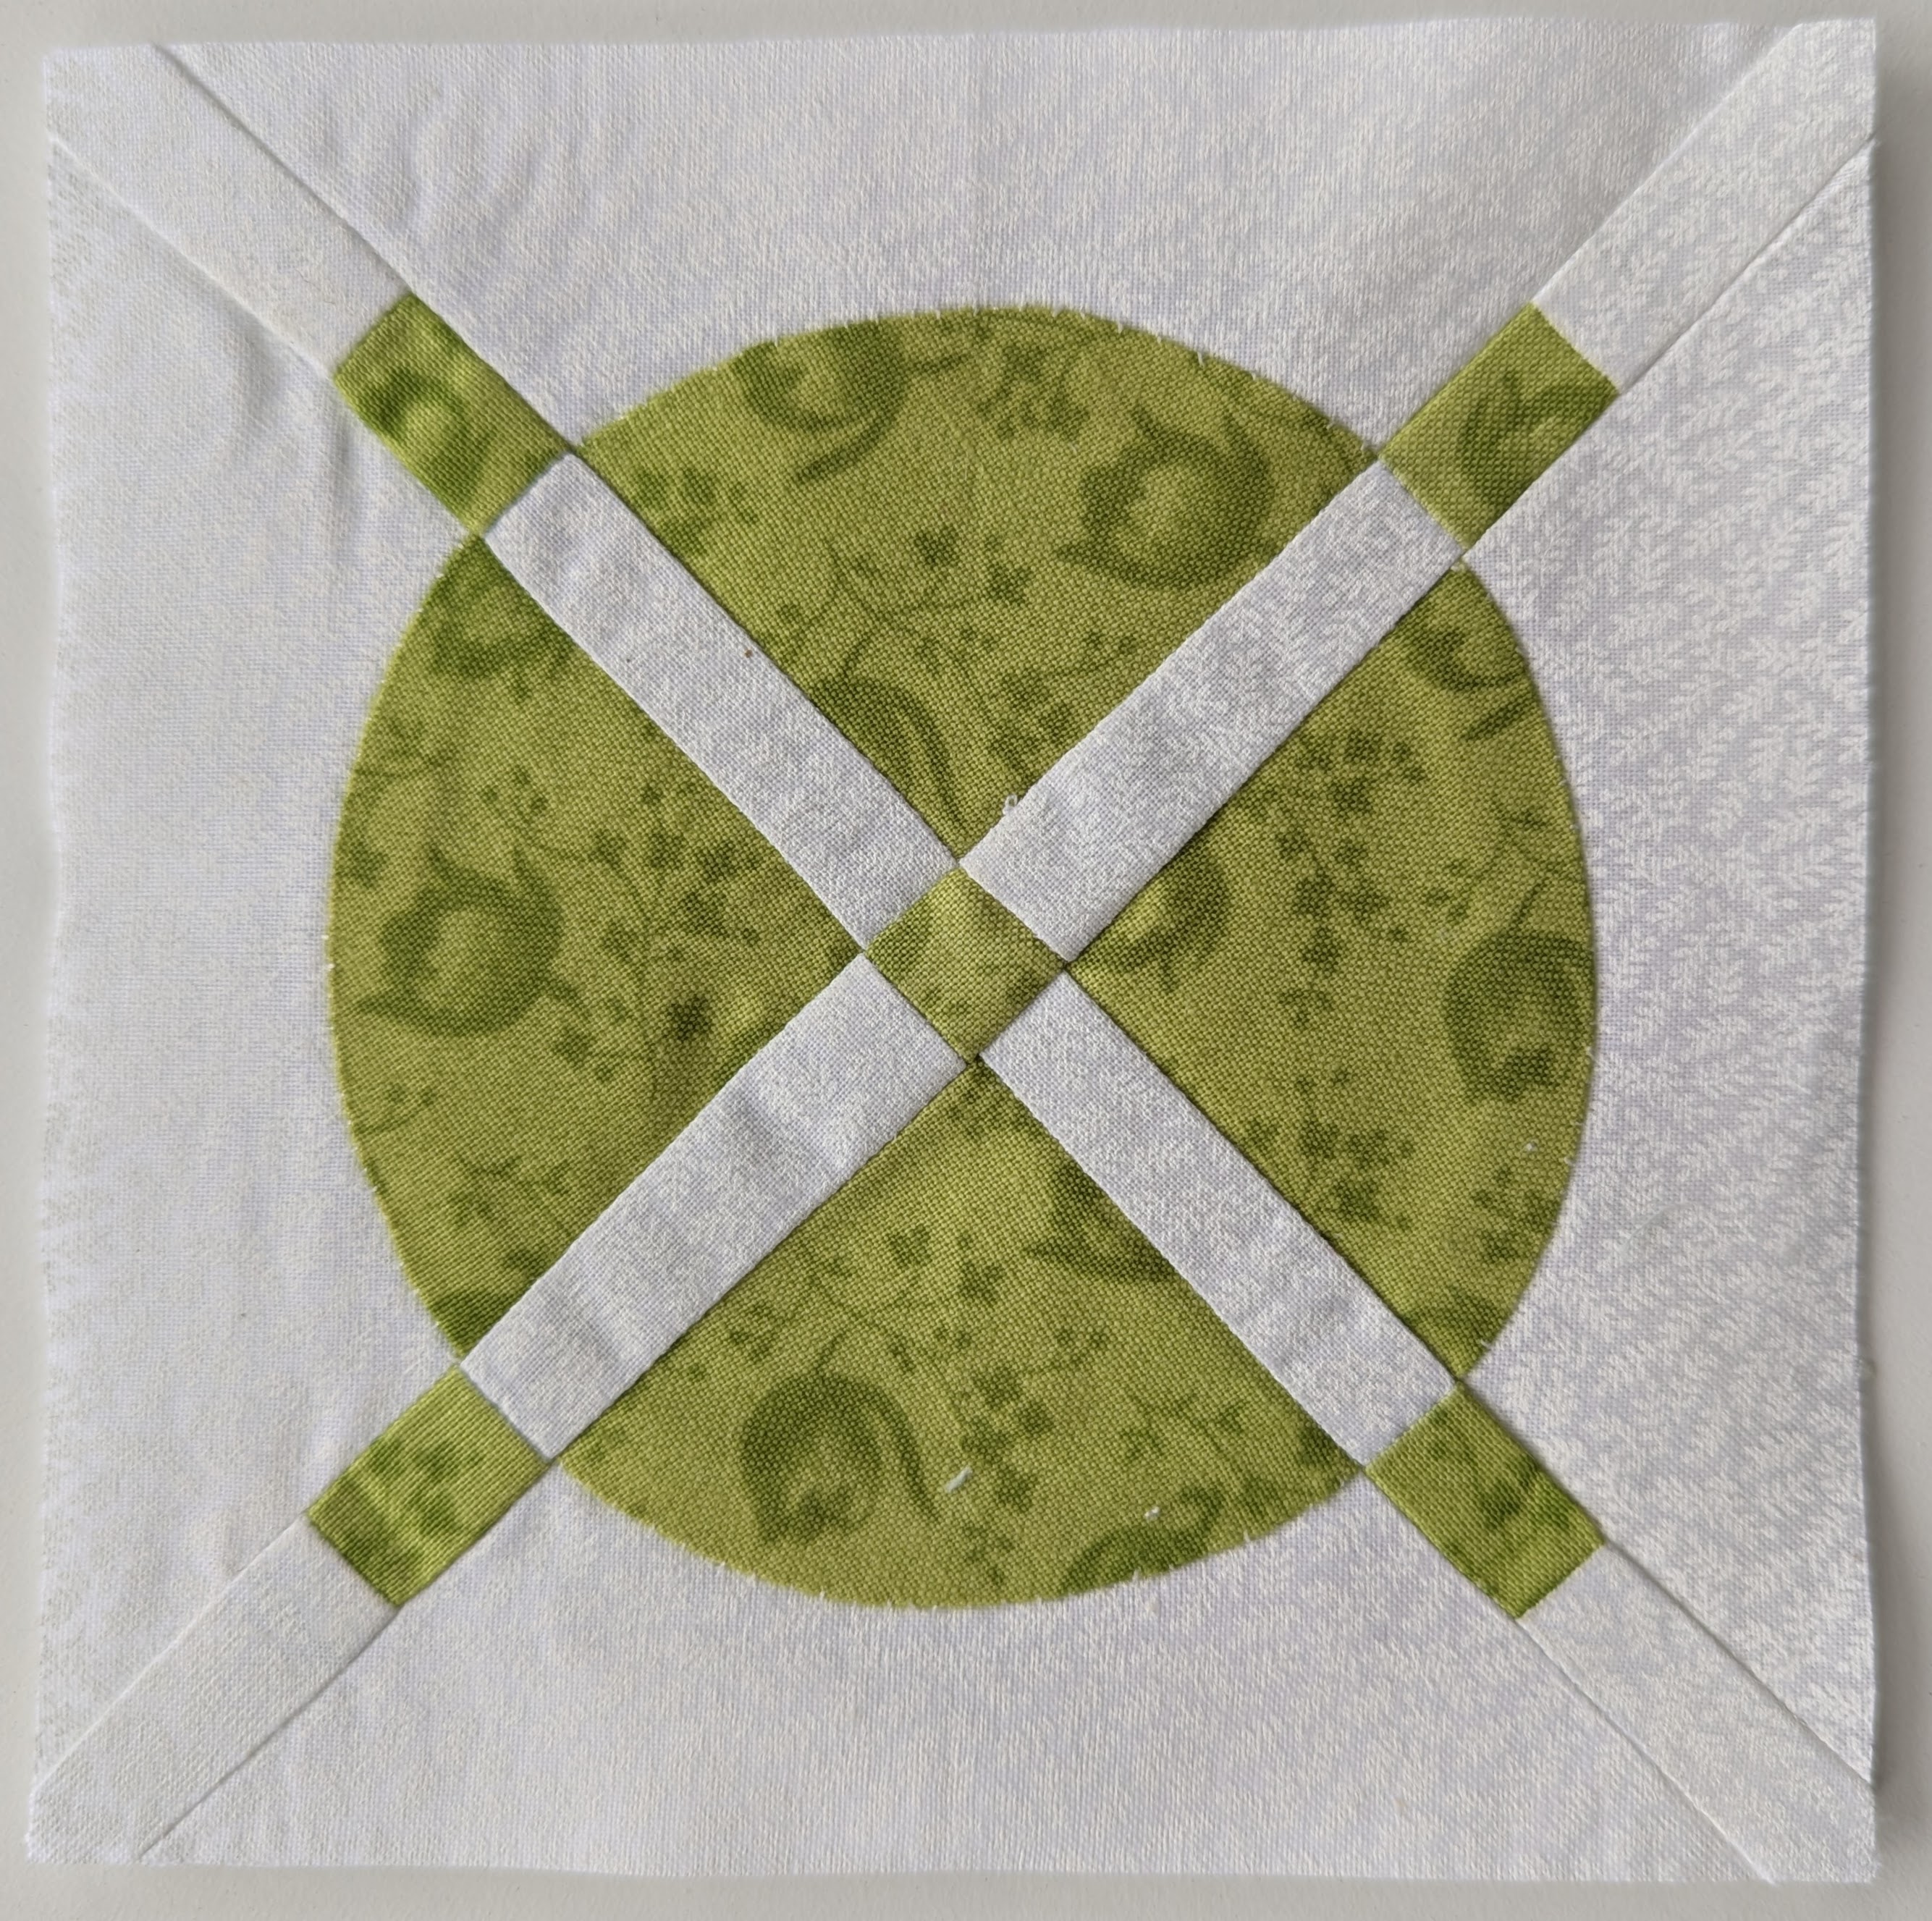
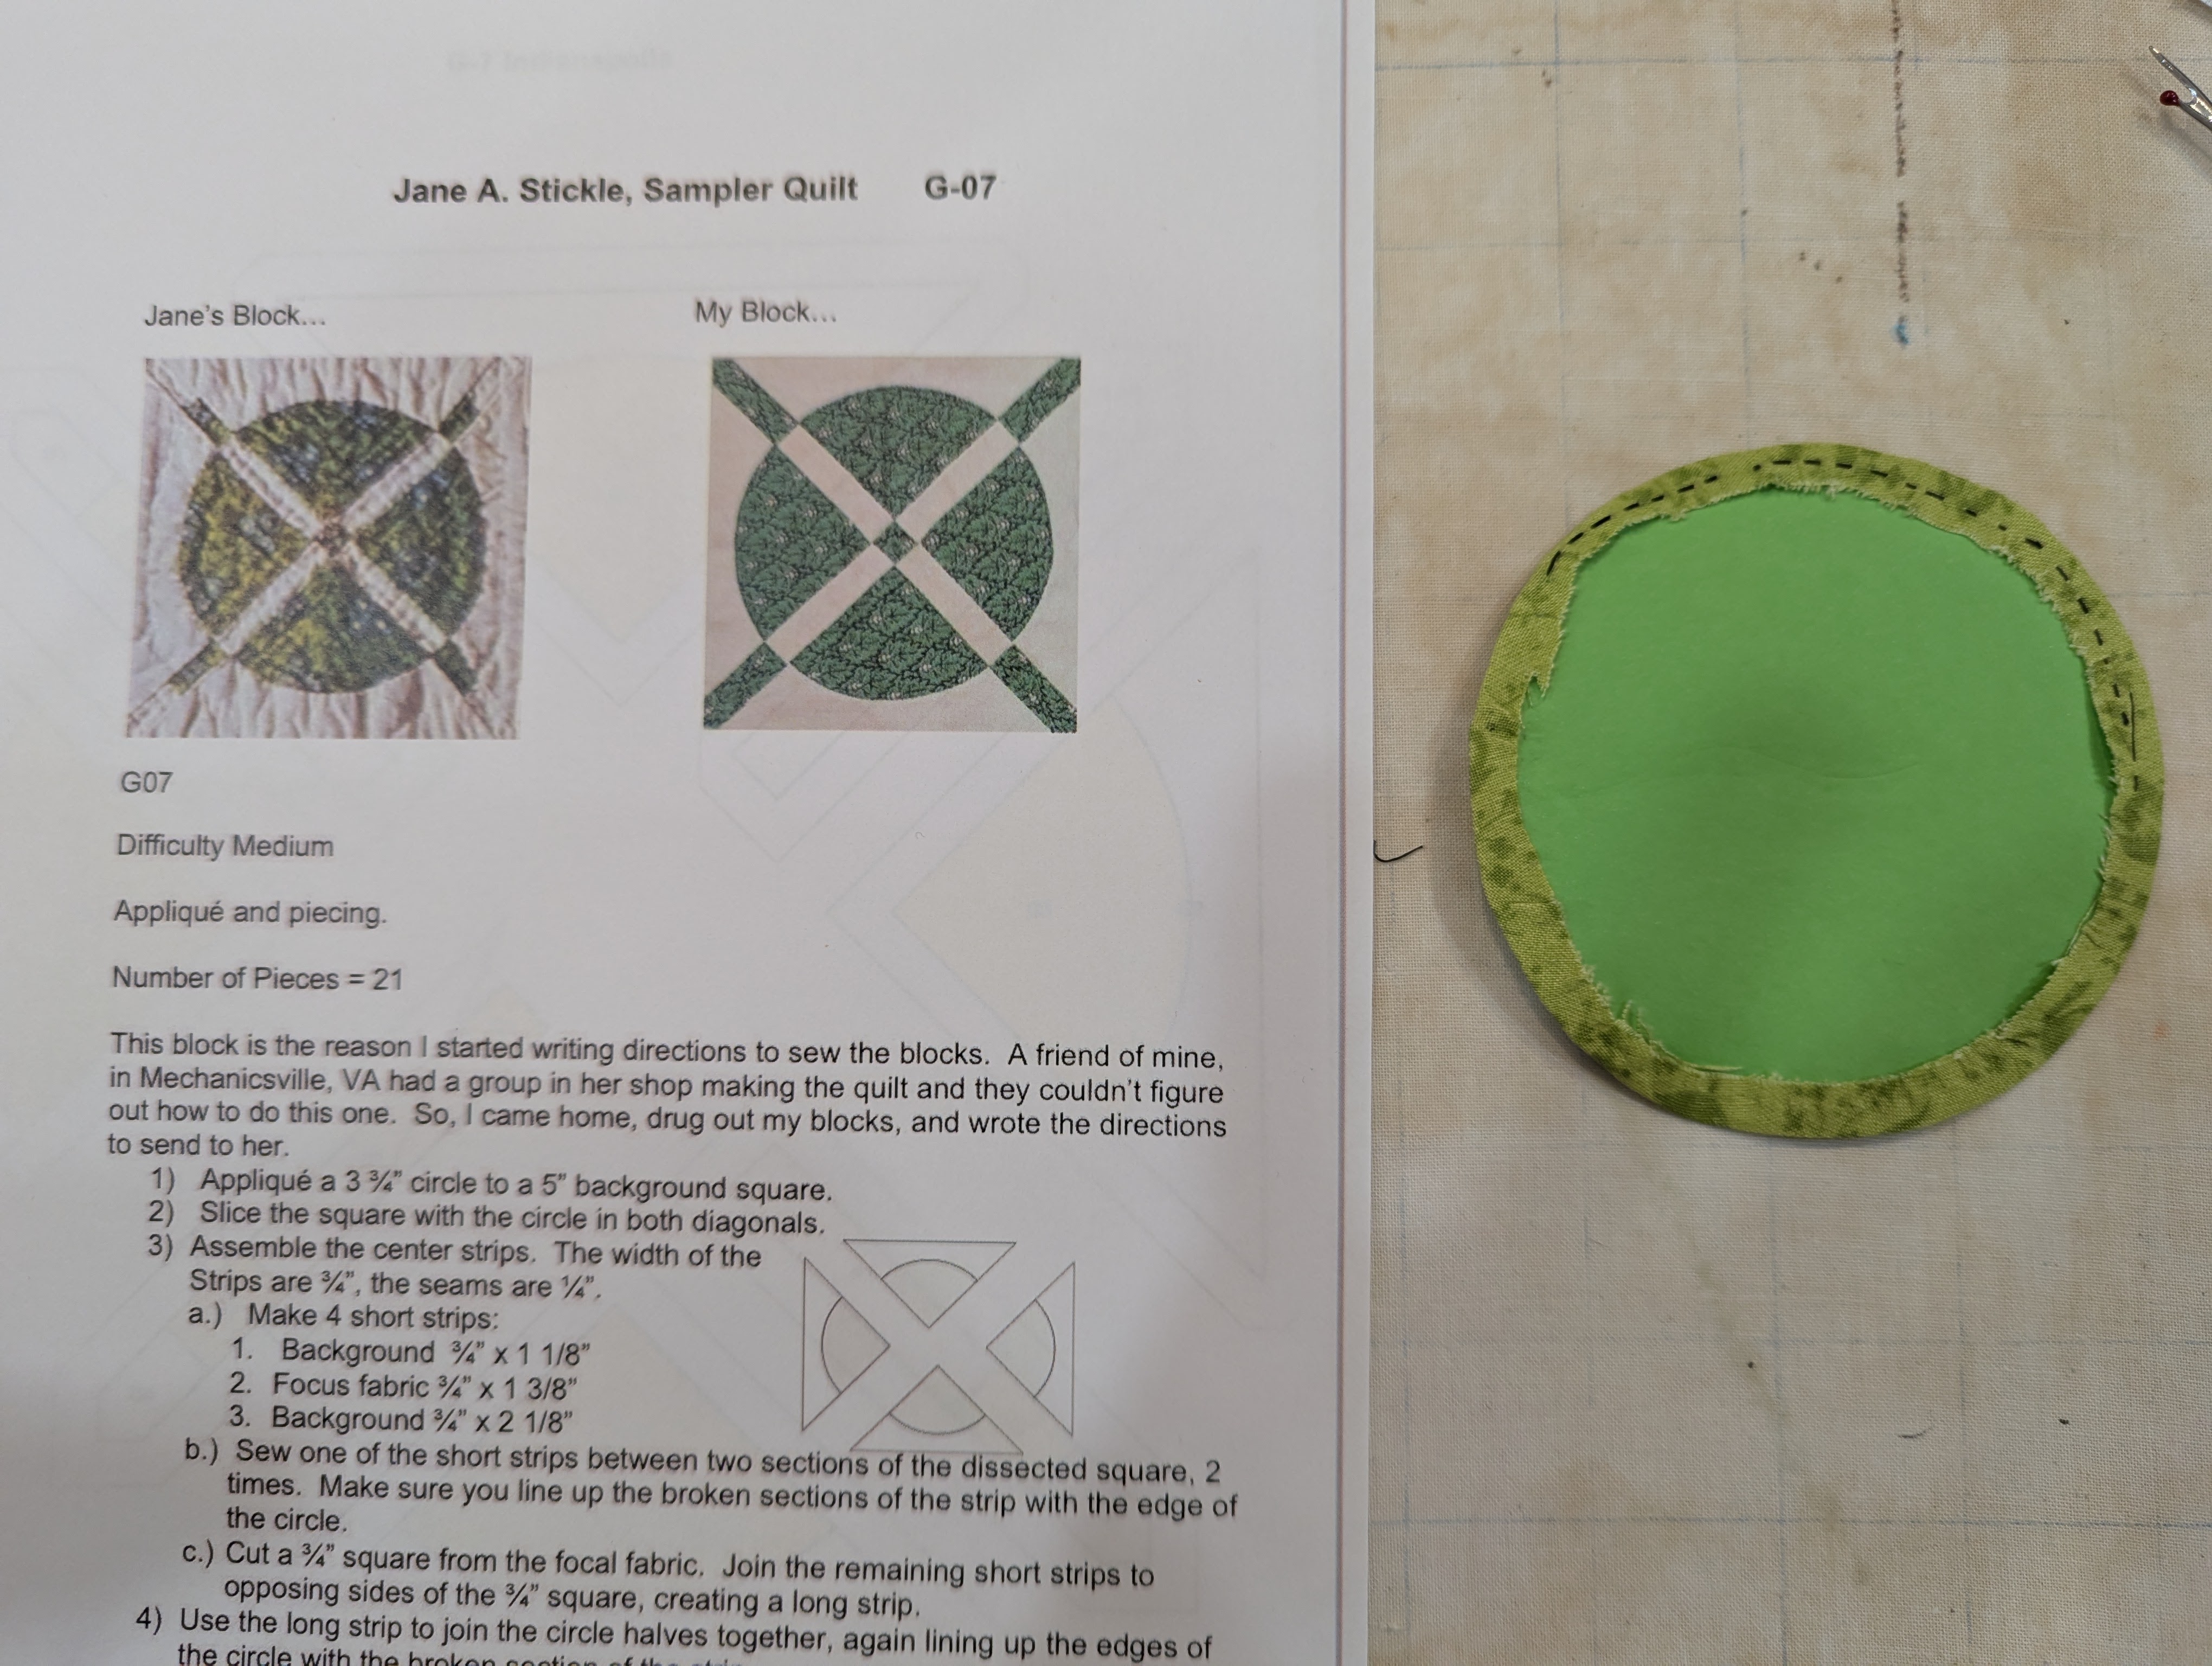
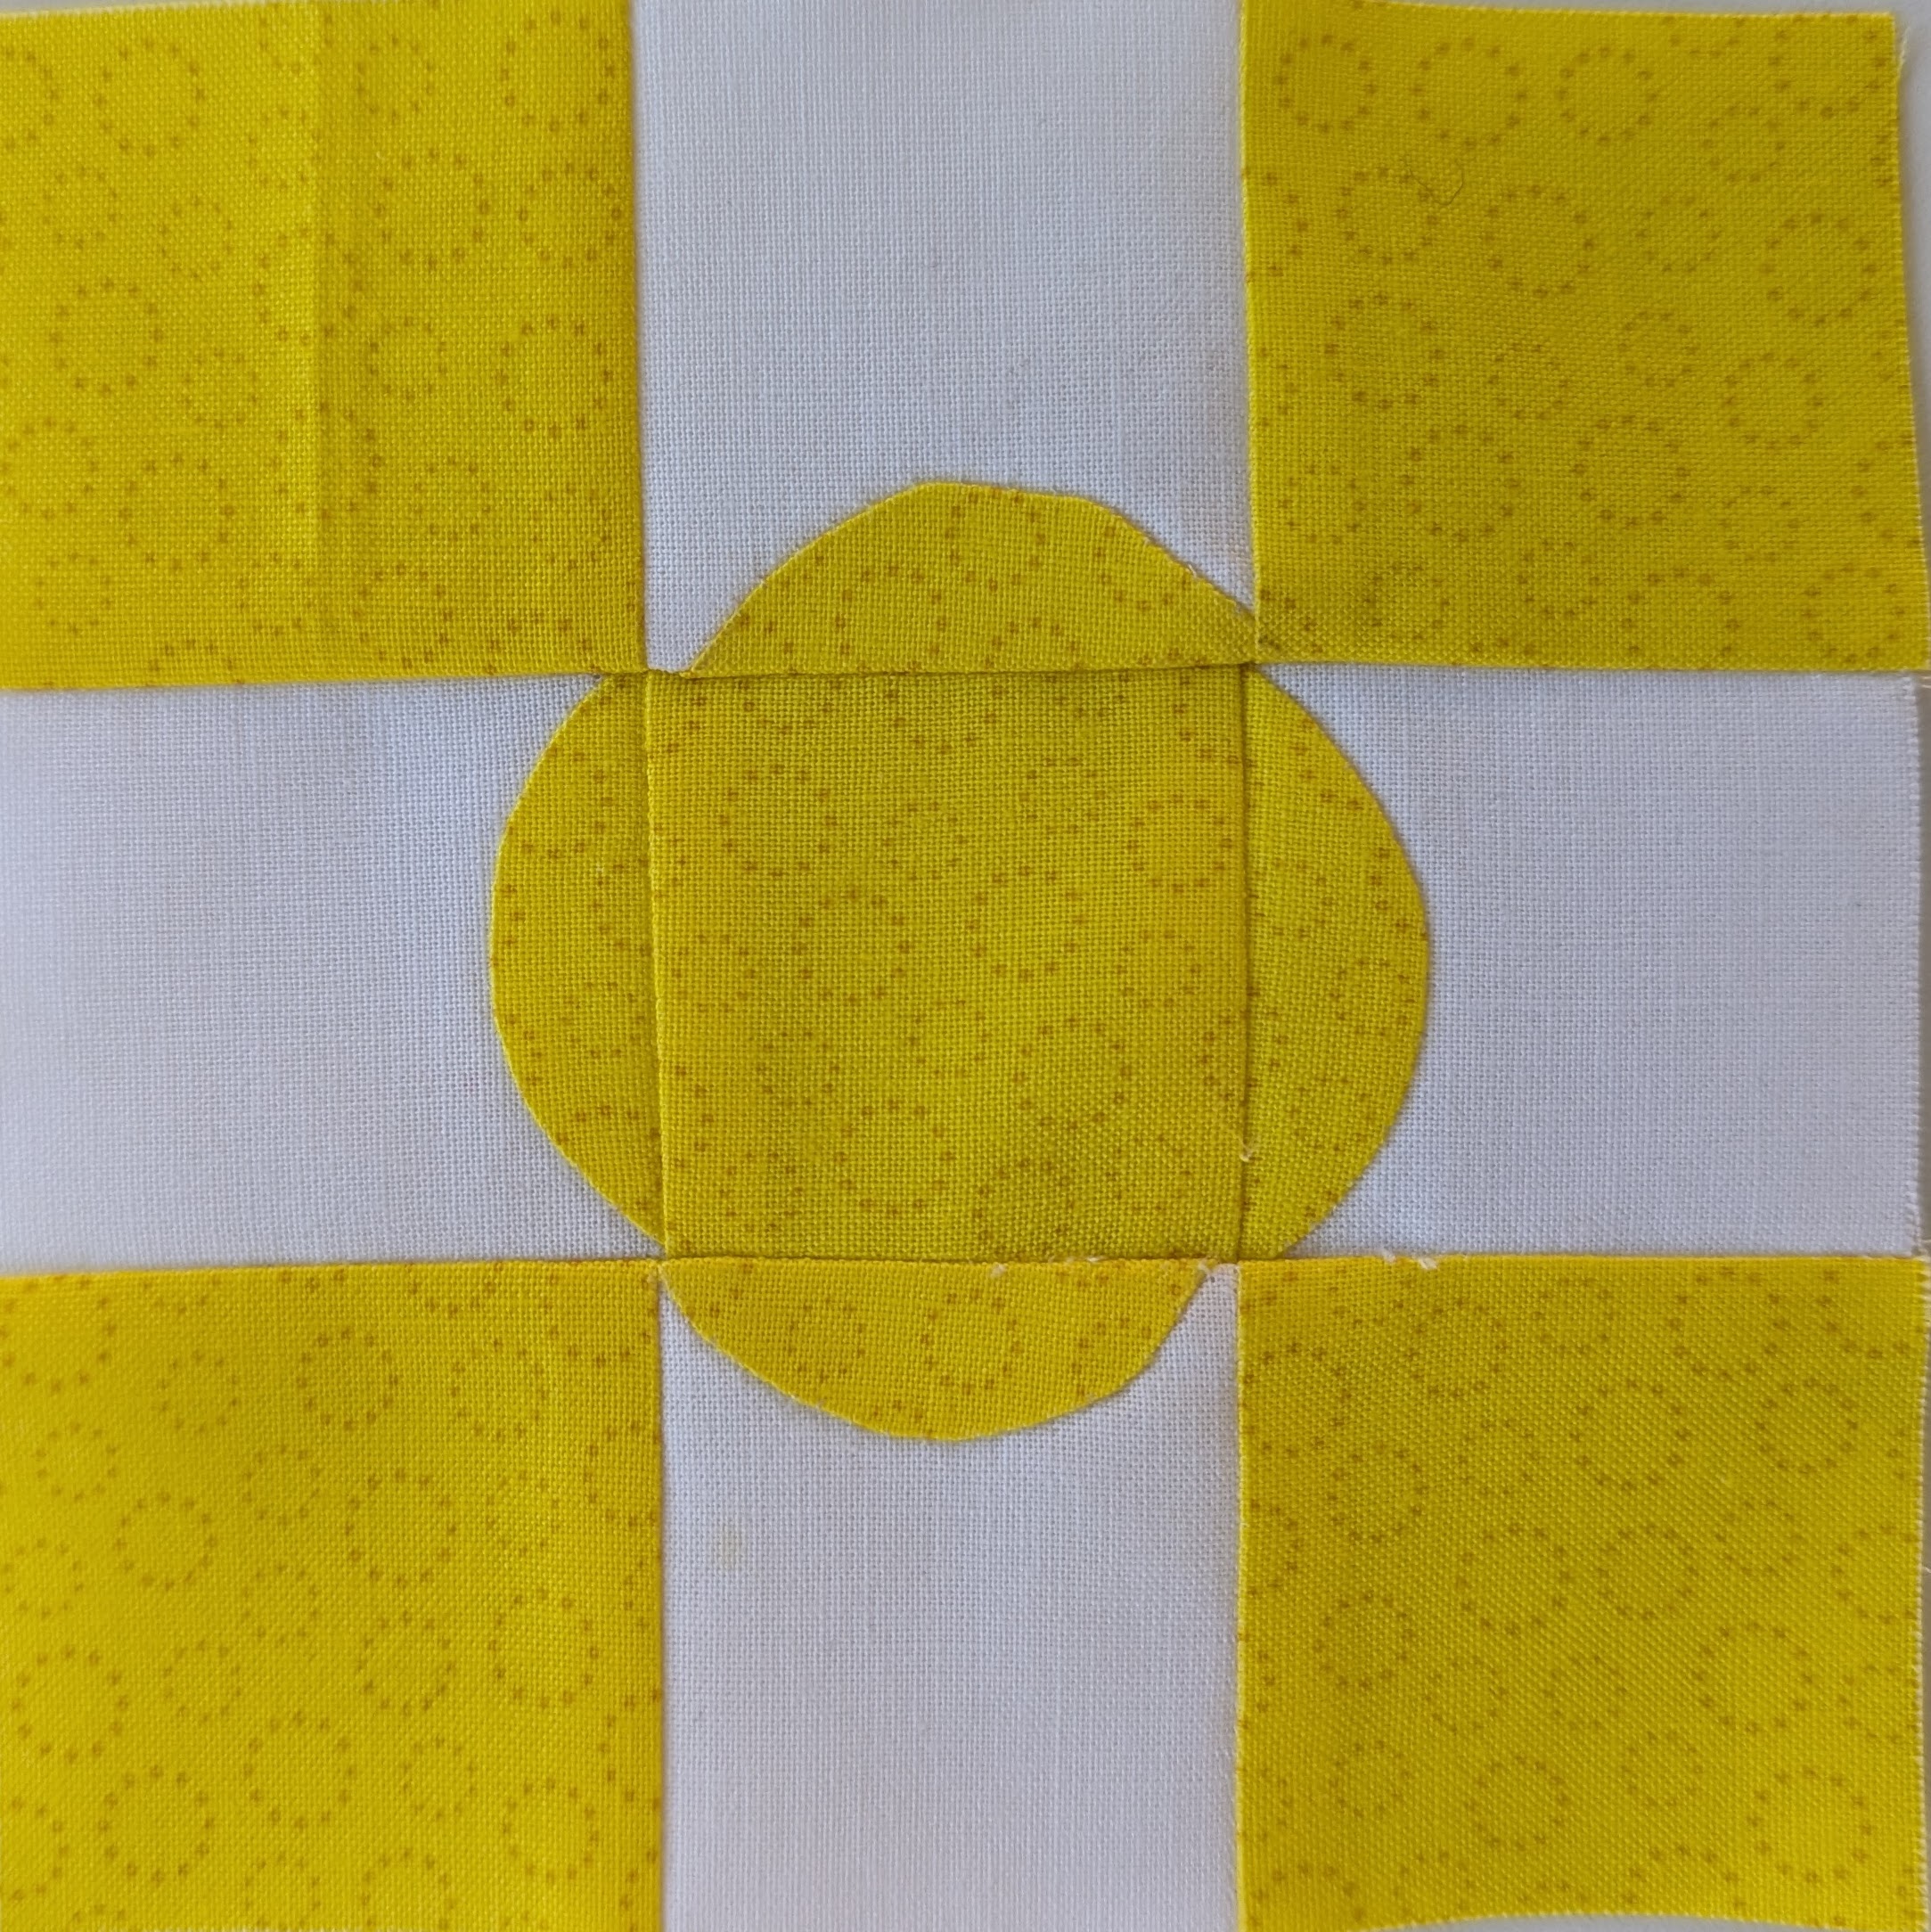
- I was able to get a more consistent curve on the applique in G-13, using freezer paper and glue.
- I appliqued each half-circle before piecing, so I was able to use the machine to secure the straight edges.
Challenges:
- I think I should have printed on the lighter, newsprint paper. With so many parts, there were a lot of thick seams to sew in Tartan, and some lost their accuracy.
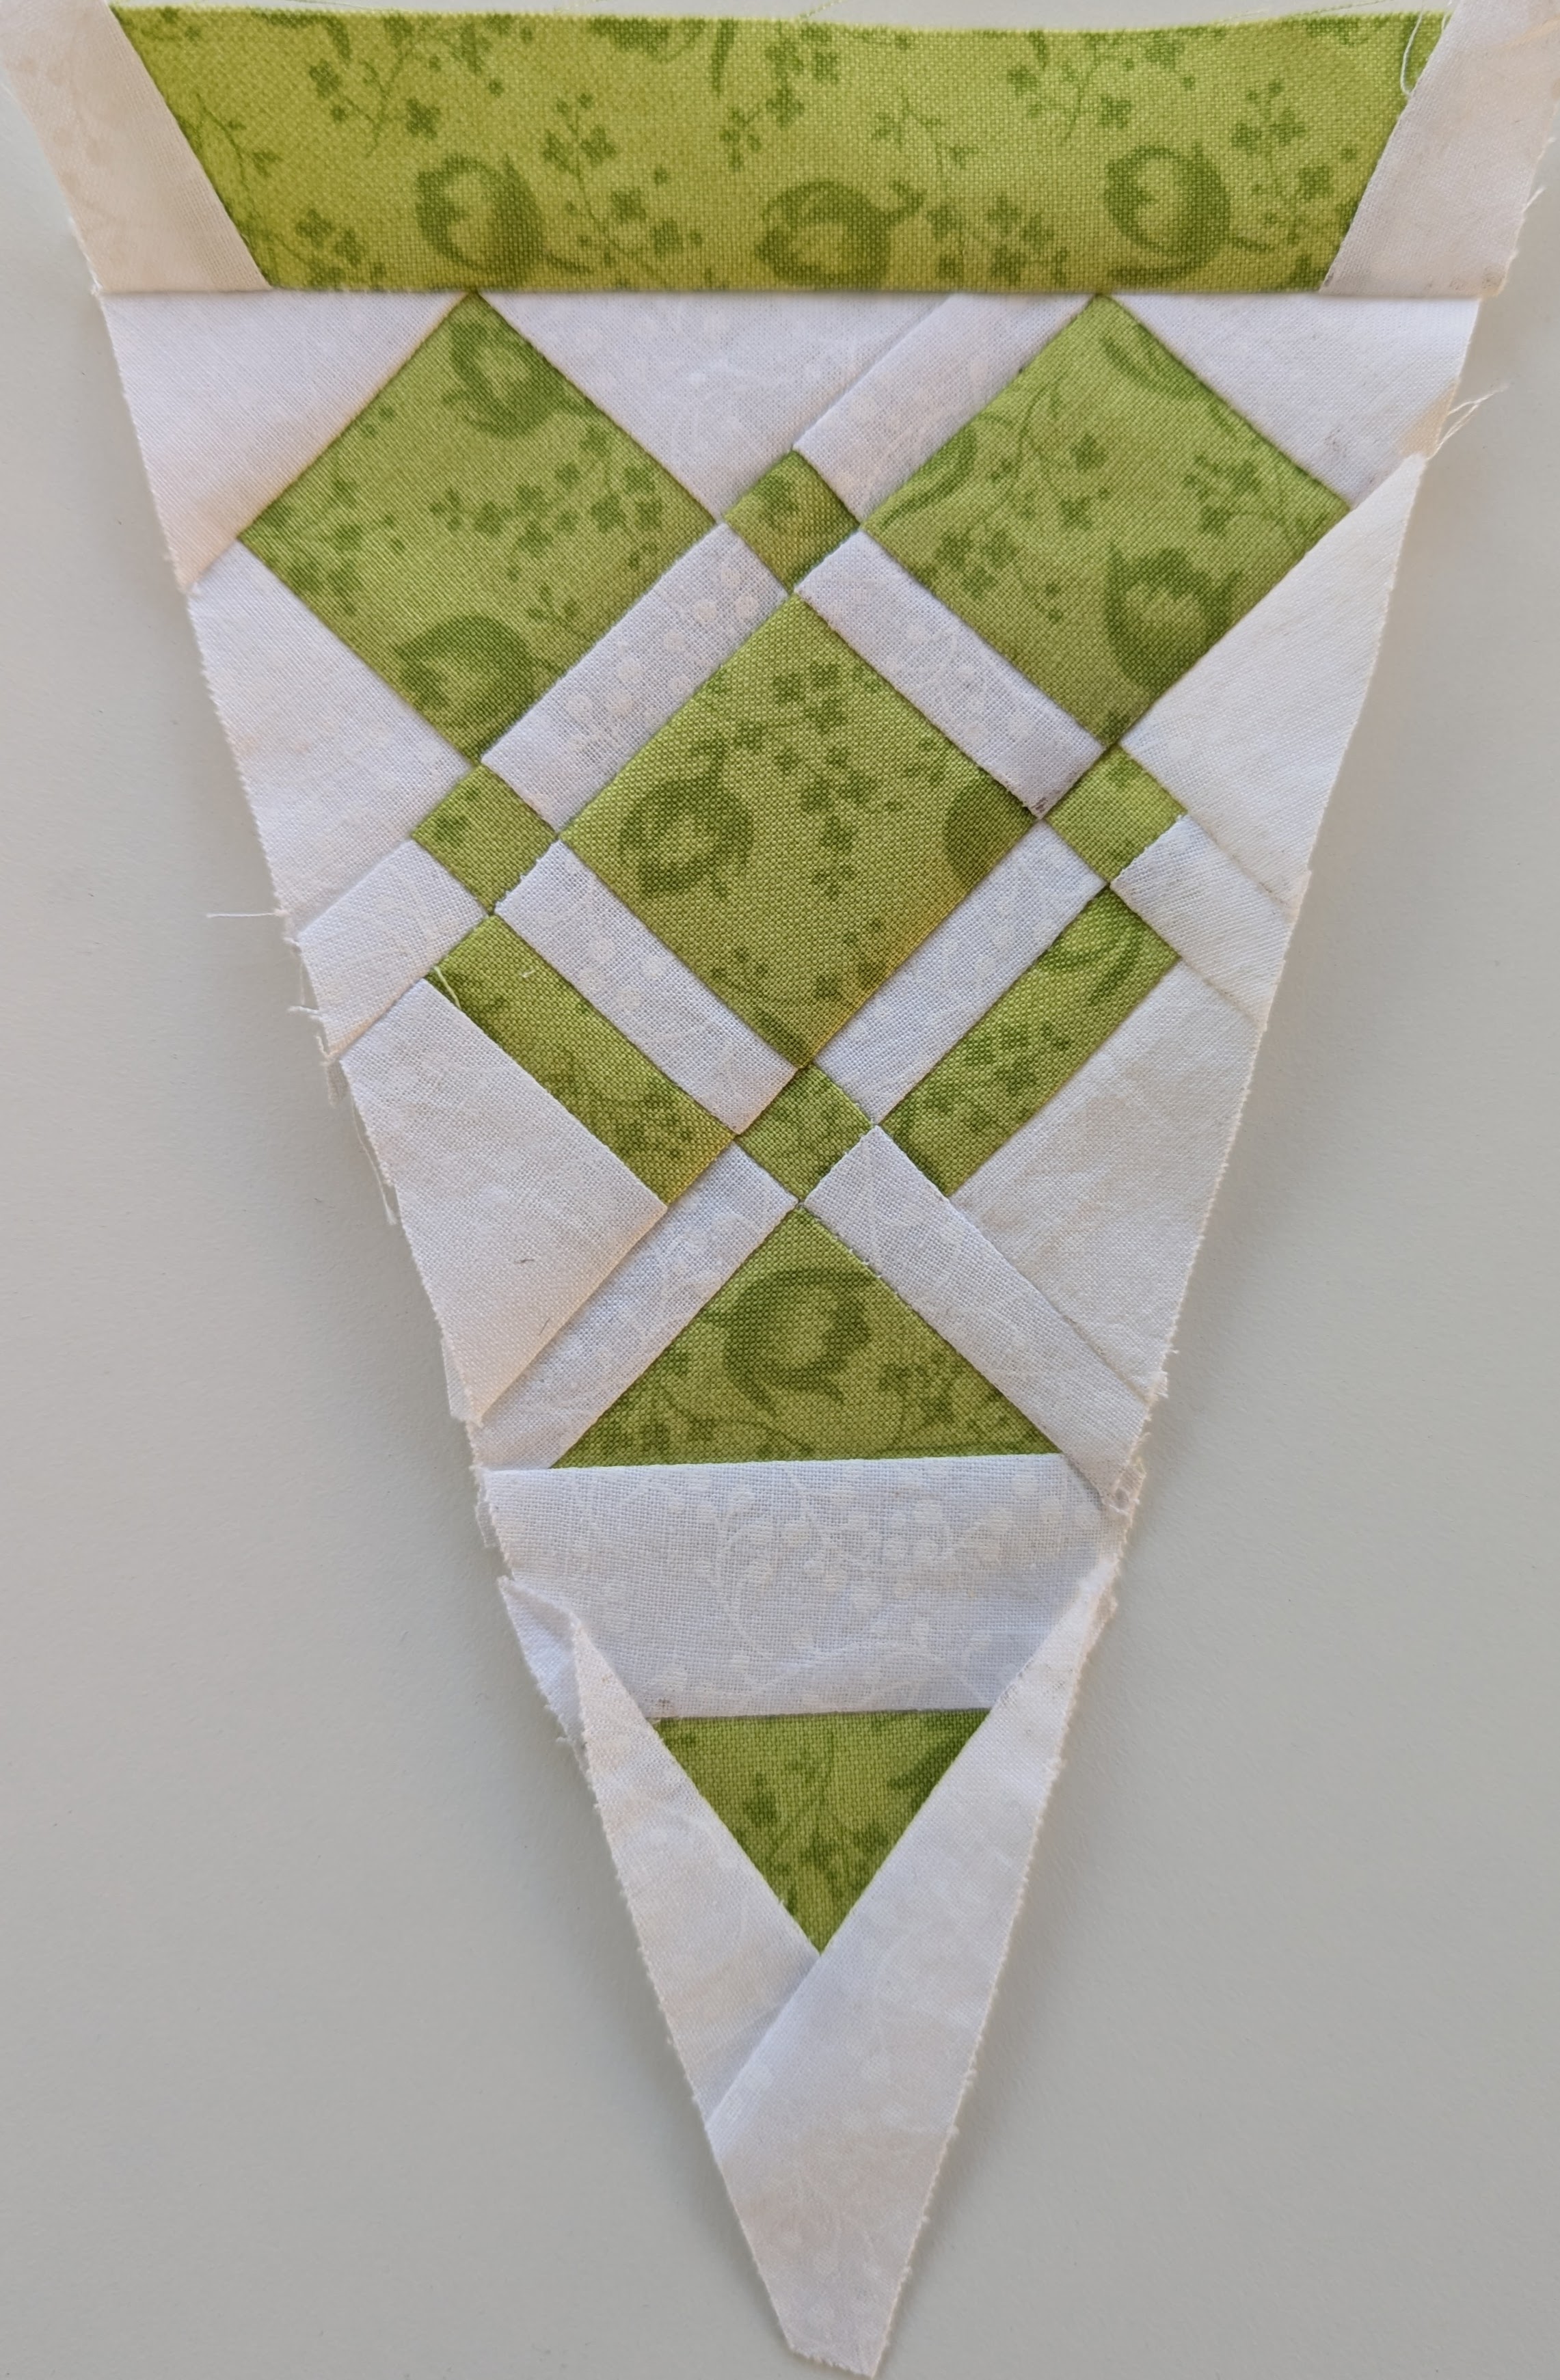
- I didn’t place the applique well in Molly’s Muffins, so the curves don’t intersect at the corners accurately.
- When I began to wash out the washable glue used in the applique, it turned purple again, and I thought I had ruined the pieces. However, use of Dawn and warm water removed all the purple!
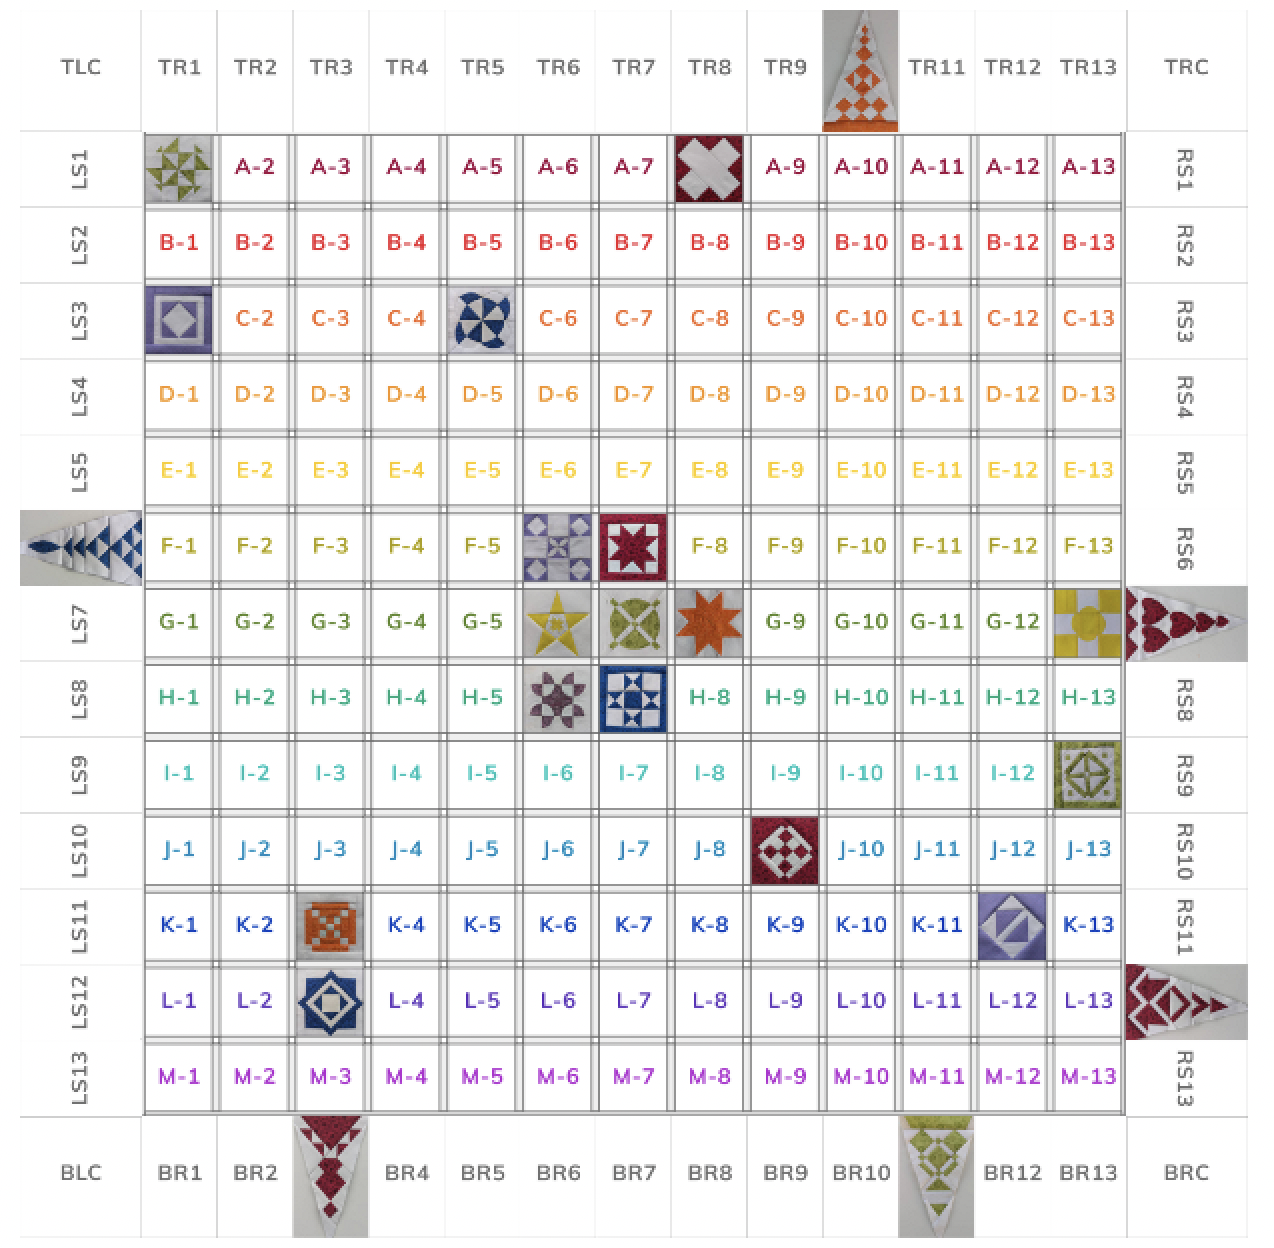
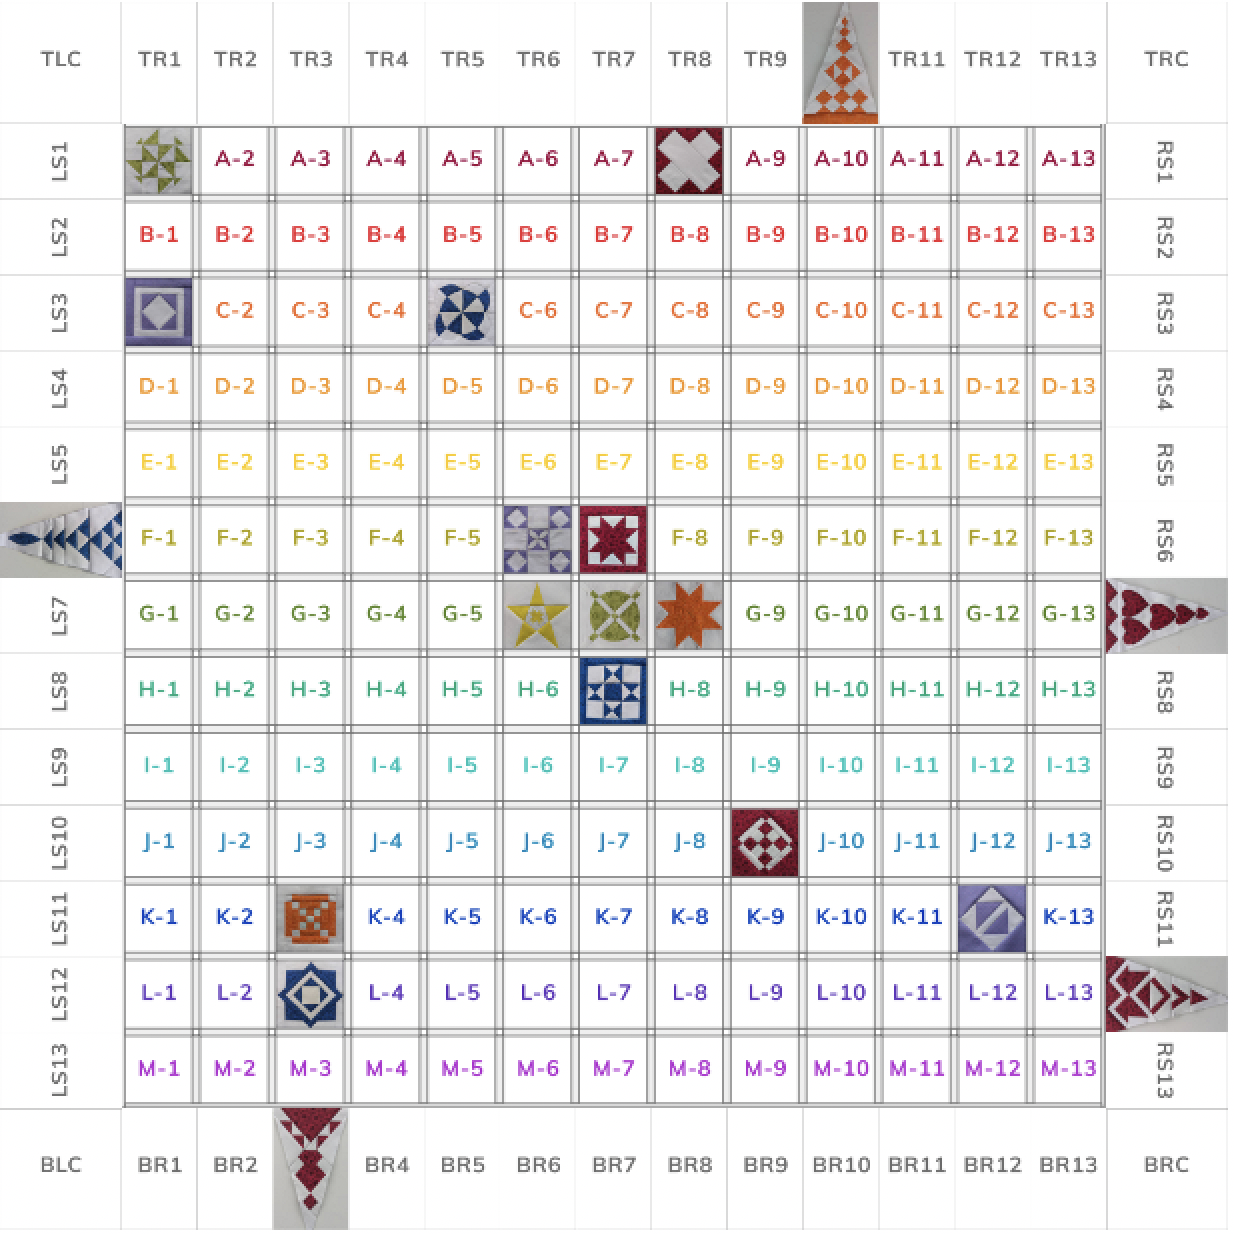
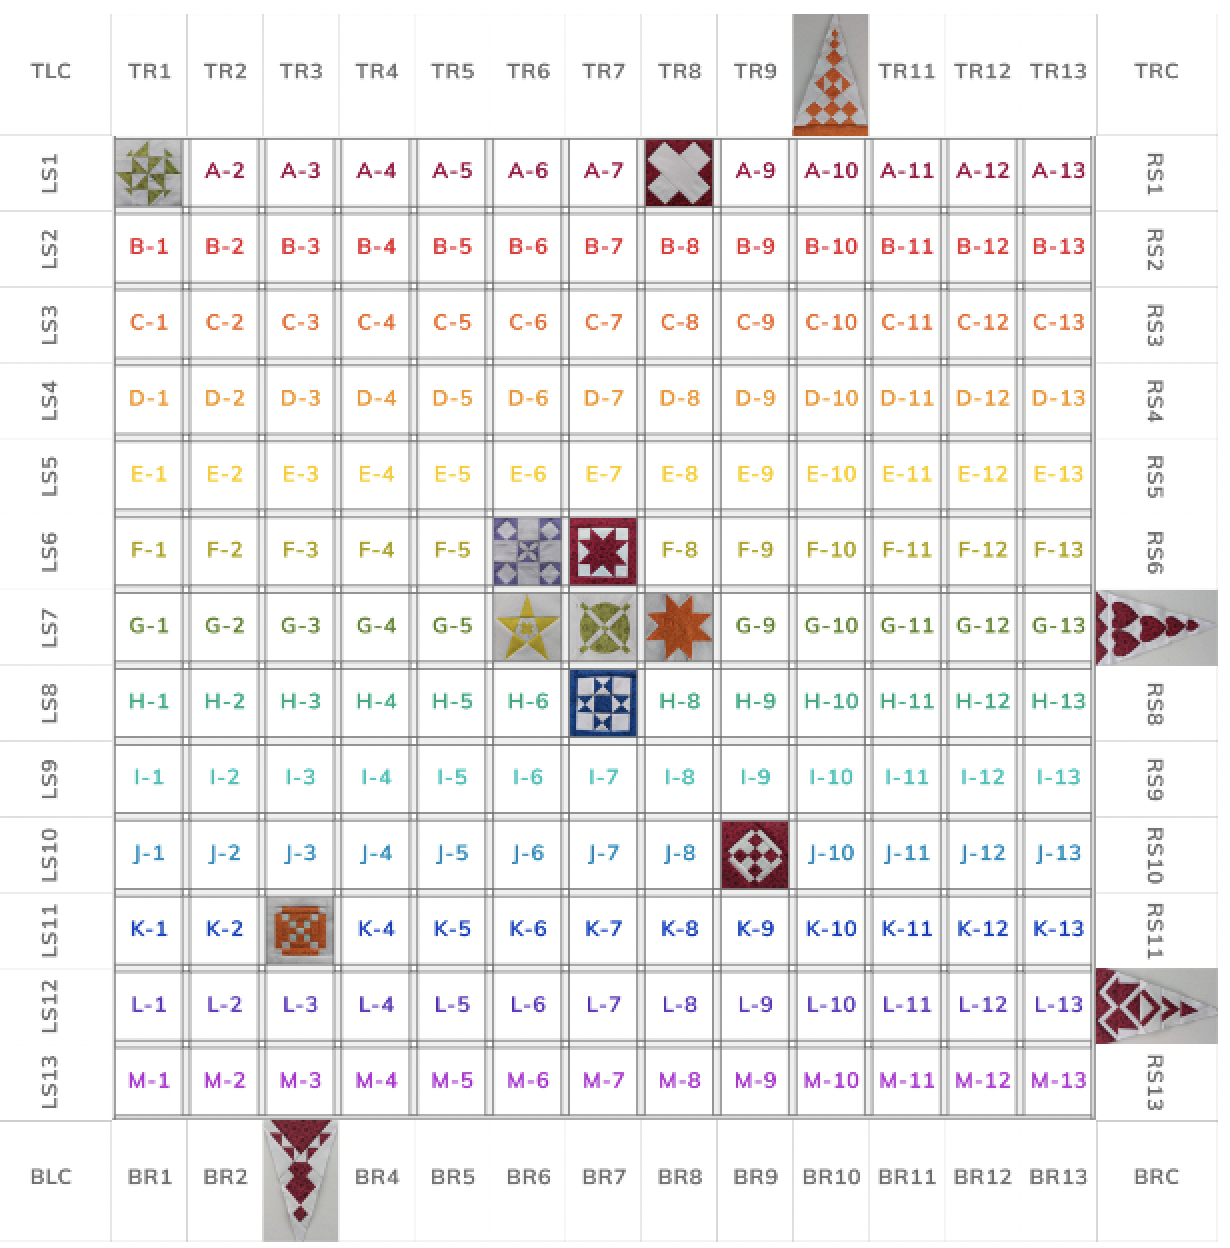
Here’s the quilt to date: