Dear Jane: BR3 – Attic Window

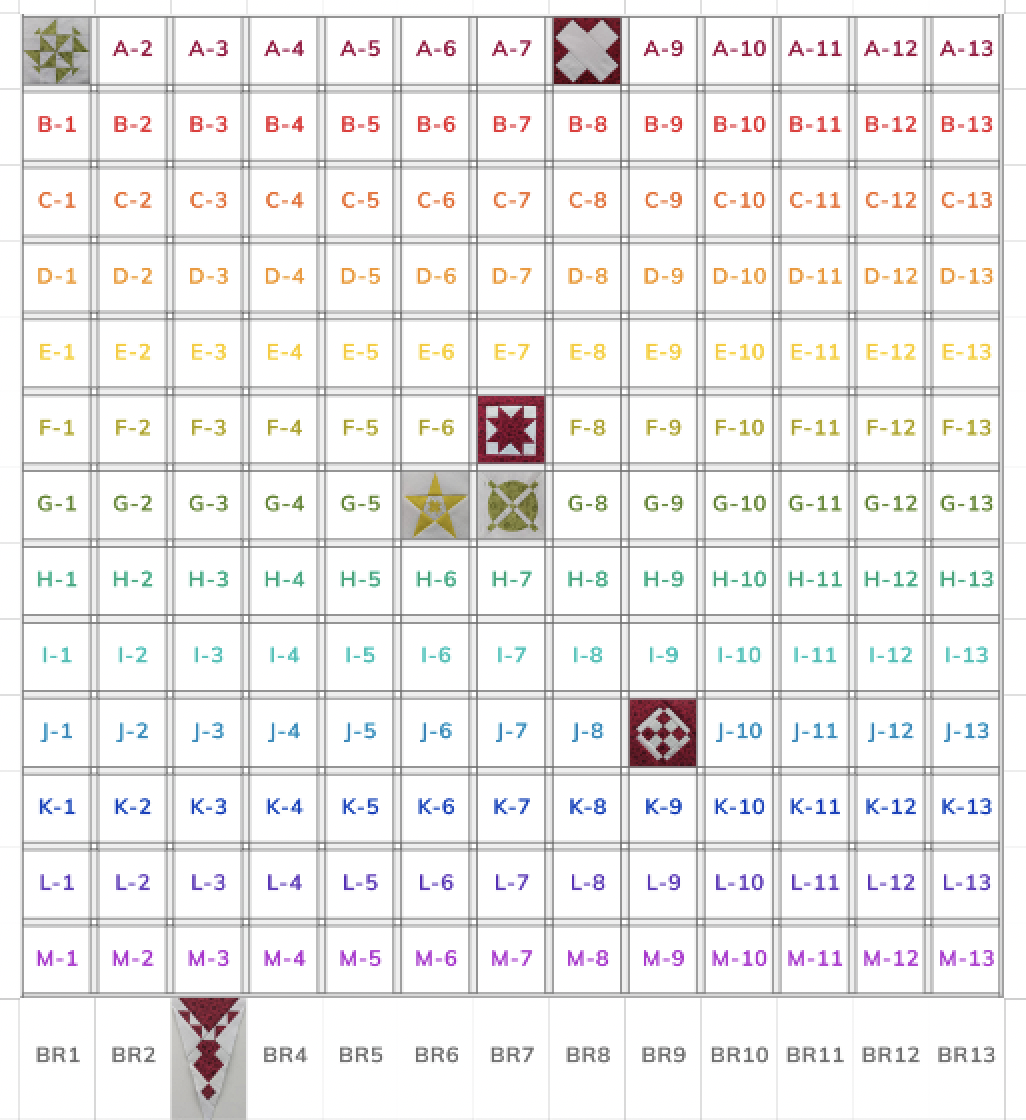
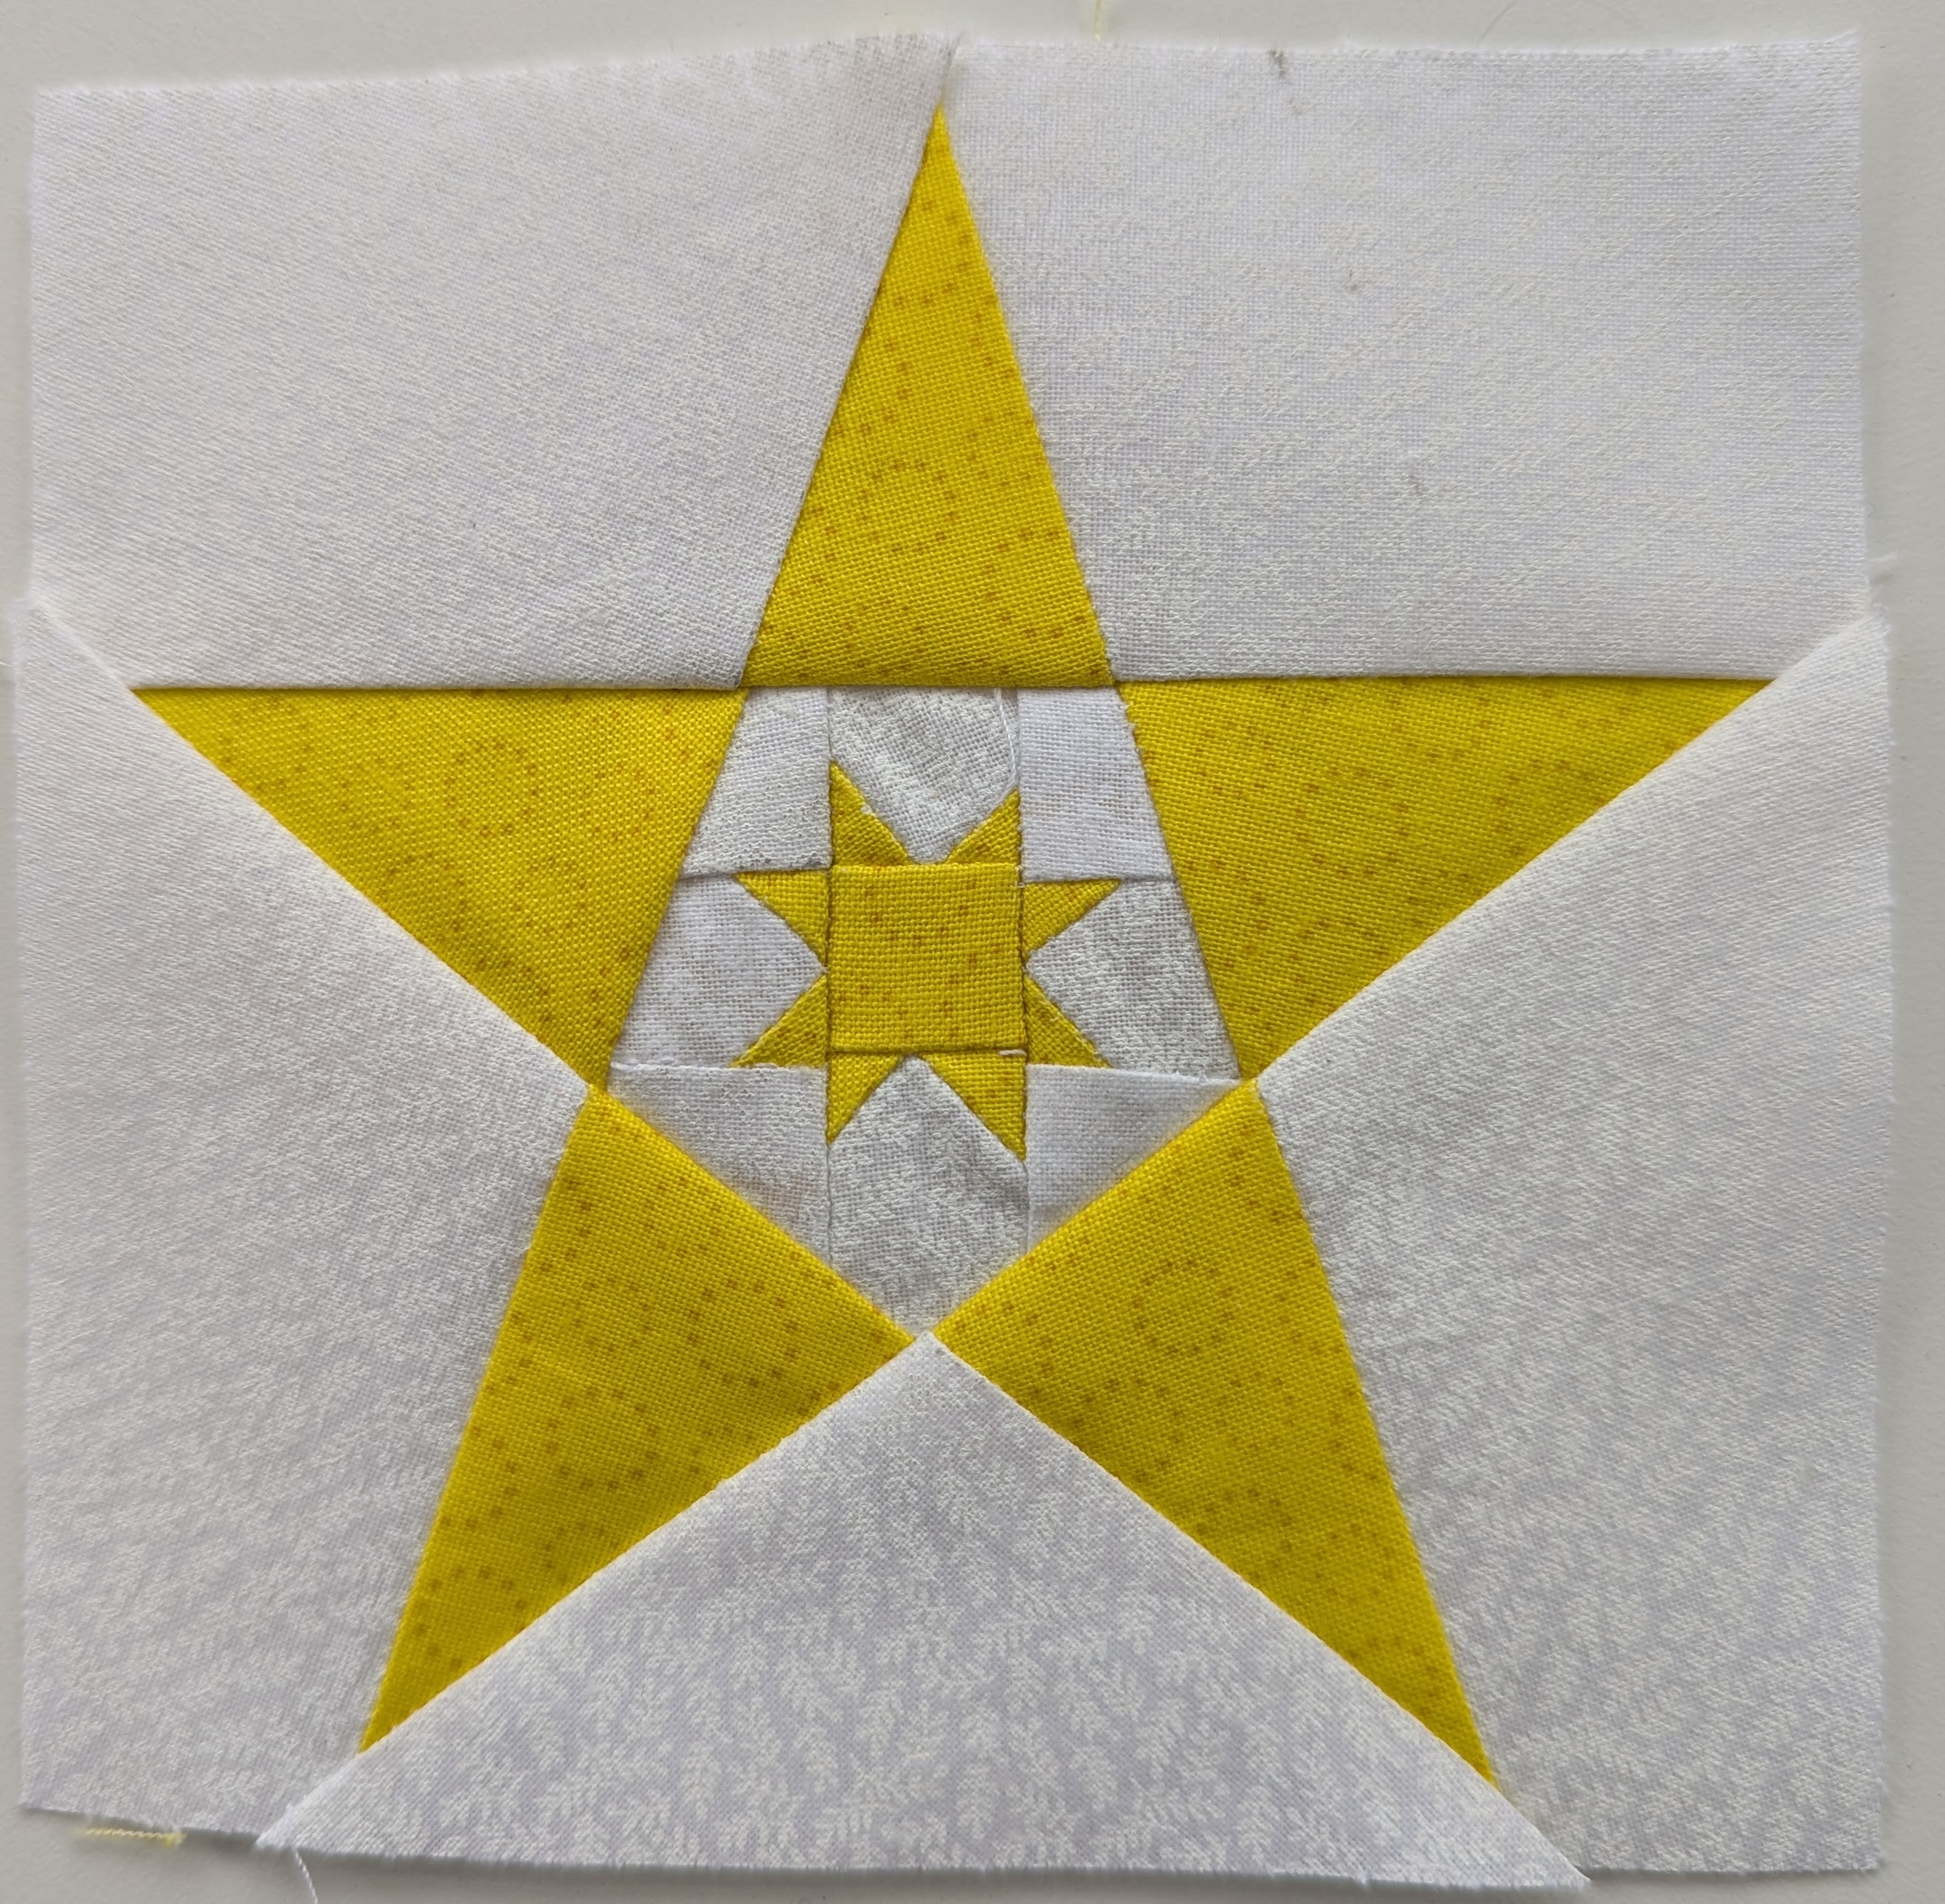
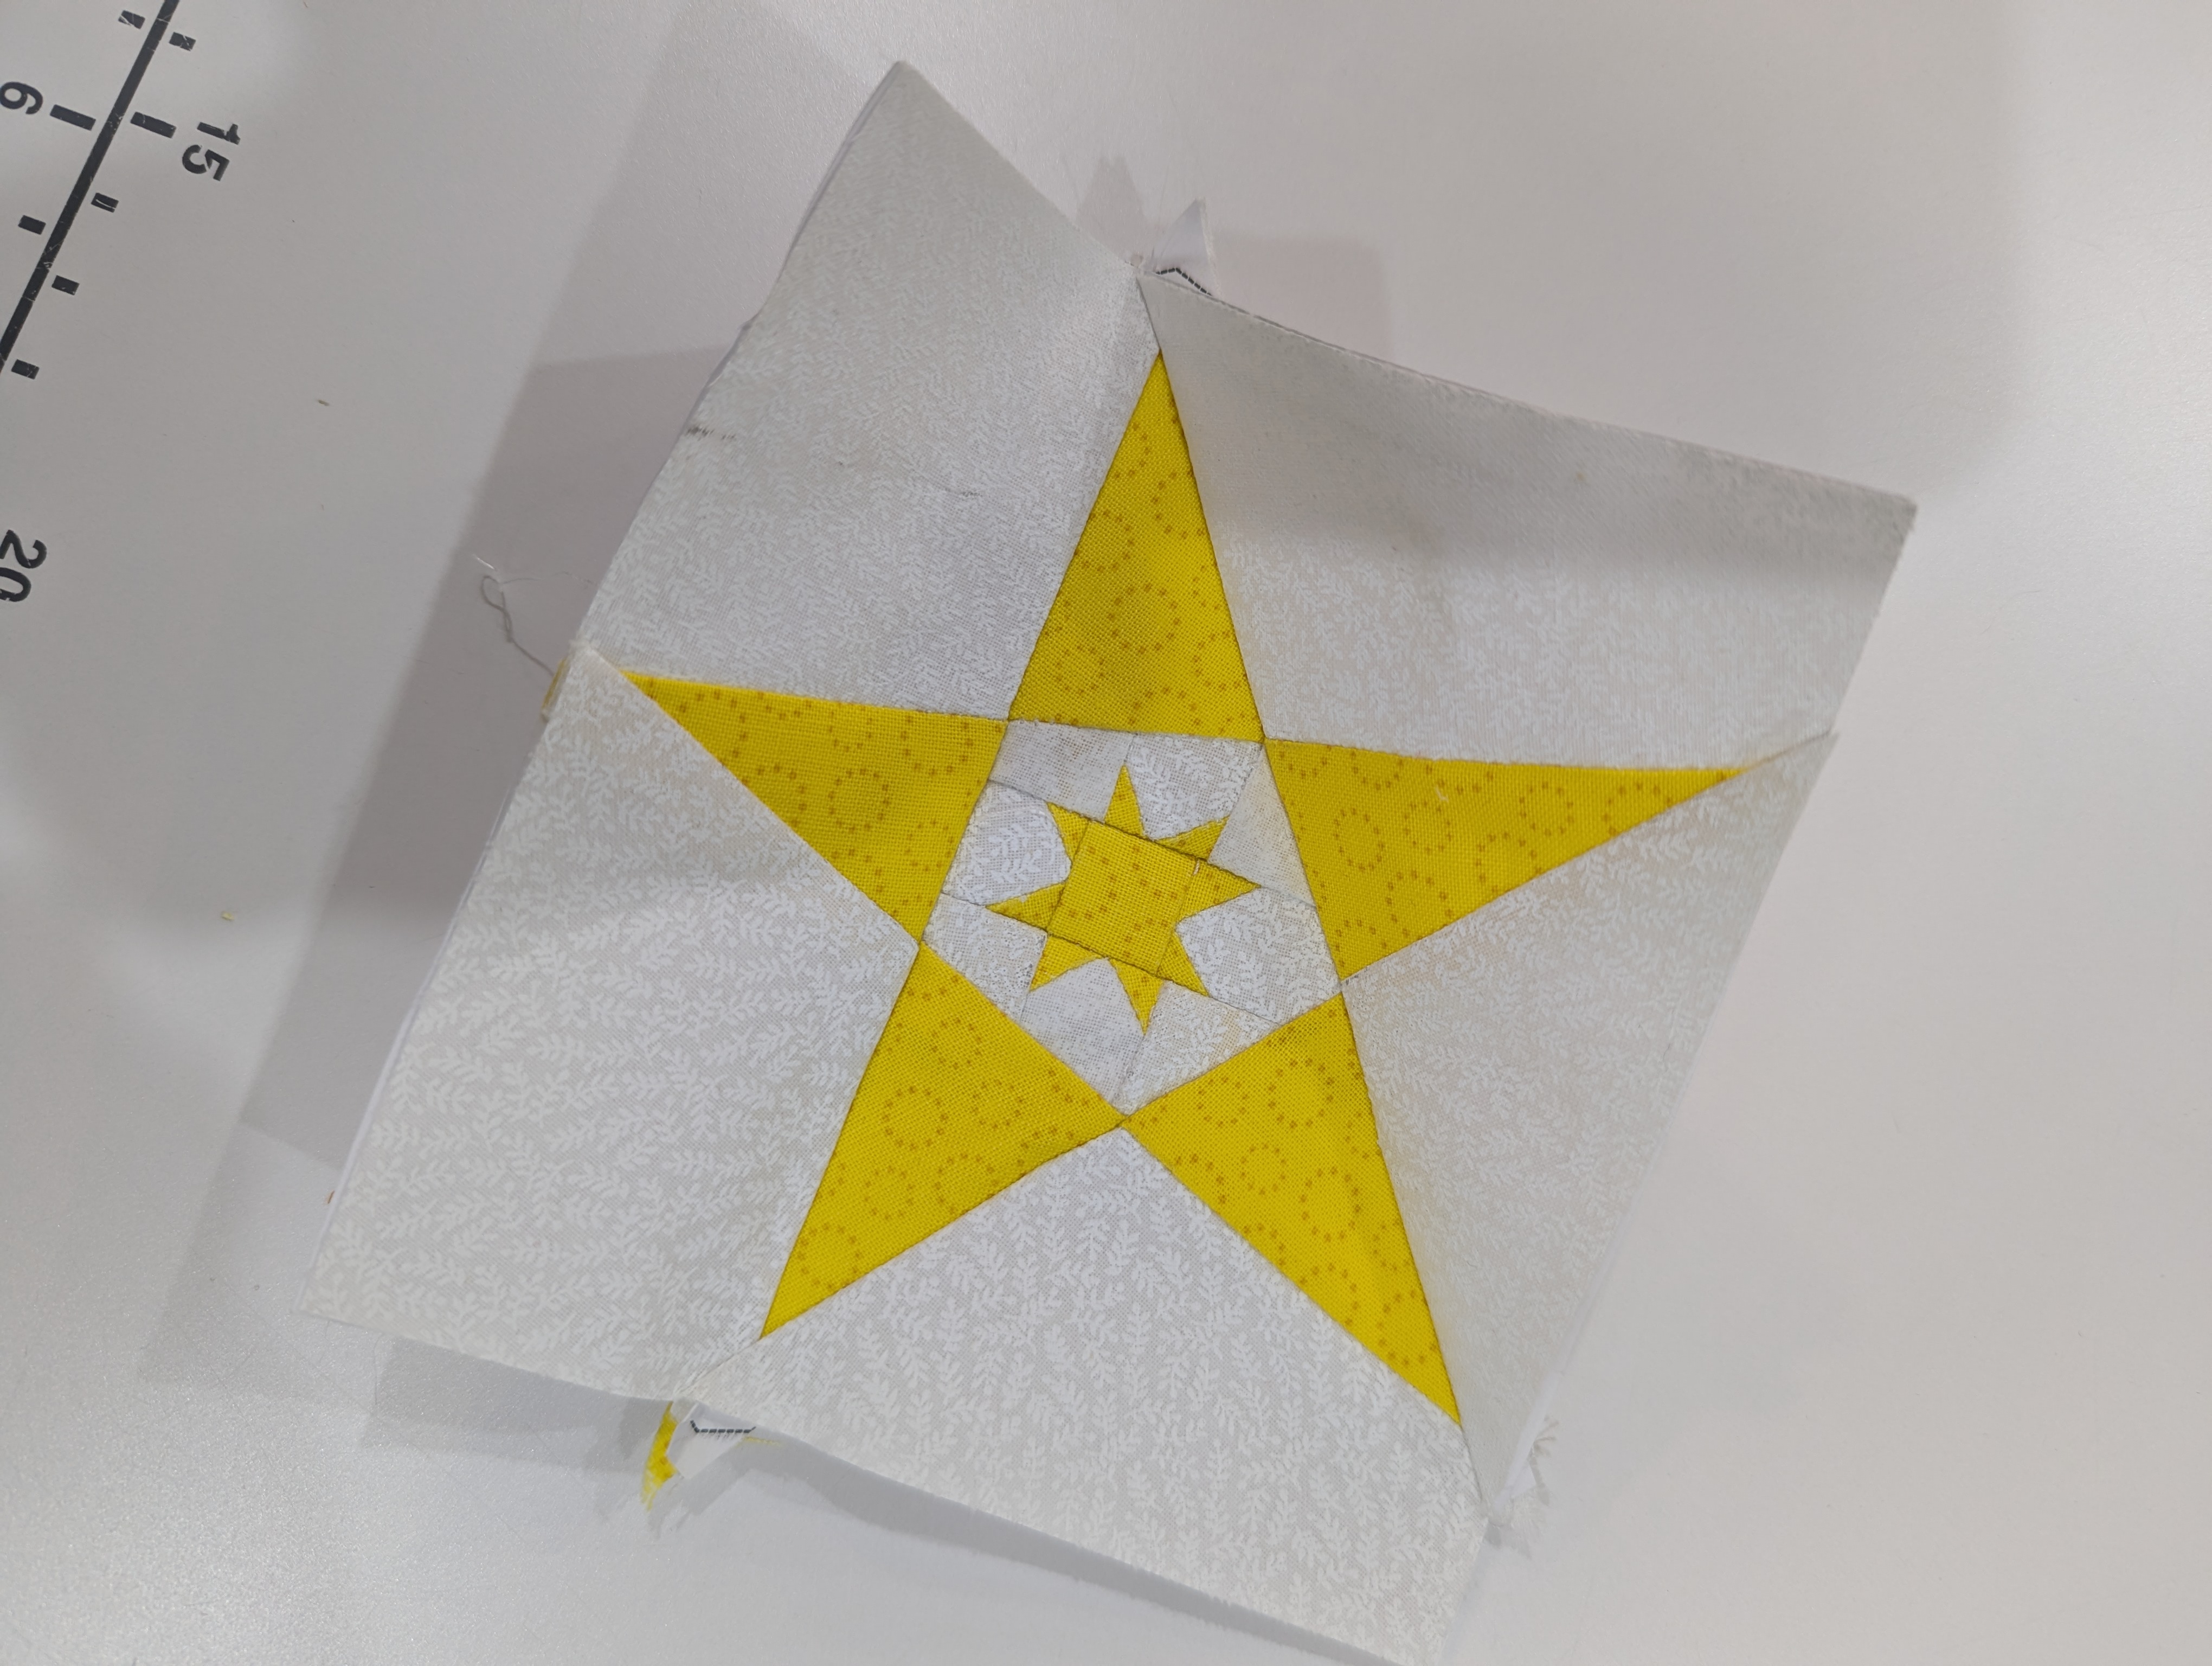
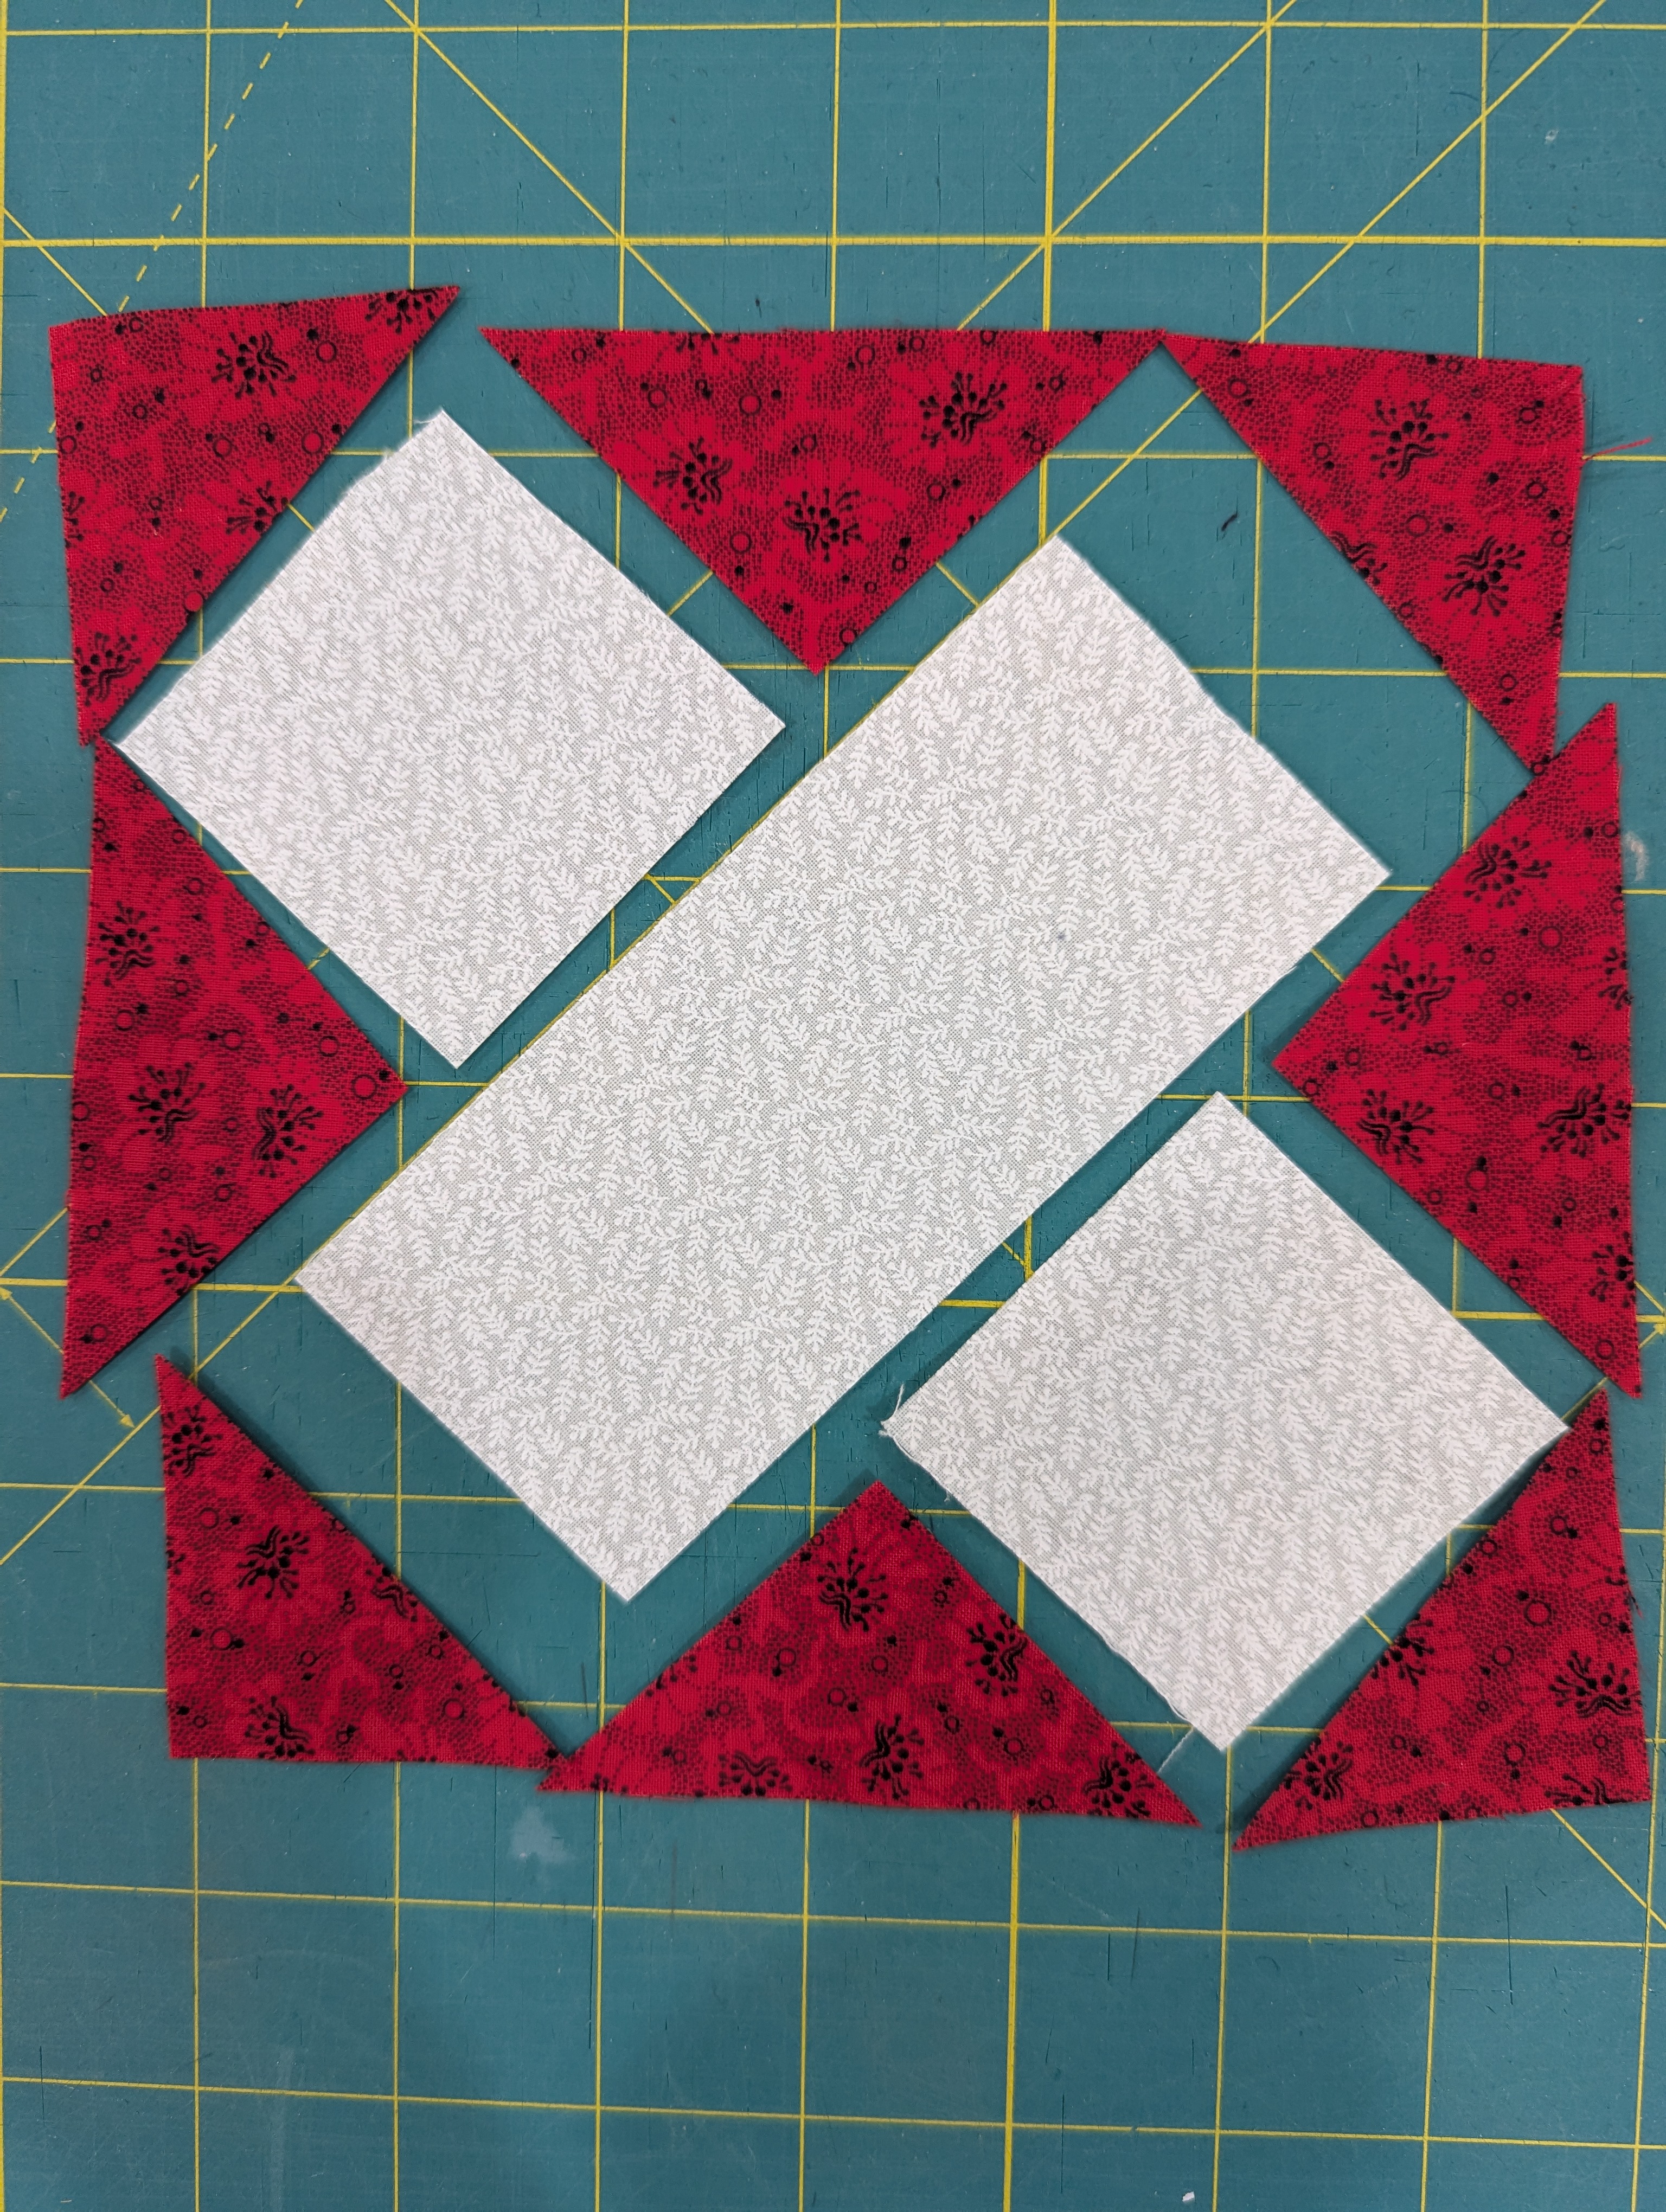
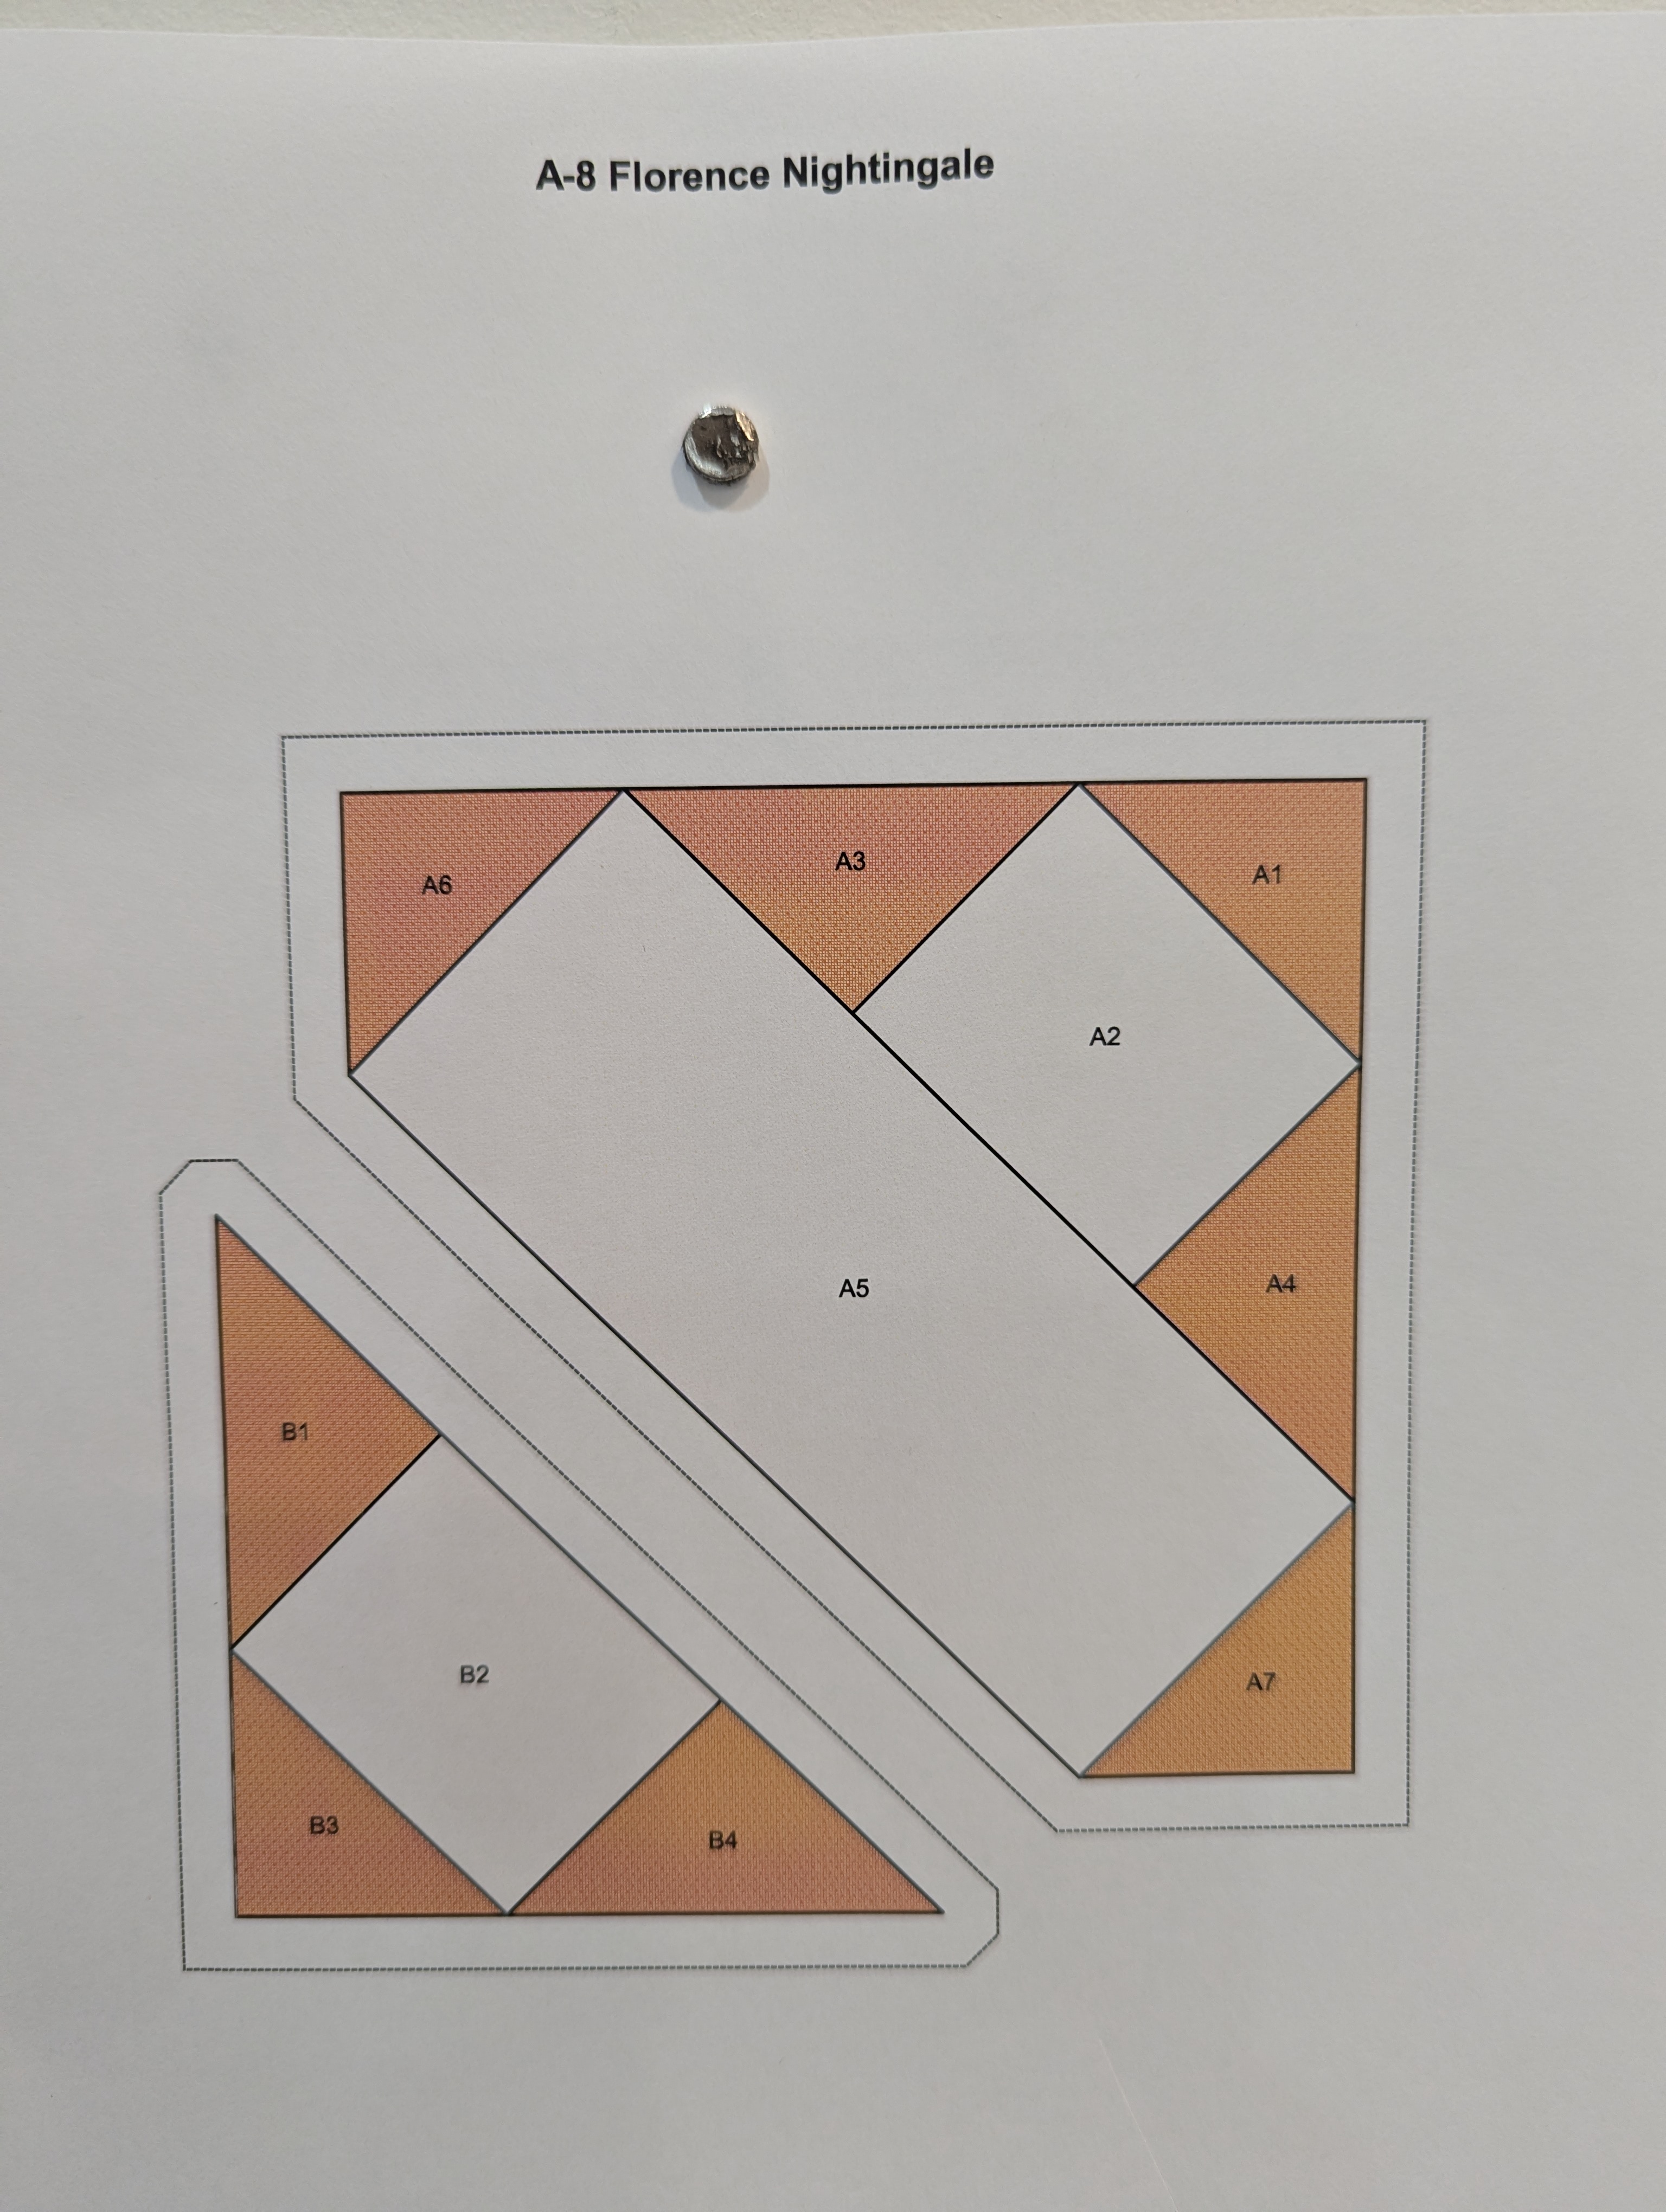
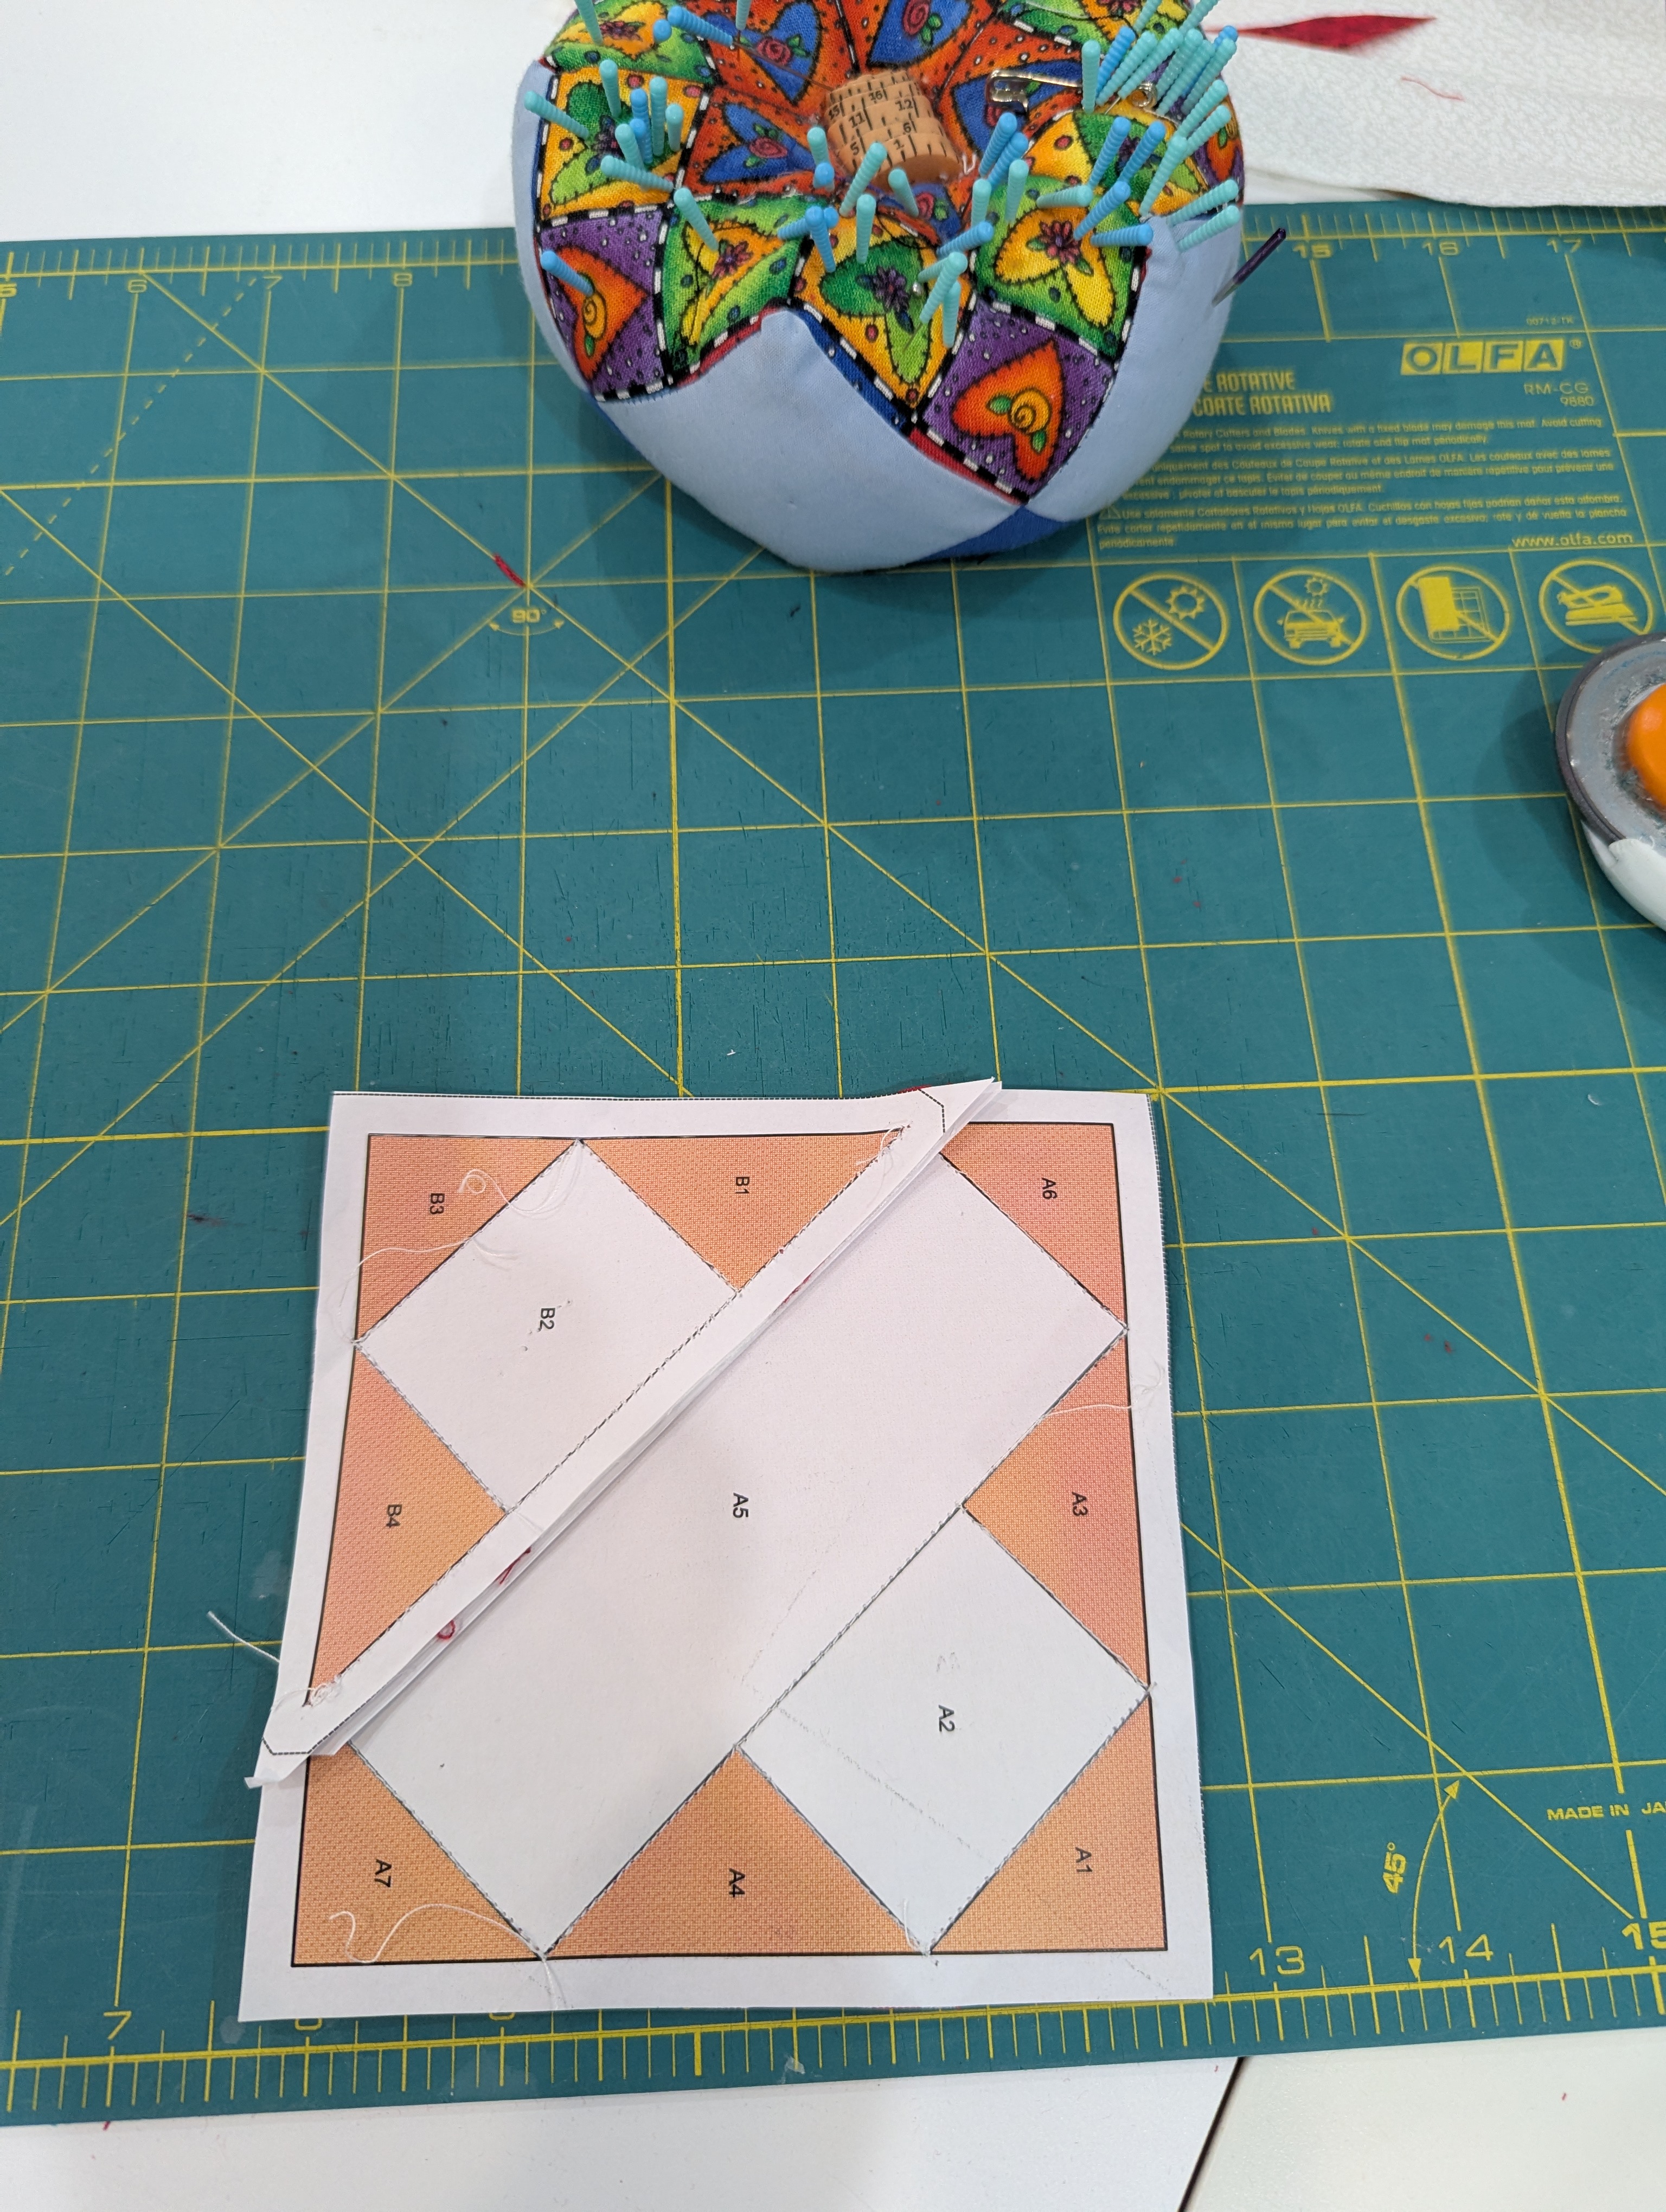
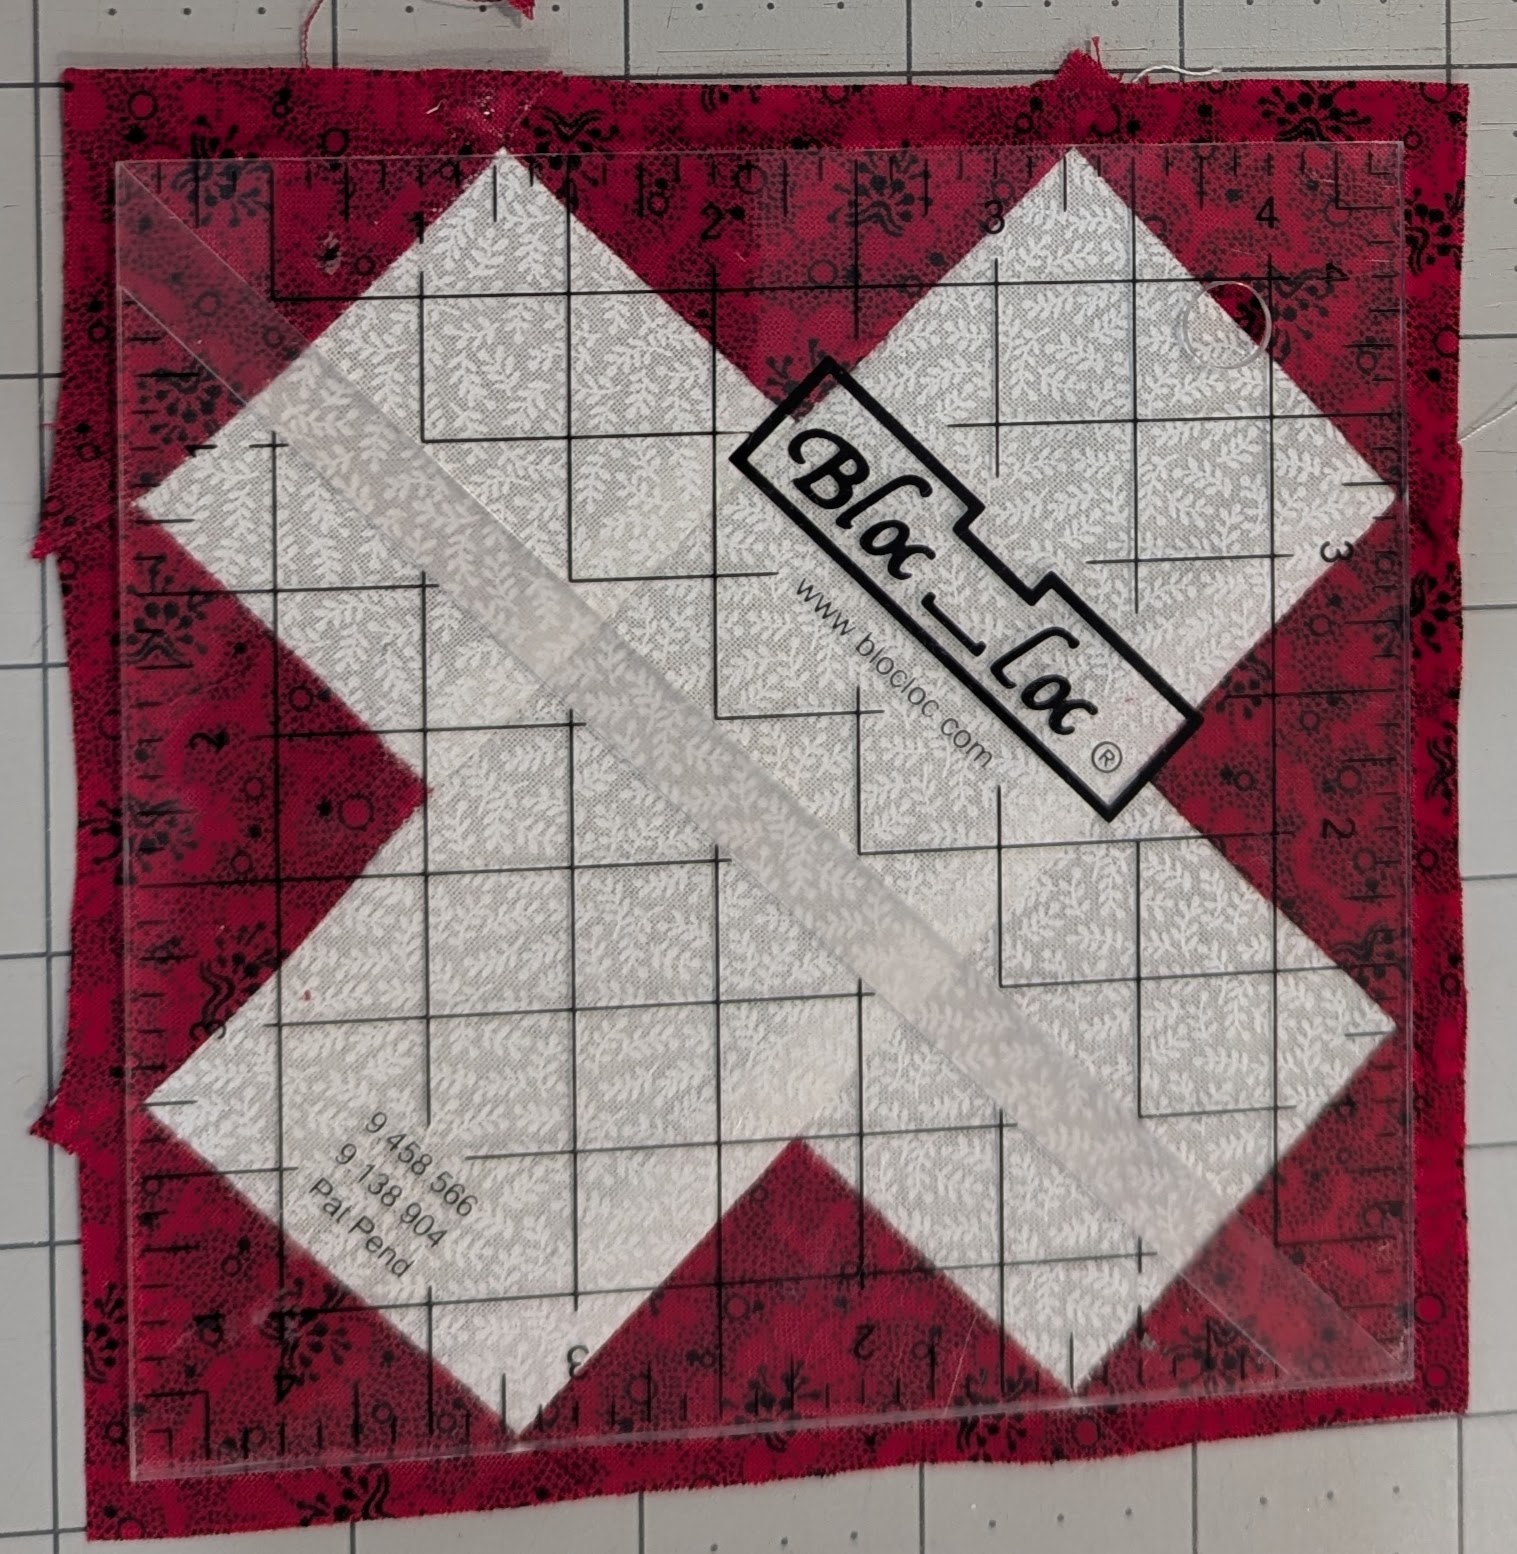
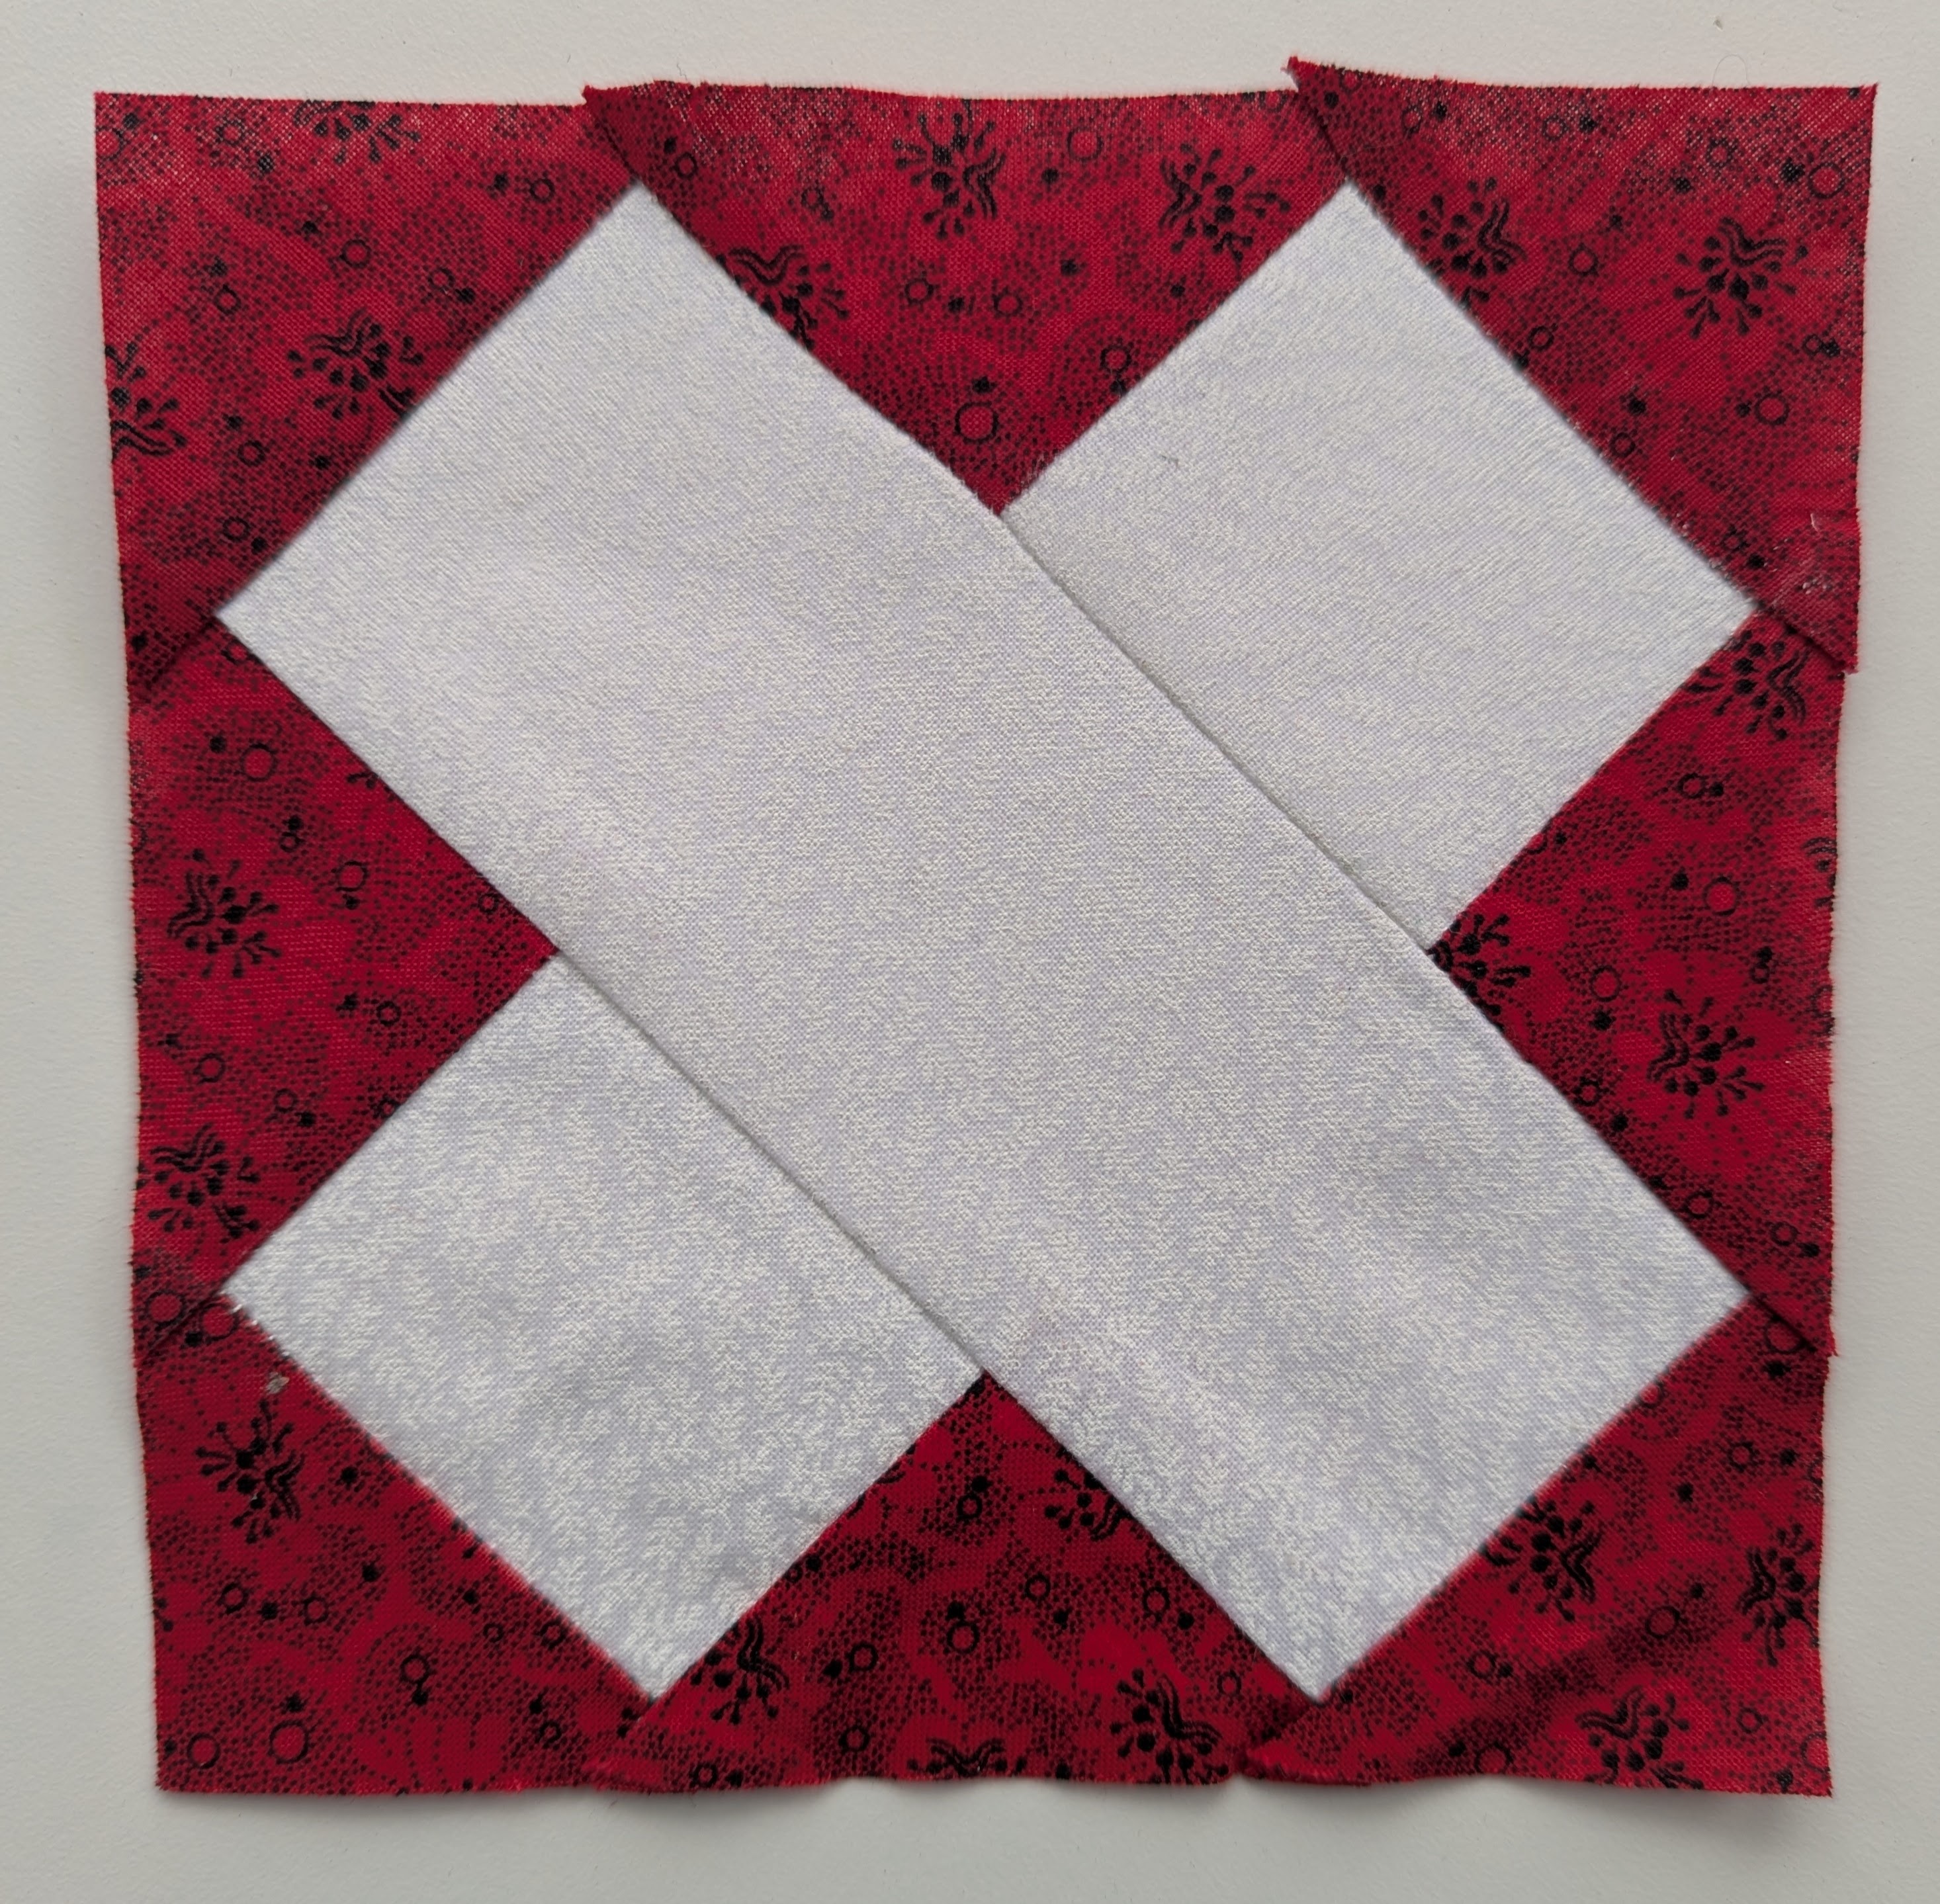
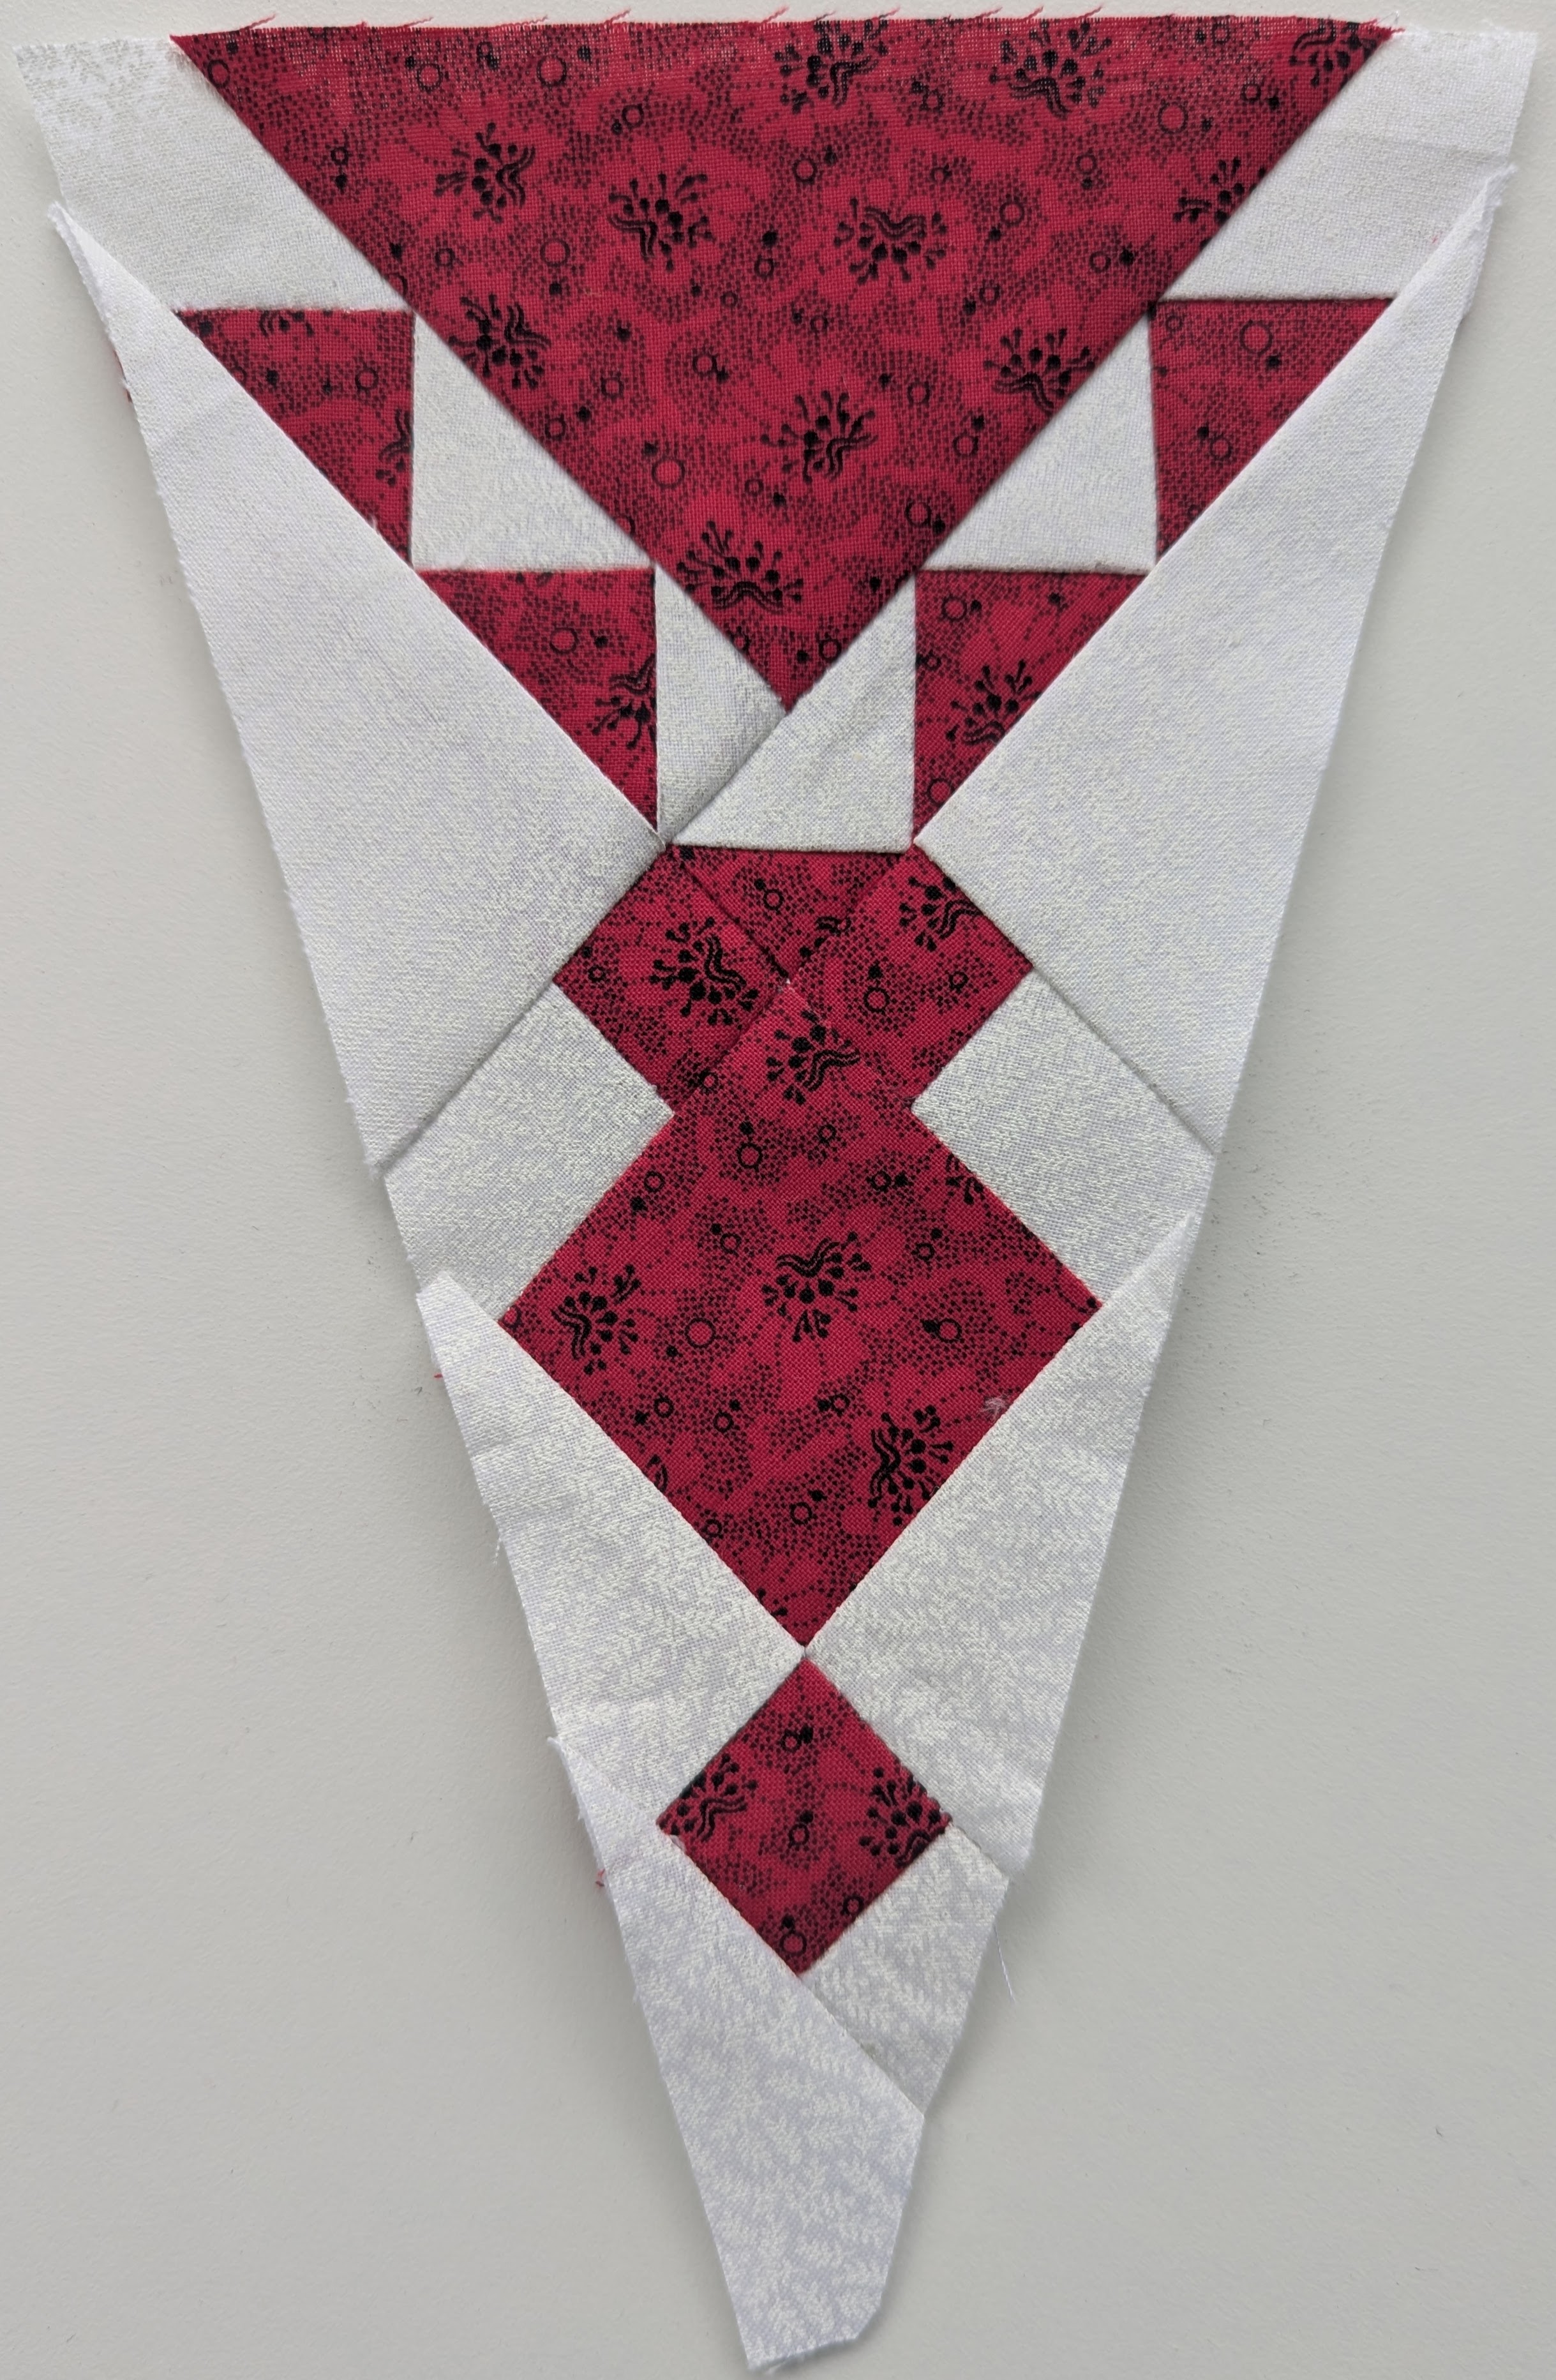
Just to shake things up, I was inspired to begin one of the border blocks. These triangle blocks will alternate with solid blocks, to create a border around the entire quilt. The solid triangle blocks will have a shallow semi-circle on the outer edge, creating the signature “ice cream cone” look. 

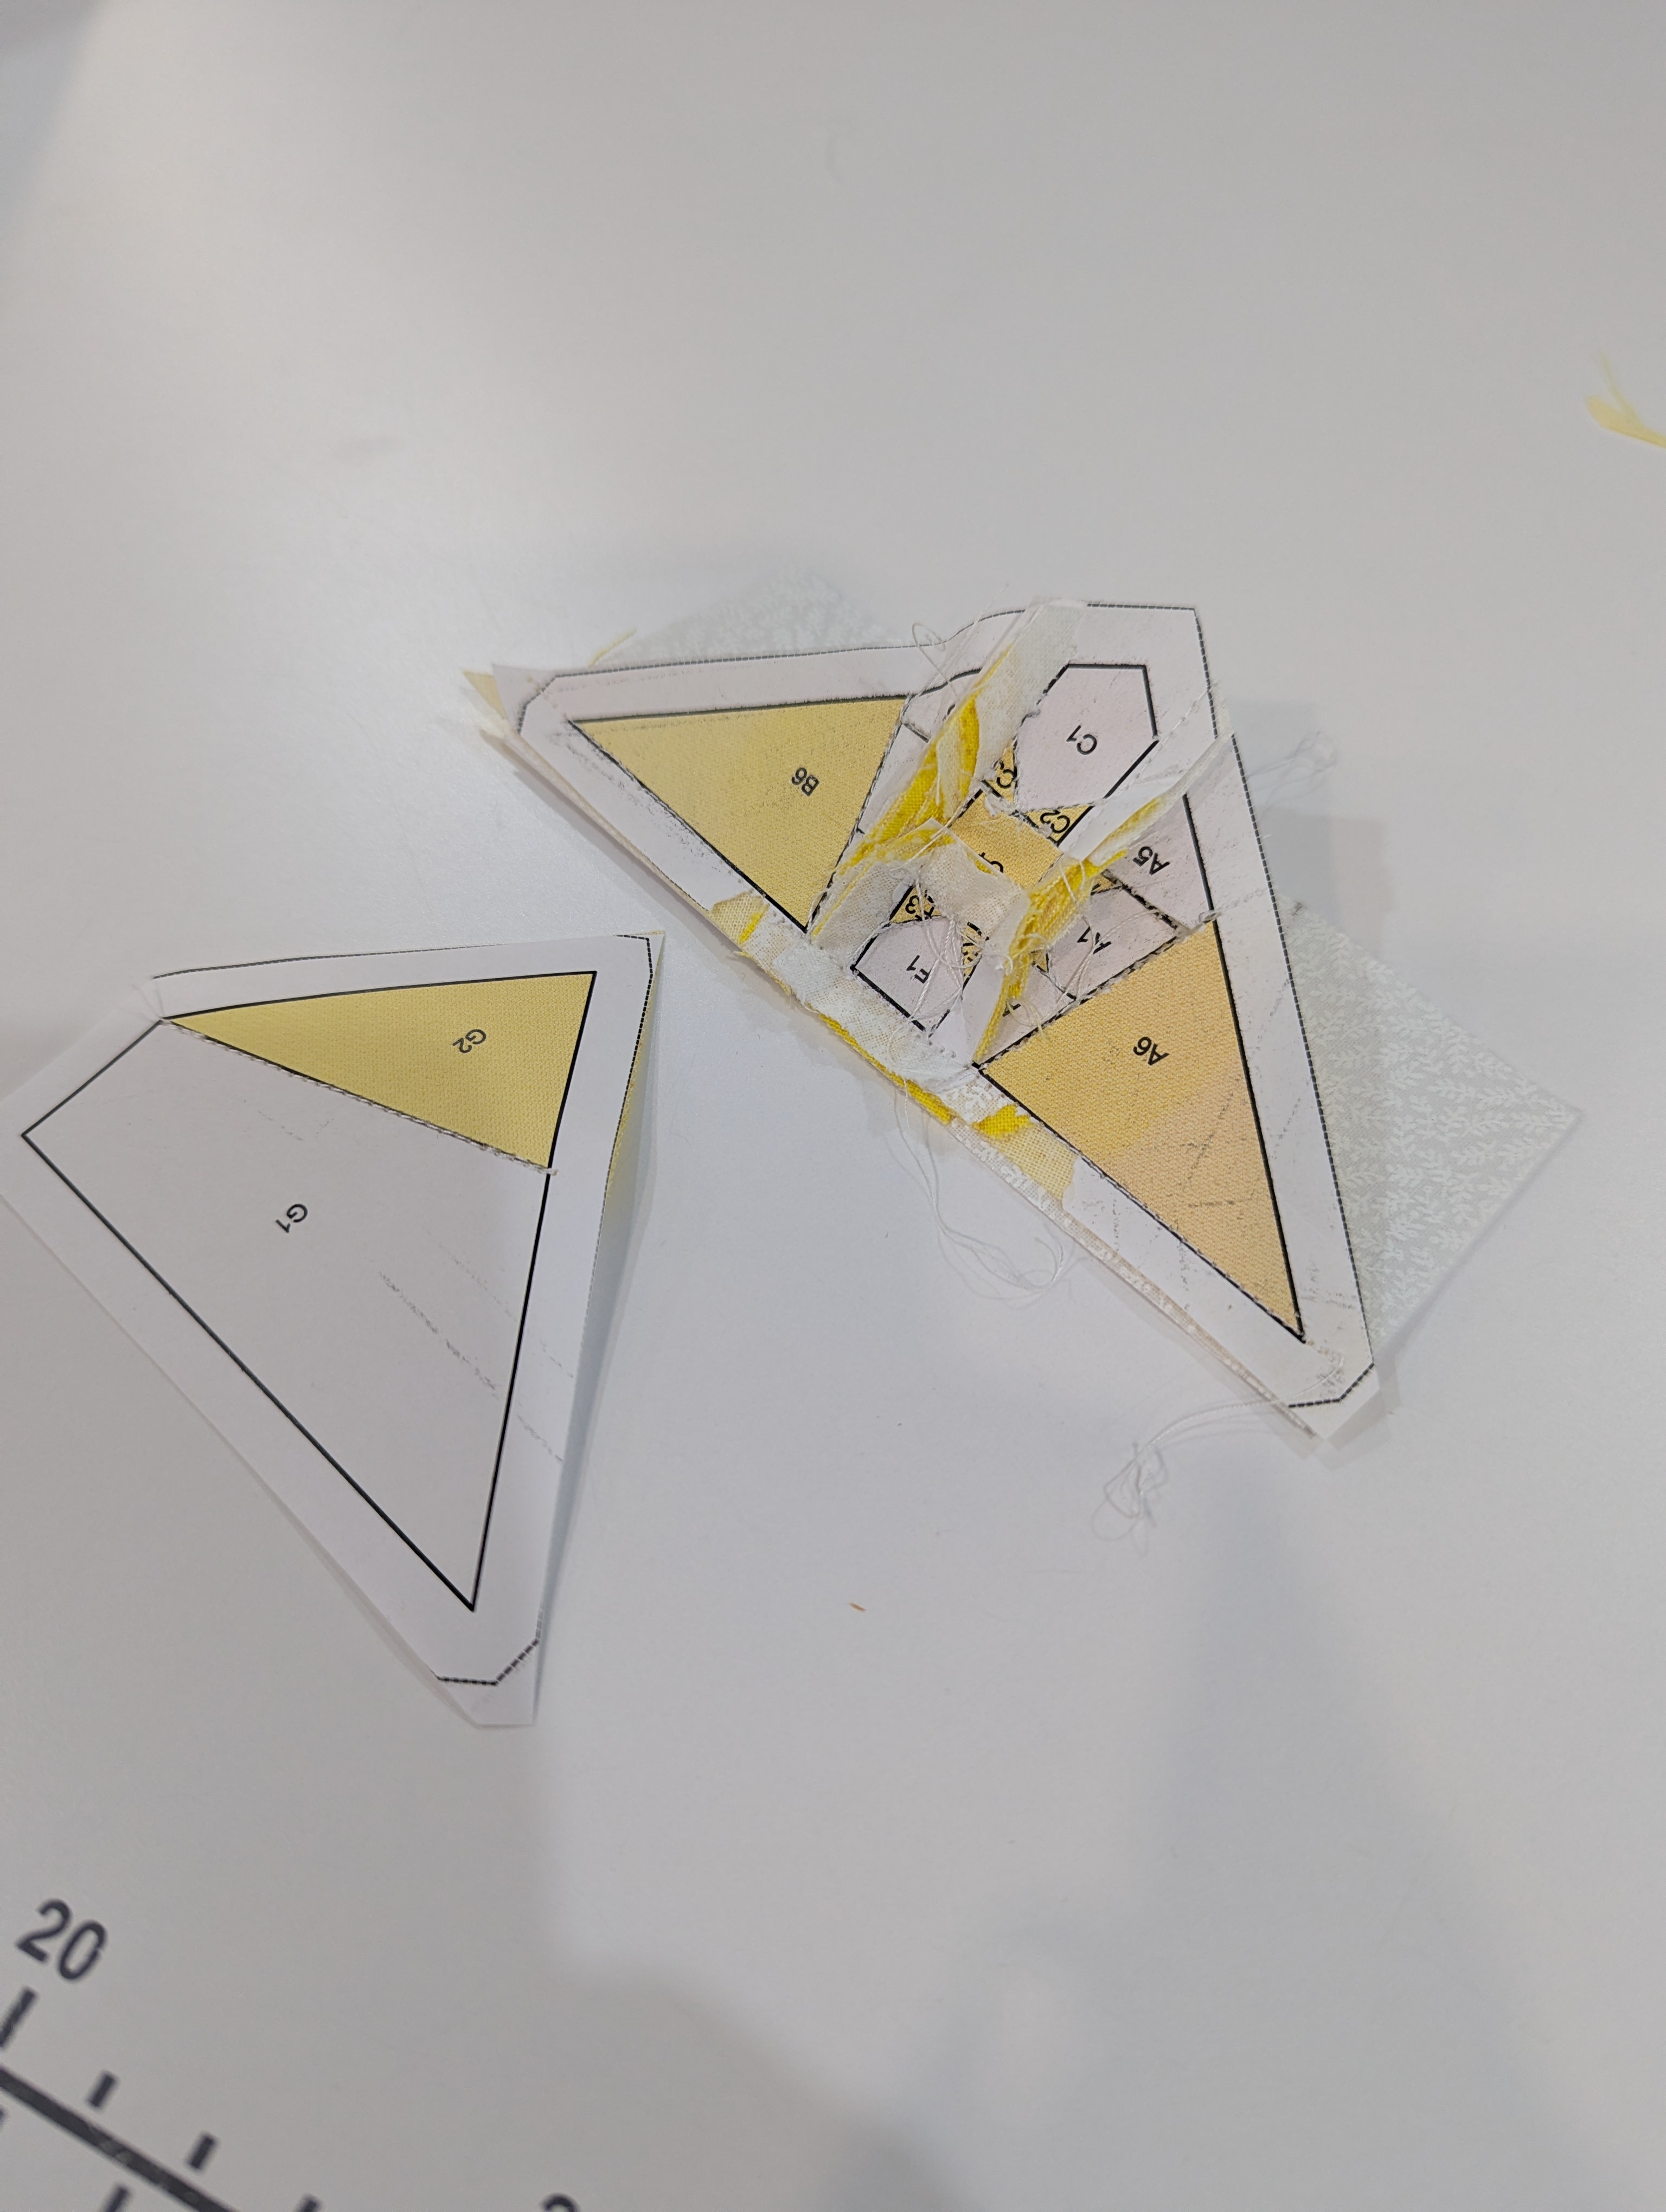
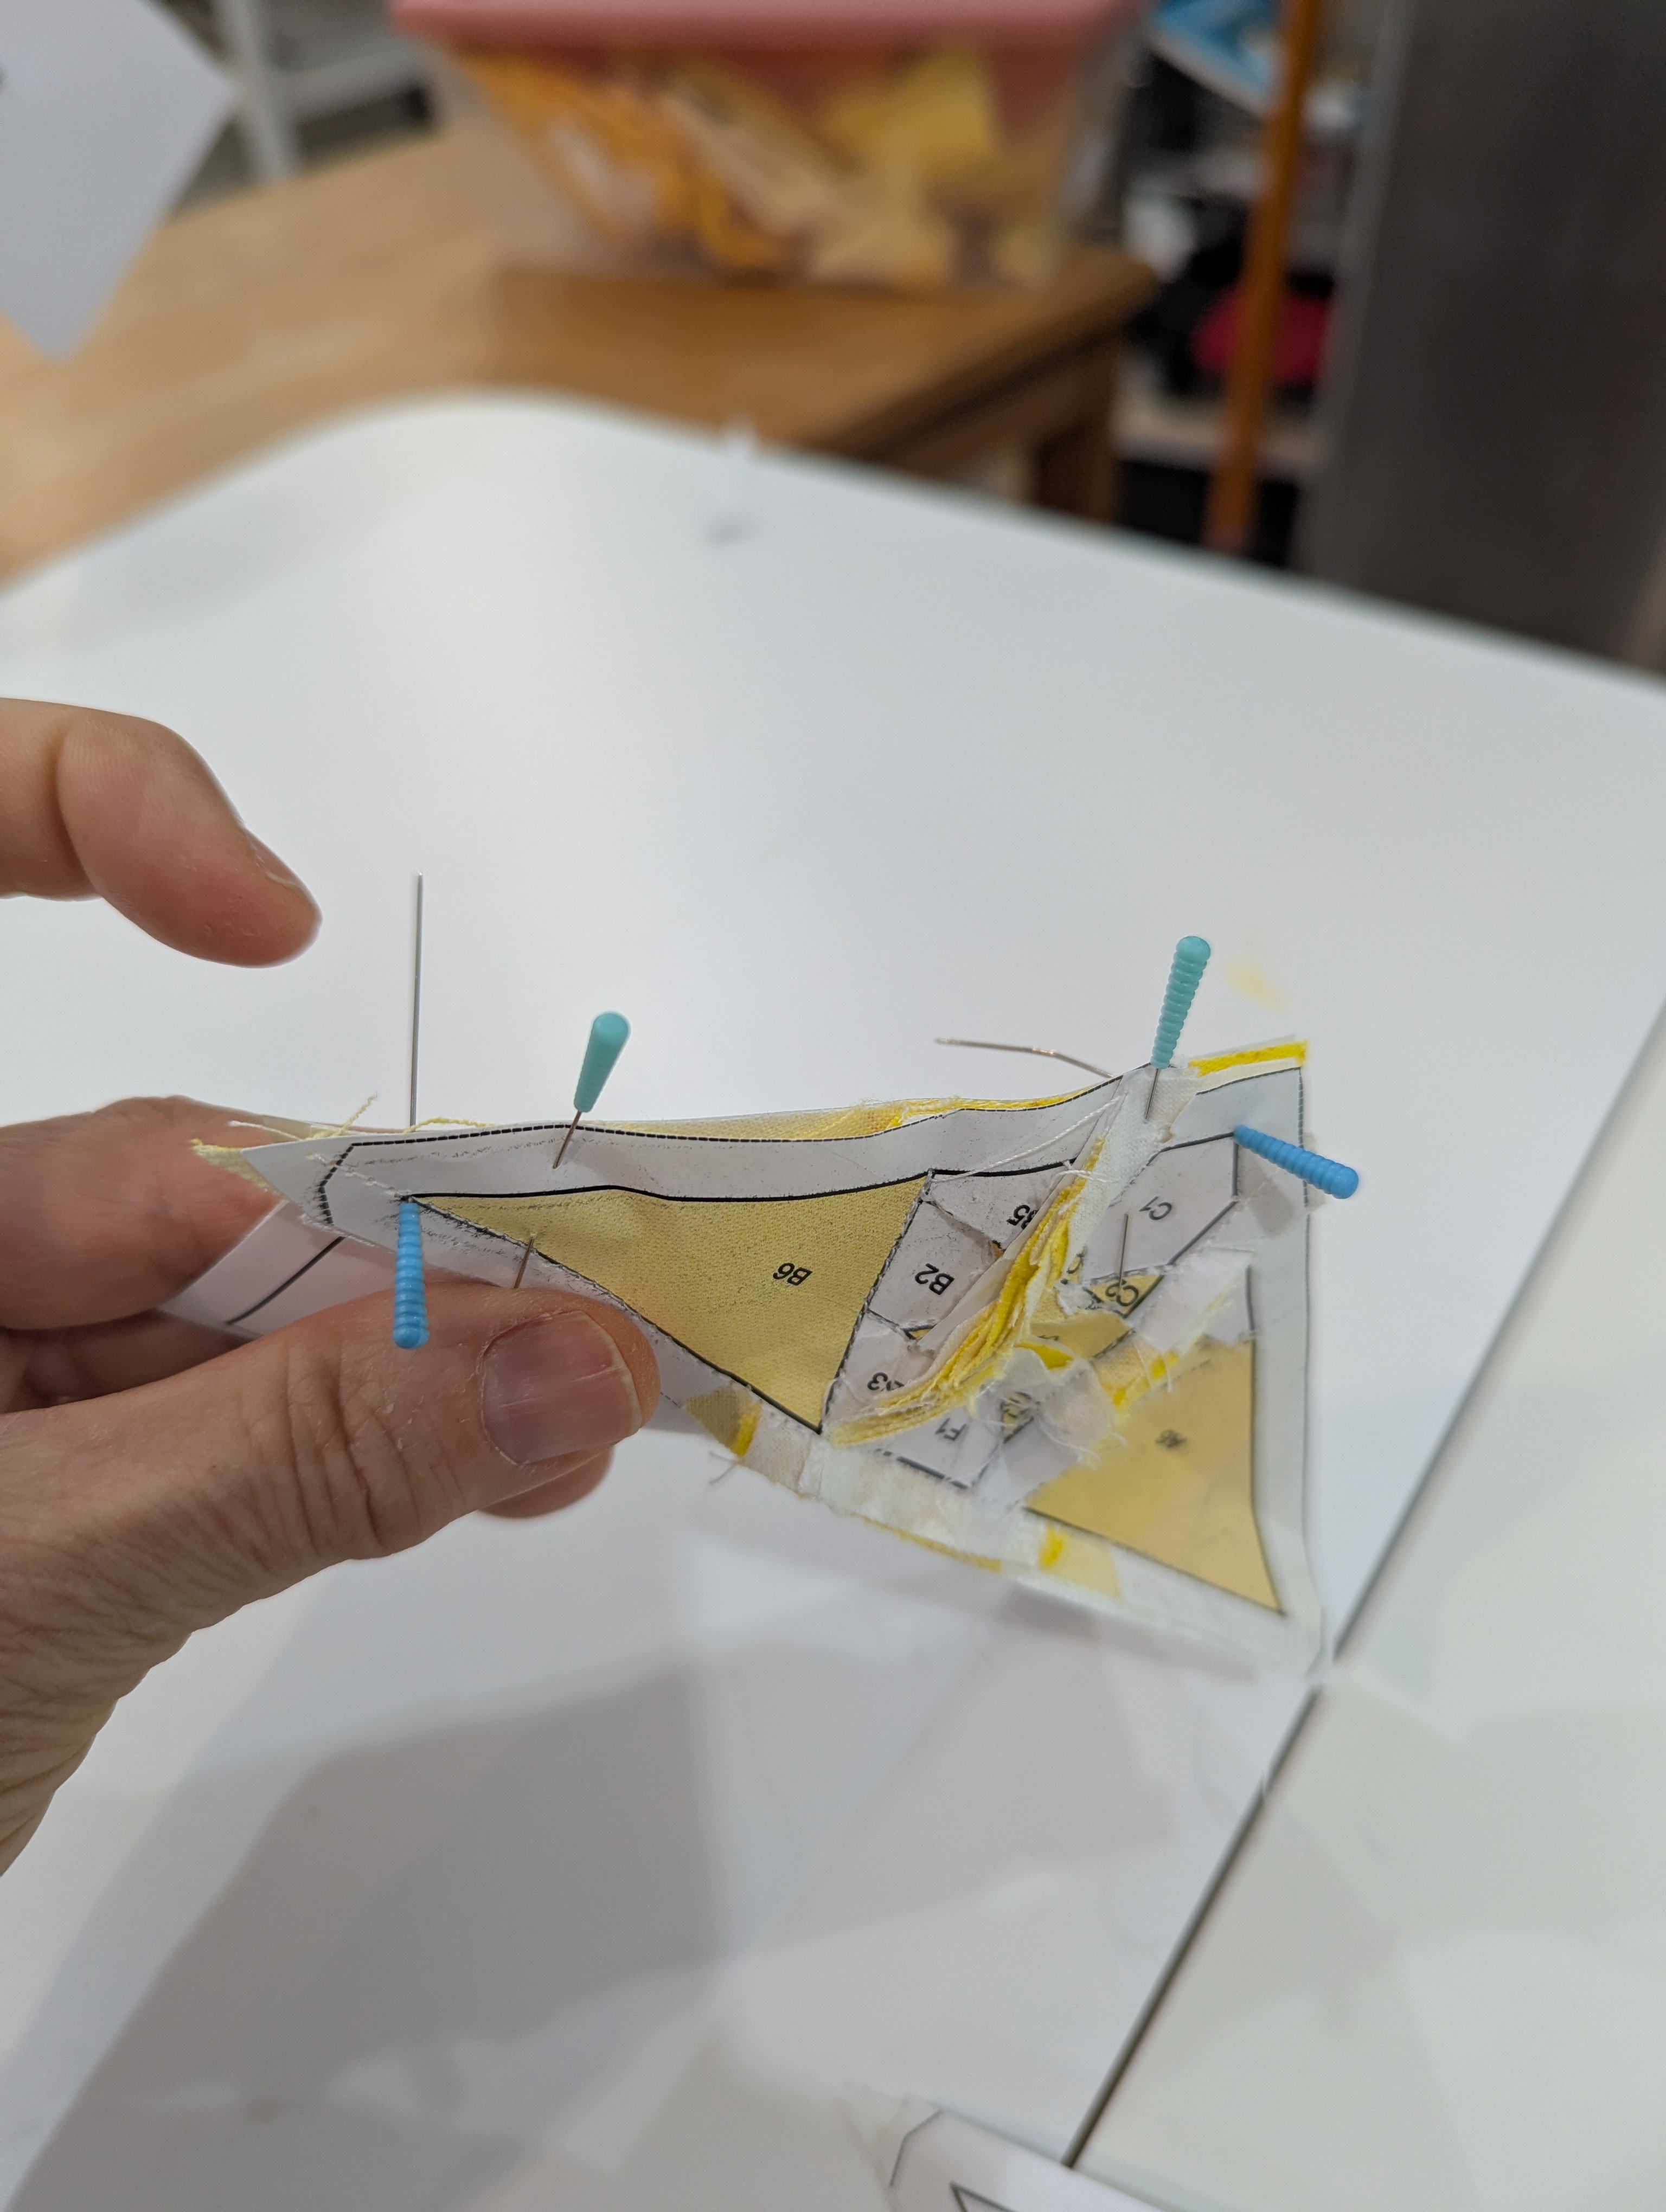
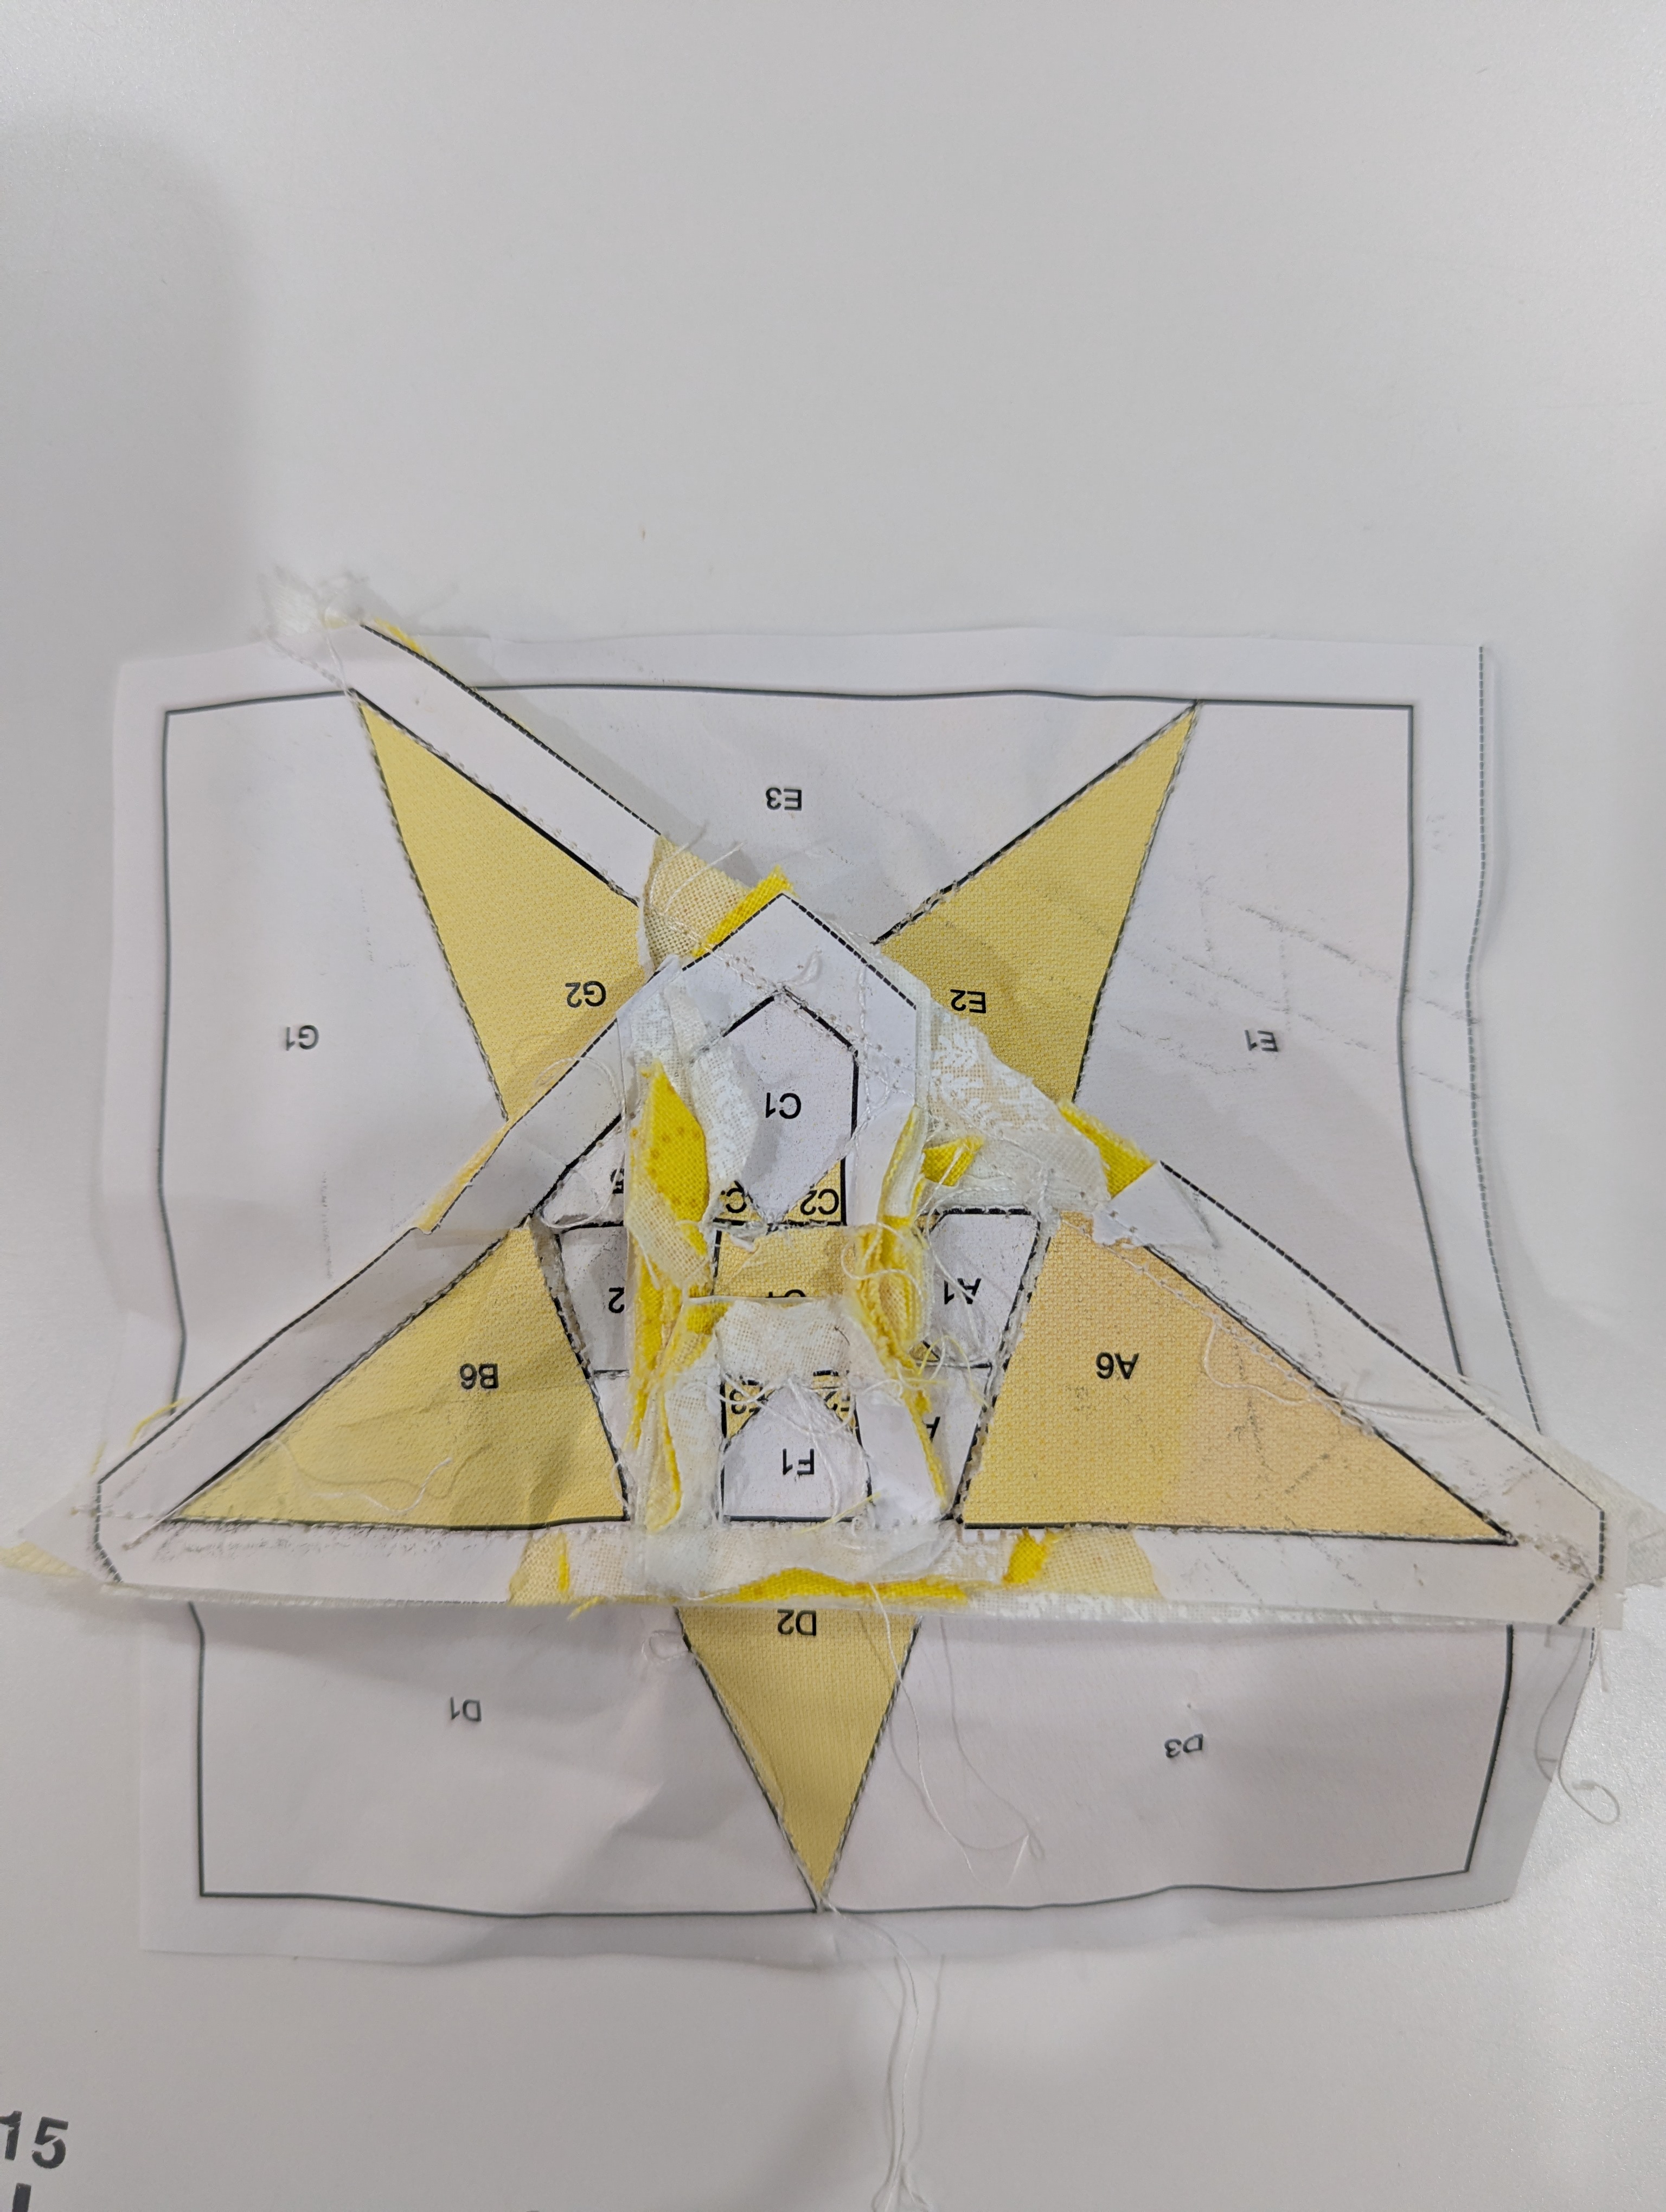
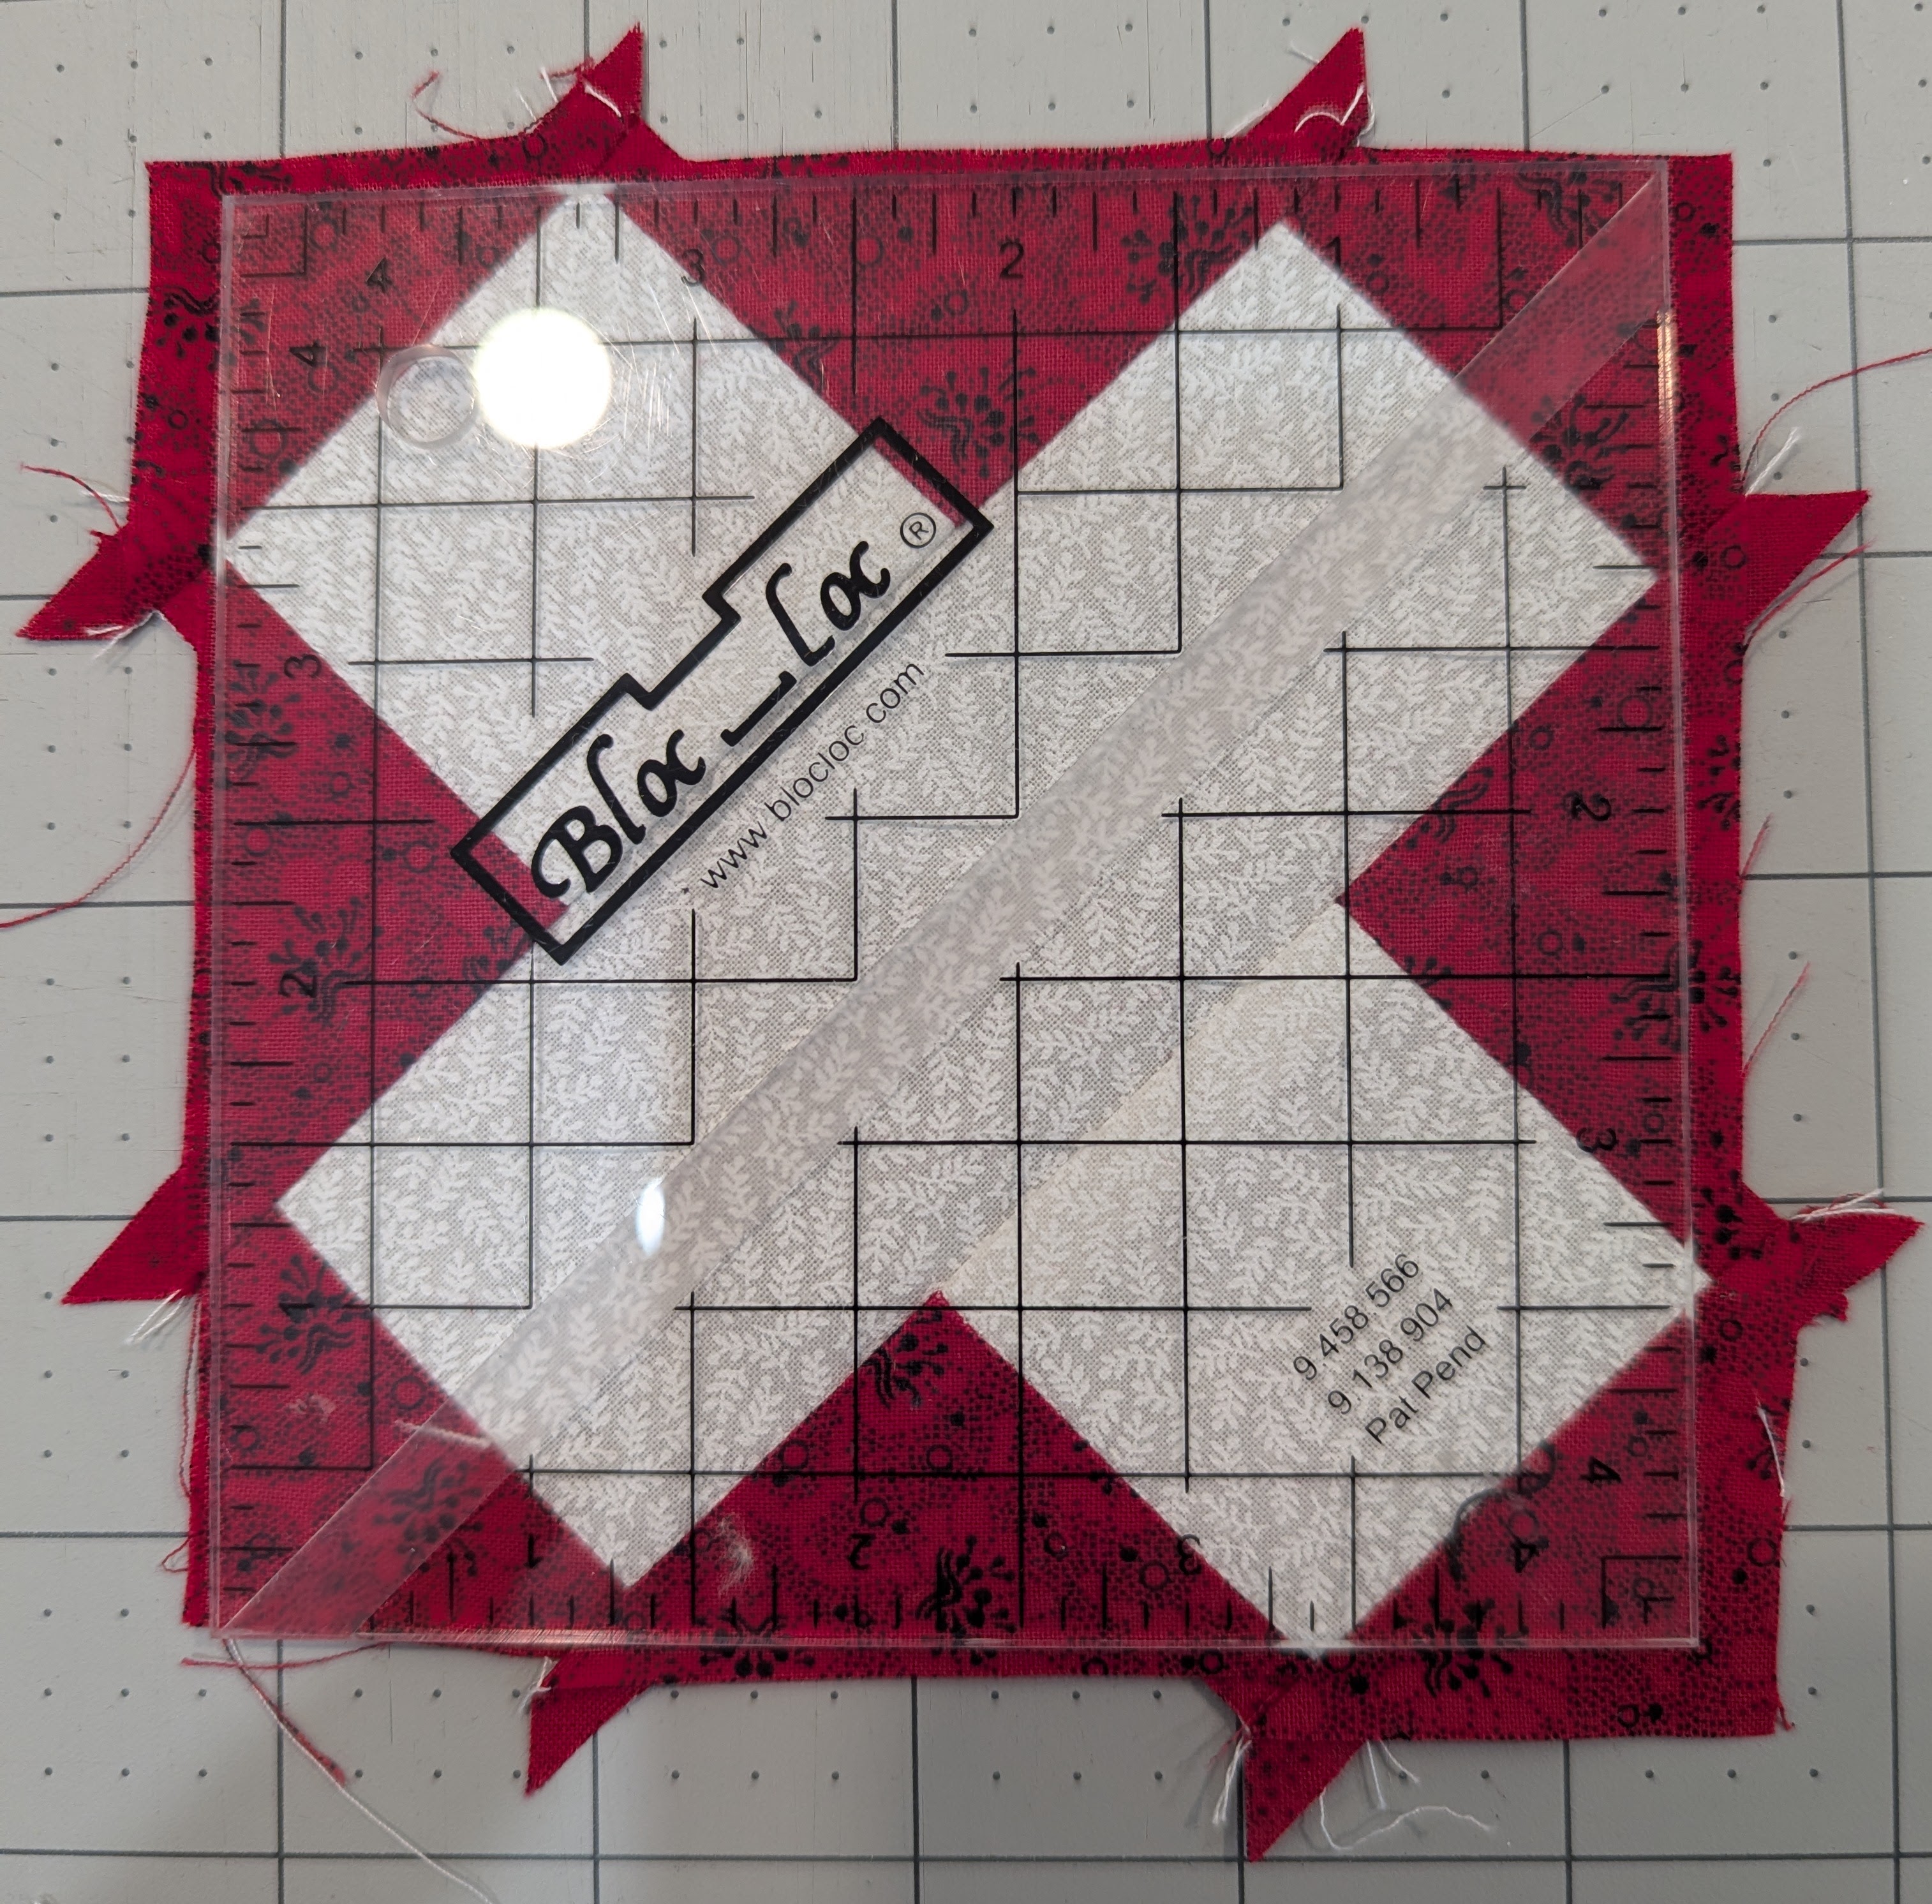
This design lent itself to Foundation Paper Piecing, so I printed the pattern, and started in this morning. I guess I wasn’t awake yet, because the first five or six seams each had to be ripped out and redone. I didn’t tear any of the paper, thankfully, so I was able to cleanly resew each seam. I’m not yet in the rhythm of placing the first piece good-side-down, and all the rest good-side-up.  Of perhaps it’s the fascinating audiobook I’m listening to that has me distracted!

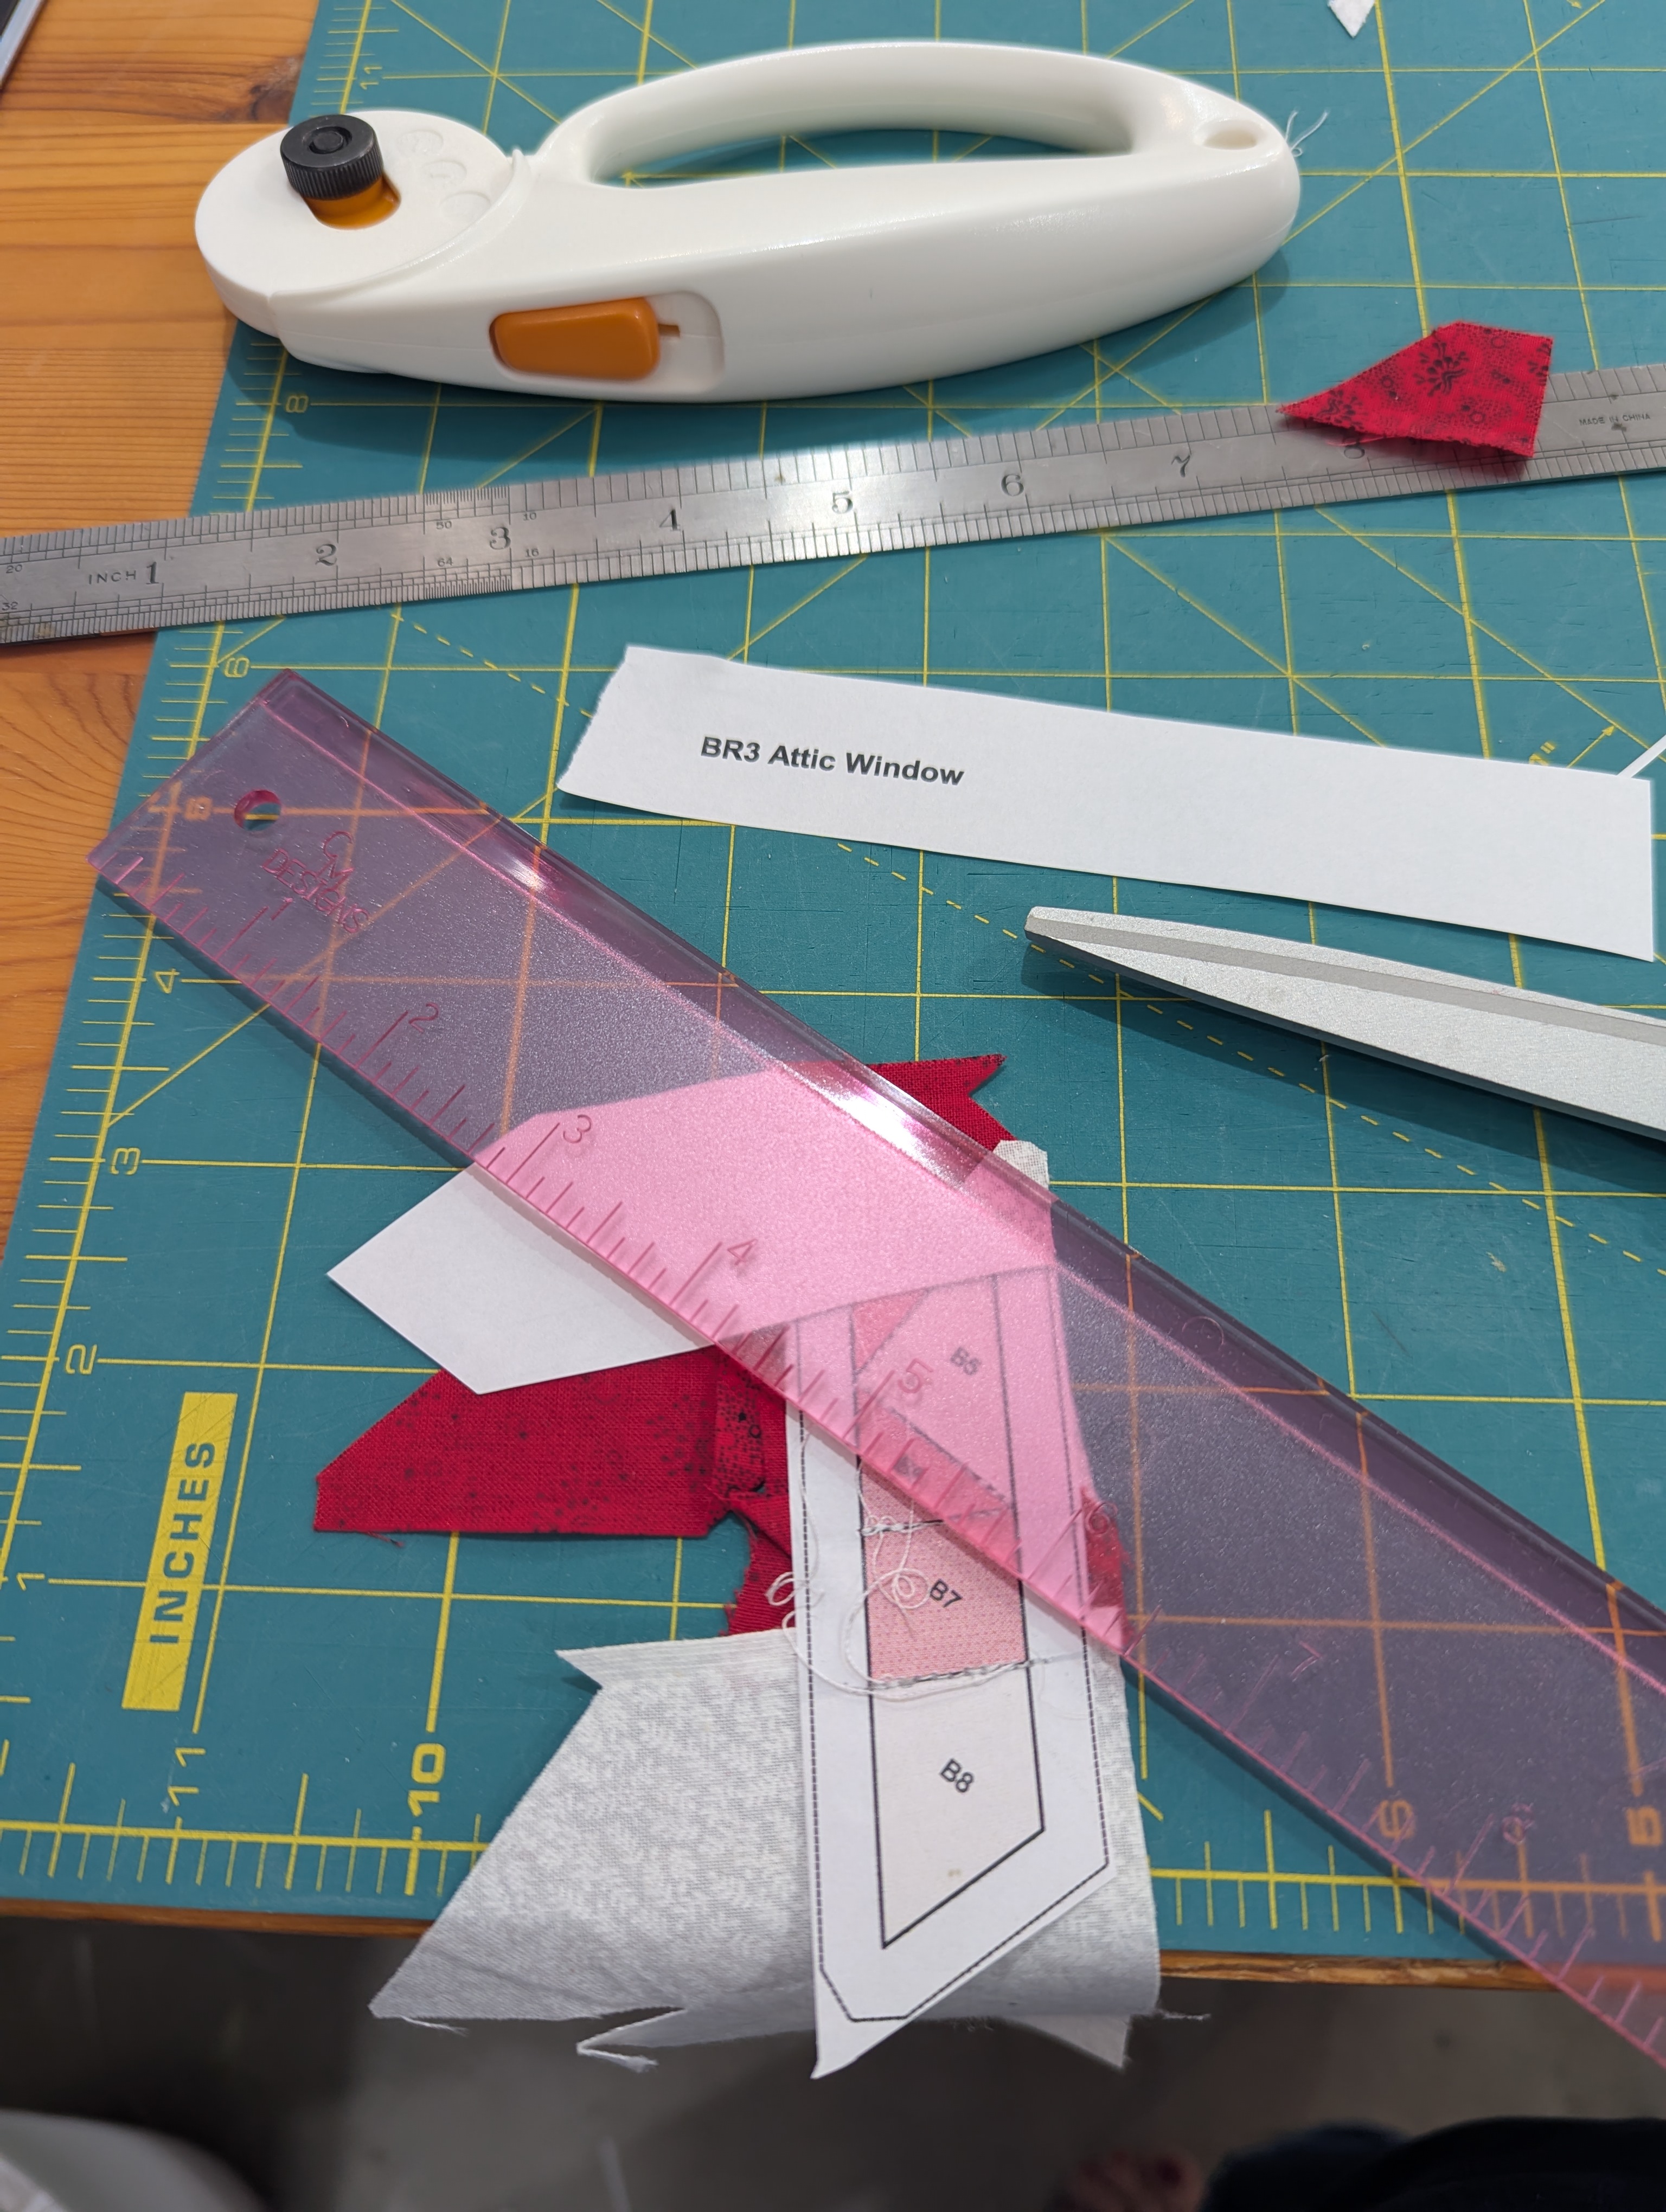
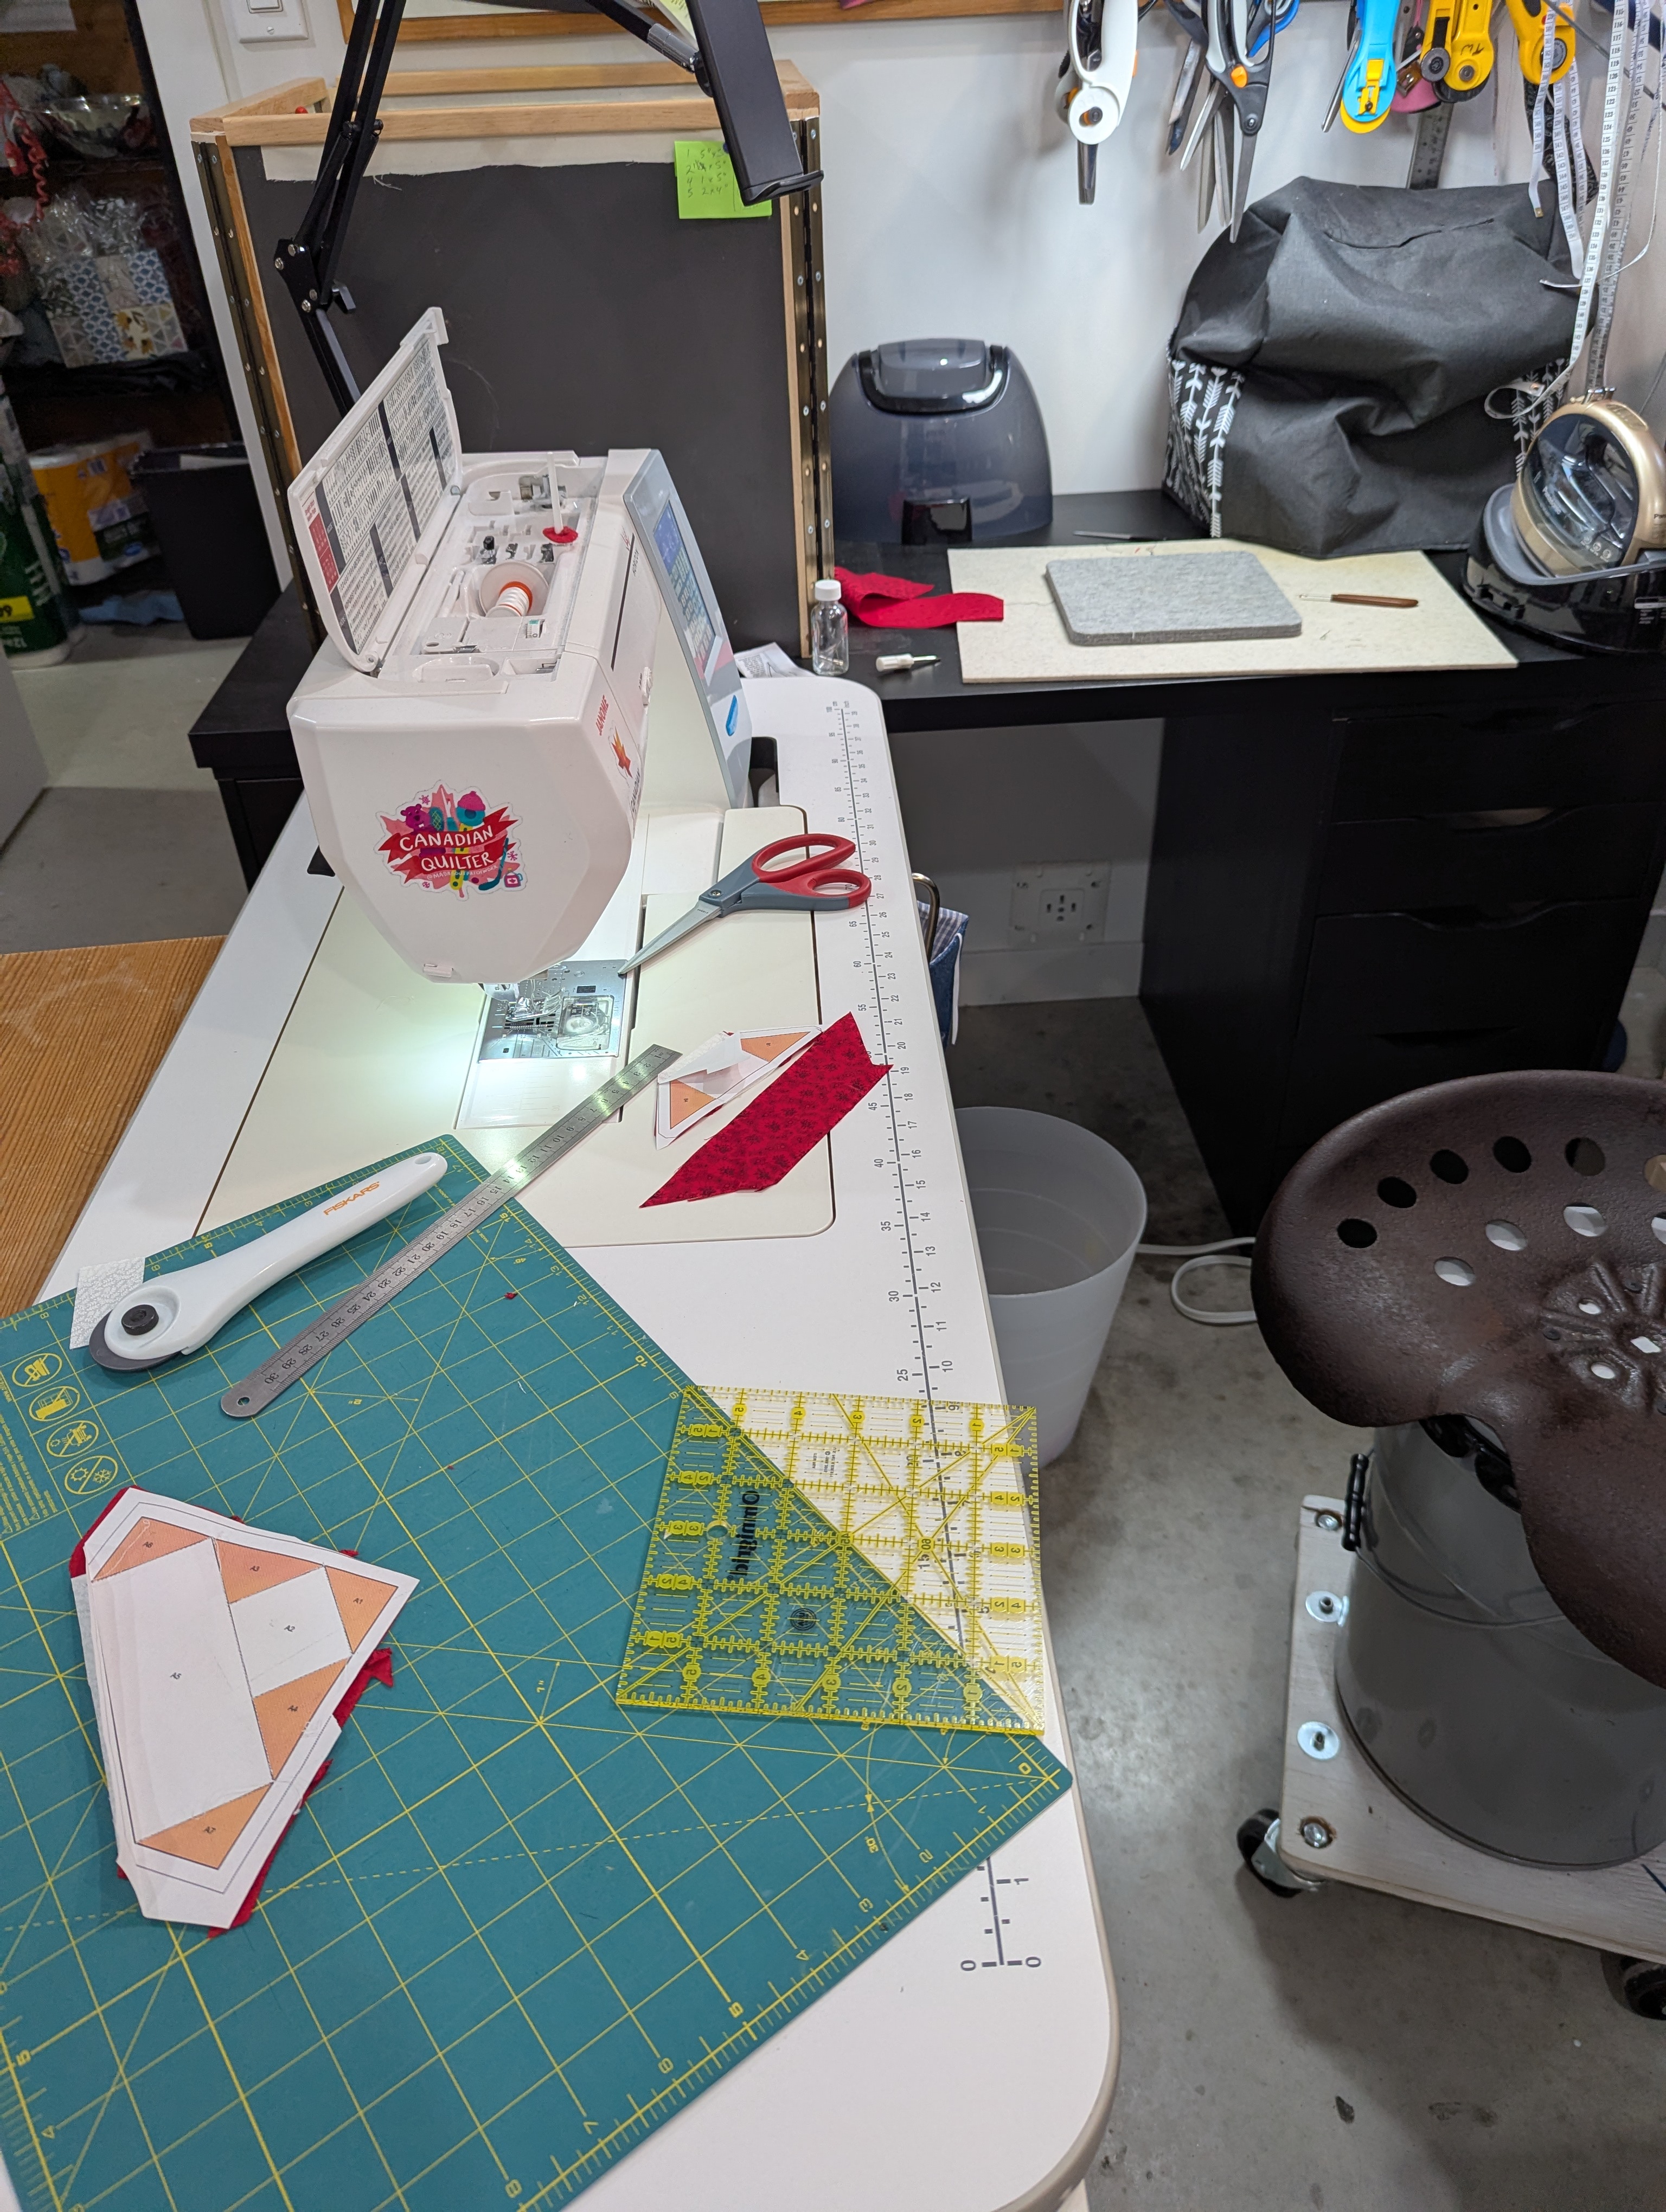
My latest purchase is an “add-a-quarter” ruler, and this one is 12″ long. Unlike the 6″ “add-a-quarter-plus” ruler, which I have misplaced, this one is full thickness and much heavier. It’s great for cutting the quarter-inch seam allowance, but useless to fold back the paper. I’m finding my metal ruler works well for this, though I dislike having to change tools. I have a replacement 6″ ruler on order, and look forward to its arrival.

Successes:

  • I love the precision of the FPP technique
  • I am getting better at fabric placement, so my waste is getting to be less
  • My tiny tweezers (or forceps) that I purchased from Lee Valley are perfect for removing the tiny bits of paper. At $7.50 CAD for a set of three, they are an inexpensive addition to my toolkit.
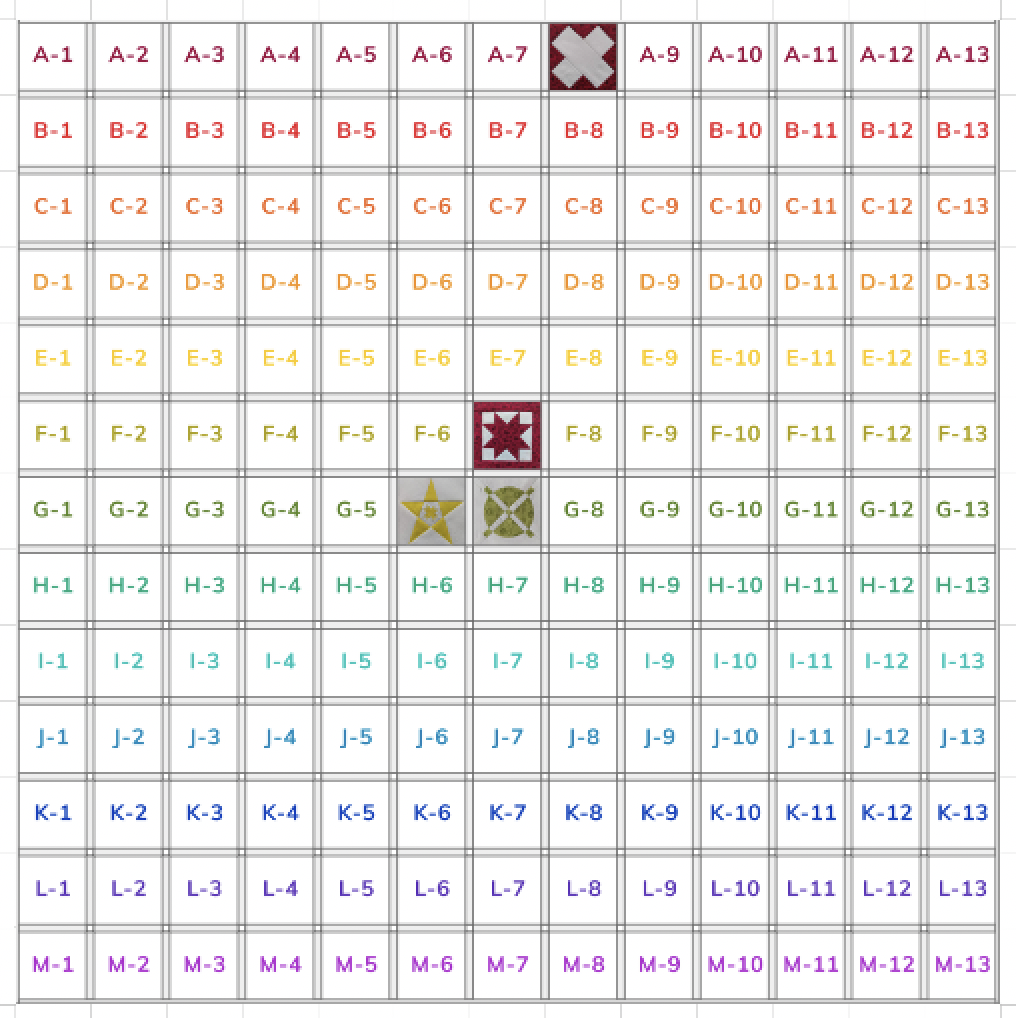
  • I am going to completely use up a colour, before moving on to the next. So expect at least two more red and white blocks

Challenges:

  • I need a mnemonic or a song to remind me that the first piece of fabric faces down, and the next and following pieces ALL need to be “pretty side up”
  • The tiny stitches that make paper removal so much easier, make seam-ripping much more difficult.

Here’s the new look of the quilt, with one border triangle added:

Dear Jane: G-6 – Papa’s Star

So much fun completing this block! It’s the third week of the Dear Jane Stitch Along group on Facebook, and there is so much variety in the blocks posted by the members. Very inspiring!

This is a perfect block for FPP. But I recognize that I am possibly breaking copyright by posting images of the pages from EQ8, so you won’t see any from this point forward. Here’s a gallery of some of the process:


FPP generates a lot of paper bits, and small scraps of fabric. My vacuum cleaner is going to get a workout!

You can see where I use two pins in the same location. One pin stabs through the intersections of both pieces. The second pin then secures it. I find if I stab, then secure with the same pin, it shifts. So this process gets a better match. I also find that my Magic Pins (Fine) work well for the stabbing process. But I need the Extra Fine size to slide easily and lay flat for sewing.

Successes:

  • This is as precise as I think I could get with those tiny quarter-inch triangles
  • I was able to use fine tweezers to get most of the paper out. And then I used “The World’s Kindest Nail Brush” from Lee Valley to remove the last bits.
  • My investment in the EQ8 software has already paid off with these four blocks completed. I believe I will be returning to this add-on to make larger versions of this block for other quilts.

Challenges:

  • I am using regular printer paper, so sometimes I stretch the seams as I remove this thicker paper. (I need to find my stack of Carol Doak’s Foundation paper to print the next blocks….. or order more!)
  • With the tiny pieces, there are a huge number of seam allowances on the back, necessitating some careful grading and trimming
  • Also due to the thickness, it is challenging to keep the presser foot in line. I had to re-sew a couple of seams where the line was off.
  • I chose my strongest “yellow” for this block, but wish I had selected one with even more contrast, to show off that tiny Ohio Star.

Here’s what the quilt looks like now, with G-6 added:

Dear Jane: Block A-8 – Florence Nightingale

If you have read my previous post, you will know that I am starting a quilting journey. This journey is expected to be measured in years rather than days. Today I took the first step by choosing a simple block, or at least one that appeared to be simple.

I am used to working with my rotary cutter and ruler to construct blocks. So I chose that option first from EQ8.

It looked straightforward, so I converted the decimals to fractions, cut my pieces and prepared to sew.

The blocks are to be 4.5″, so I found my only 4.5″ ruler, and checked it out. As you can see, it’s a little wonky. I definitely don’t have a quarter-inch seam allowance to use when I connect blocks with sashing at the end.

So, I then thought I should try out the foundation paper piecing (FPP) option:

I printed it on regular printer paper, and used the same fabrics:

This one is MUCH more accurate. Foundation Paper Piecing (FPP) should give me the ability to retain my points when I piece the quilt top.

Successes:

  • lovely contrast of white and red
  • final block that is large enough to be trimmed to finished size

Challenges:

  • I will have more waste fabric using FPP rather than rotary cutting
  • I destroy the pattern when doing FPP, so I have no paper to file and document the block

And here’s what my quilt looks like so far:

I’m awaiting delivery of a new “Add-a-quarter plus” ruler, to help with the Foundation Paper Piecing. And I have also ordered liquid starch to use when tackling my needle-turn applique blocks. I have joined three Facebook groups and subscribed to several YouTube channels, in order to research techniques for each block as I encounter them. Hopefully this will speed up the process on some blocks, and ensure that I don’t need to make more than one version each time!

Documenting My Dear Jane Quilt Project: A Quilter’s Diary

Every New Year I vow to use what I have, and not purchase new, for my studio. This year I am hoping that this purchase will support me in this endeavour.

I have loved doing the HundredDayProject over the past few years, and have successfully reduced my stash of yarn by crocheting 100 granny squares, have learned how to use my Cricut by making 100 boxes, and last year I worked my way through Tula Pink’s 100 Modern Quilt Blocks. However, I found myself having to “work ahead” in order to consistently post one item per day, when I was going to have to be away from my studio for several days.

So, for this year, 2026, I propose to follow a similar model, but to not use “day” as my unit. Instead, I propose to complete the 225 blocks of the Dear Jane quilt, posting each as I complete it. To that end, I have purchased the EQ8 add-on, and will be developing greater understanding of this software through this project.

Having been inspired by the Quilt Alliance, I am also going to document this quilt (having never done so over 35 years of quilting), and will reference this blog when I put a label on the completed quilt (which I have only recently begun to do with my quilts!).

Here are the rules I have set for myself:

  • I will use only fabric from my stash.
  • I will “tackle” the blocks in the order that inspires me.
  • I will photograph each block, and add it to the layout, providing me with a virtual “design wall” that I will be able to utilize as the quilt progresses, and to determine the final block layout.
  • I will document each block in a separate blog post, and for each I will note technical details, as well as the challenges and successes that I experience completing the block.
  • I will accept that this could be a multi-year project!

Here are some useful links, relating to this project:

Let’s hope that my WordPress skills, my EQ8 skills, and my quilting skills all benefit from this Dear Jane project.

Wish me luck!

Quilting and Math

We’ve all heard about the connection between mathematics and music, and much of my life has been proof of this. I never thought of myself as much of a visual artist, but mathematics has been the basis of much of my enjoyment of cross-stitch, needlepoint, crochet, knitting and quilting.

During COVID, this interest blossomed. I began working with numerical sequences as well as exploration of the golden ratio. That resulted last spring in a quilt that features a logarithmic wave on one side, and sets of golden ratio “rectangles” on the reverse:

Golden Ratio Quilt
Logarithm Quilt

I designed the golden ratio side, and my son helped me with a table of logarithmic values in Excel, to make the best use of one “jelly roll” of print fabric to fit a Queen-size quilt. I tried out both “walking foot” machine quilting for the stripes and long curves on the logarithmic side, and “free motion quilting” for the spirals through the golden ratios. I love having a reversible quilt, and it’s kept me warm all winter with its wool batting.

My next challenge was to combine my daughter’s love of Fibonacci sequences with her social justice advocacy. I had two “jelly rolls” to work with, with 22 rainbow colours. And here’s the result:

Fibonacci Rainbow Quilt

This quilt was machine pieced and then hand-quilted. I could have chosen to machine quilt, since the quilting is very simple “stitch in the ditch”, but I needed the meditative process this spring as to balance out my long days online as Principal. As the weather became warmer it was more difficult to sit under the quilt, so it was July before I was able to bind and complete.

Yesterday I went looking for more challenges, but was hoping for something that wouldn’t take months to complete. I have enjoyed playing with “disappearing” patterns, but had not actually constructed any yet. This is a technique of piecing a simple square, and then cutting it into quarters or ninths, and sewing it together with the pieces rotated. So I tried out the “disappearing hourglass” pattern. You create it by sewing all the way around a pair of squares, cutting them on the diagonal, resewing them into an hourglass shape, and then cutting again into nine-patches.

What do you think?

These were both machine pieced and quilted, so they worked up quickly, and make a bright pillow for my sunroom. They each began with a 10″ square from a “layer cake”, so I have 40 more possible “disappearing” squares to construct. If I can find enough background fabric for the contrast to these wonderful Kaffe Fassett prints I might just make this my next “mathematical” quilt.